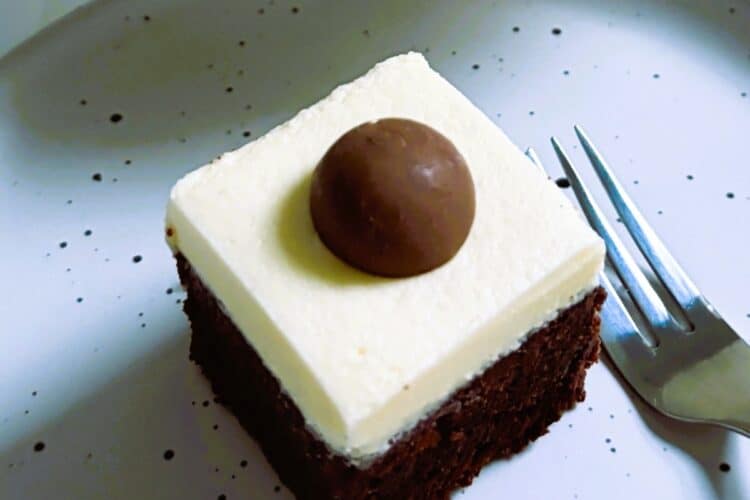
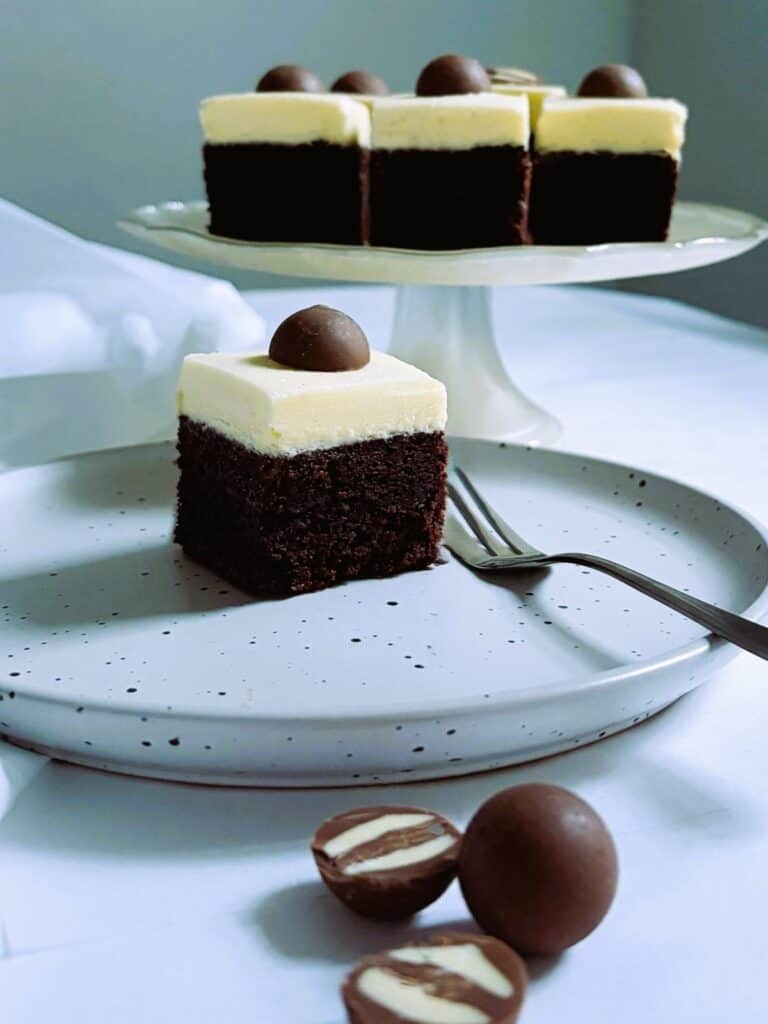
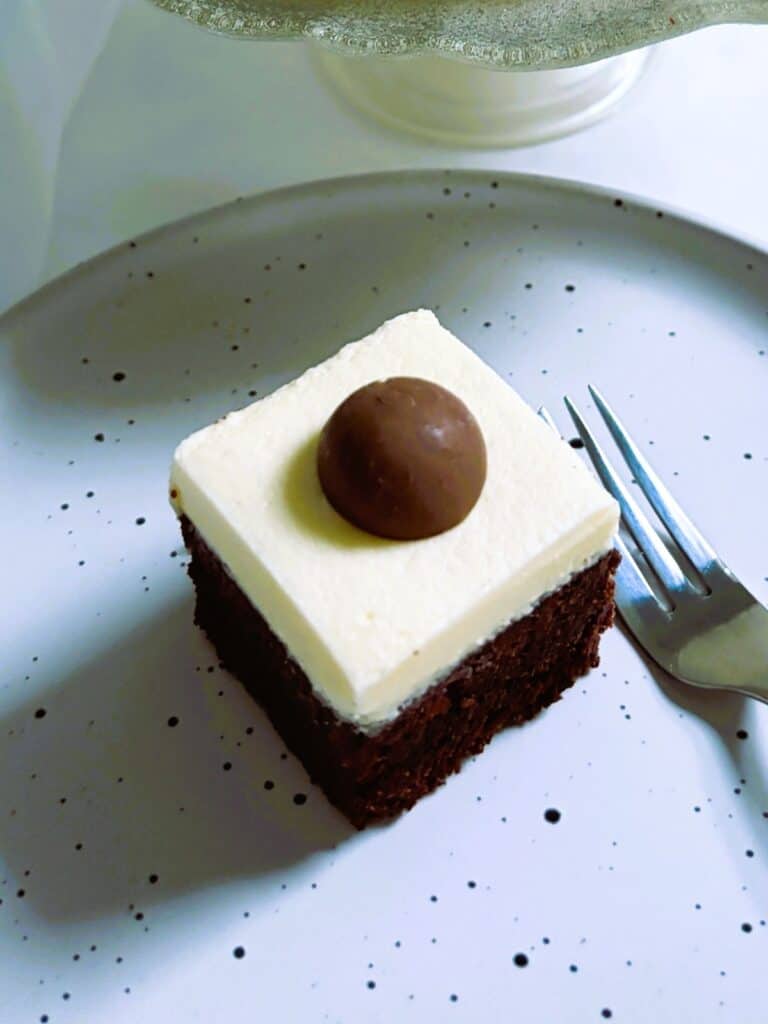
Inspired by Cadbury’s iconic Top Deck chocolate bar, this deeply fudgy chocolate cake is paired with smooth white chocolate buttercream and finished with a decorative Top Deck ball. Created, tested, and refined in my Flower & Sugar kitchen, the recipe focuses on reliable structure, balanced sweetness, and a professional-quality result achievable at home.
Traybakes for the win
Traybakes are one of the easiest ways to serve something beautiful without overcomplicating the process — proof that Afternoon Tea doesn’t need to be elaborate to be special.
They’re ideal for beginners, with no stacking or complex assembly required. Traybakes also store and transport beautifully, making them both practical and elegant when sliced neatly. Whether you’re feeding a small group or a crowd, they’re a smart choice every time.
Reliable and delicious – a perfect combination
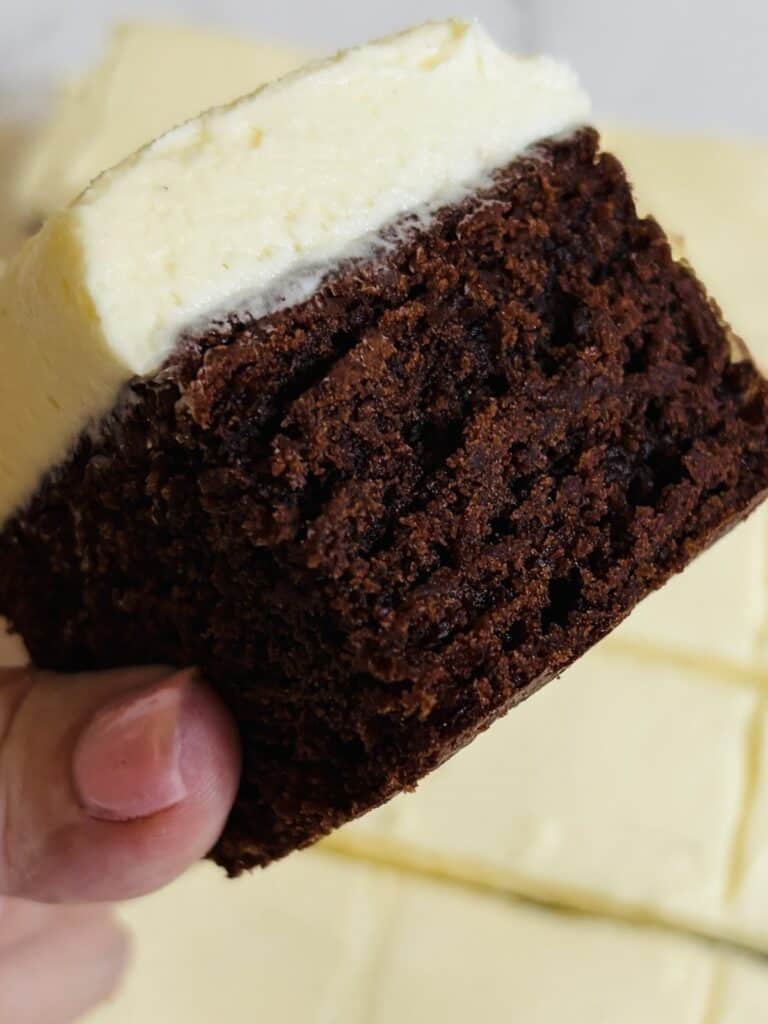
The chocolate fudge cake base is adapted from the wonderful Sweet and Simple Party Cakes by May Clee-Cadman. It’s rich, with plenty of chocolate, coffee and even sour cream to keep it moist — exactly what you want in a traybake that will be cut into squares and left exposed for longer periods.
A standard chocolate sponge simply won’t work here, as it would dry out too quickly. This recipe stays moist, indulgent, and delicious from the first slice to the last.
Decadent icing for a fabulous finish
Made with a simple white chocolate ganache whipped together with butter, vanilla and icing sugar, this is a sweet buttercream that tastes just like the white section of Top Deck!
Why you’ll love this Top Deck Style Traybake
- A guaranteed crowd-pleaser: The classic combination of rich chocolate and creamy white chocolate buttercream is instantly familiar and always well received.
- Perfect for beginners: No layers, no stacking, no filling — just mix, bake, ice, and slice.
- Holds beautifully: The fudgy cake stays moist even after slicing, making it ideal for morning teas, work events, and make-ahead entertaining.
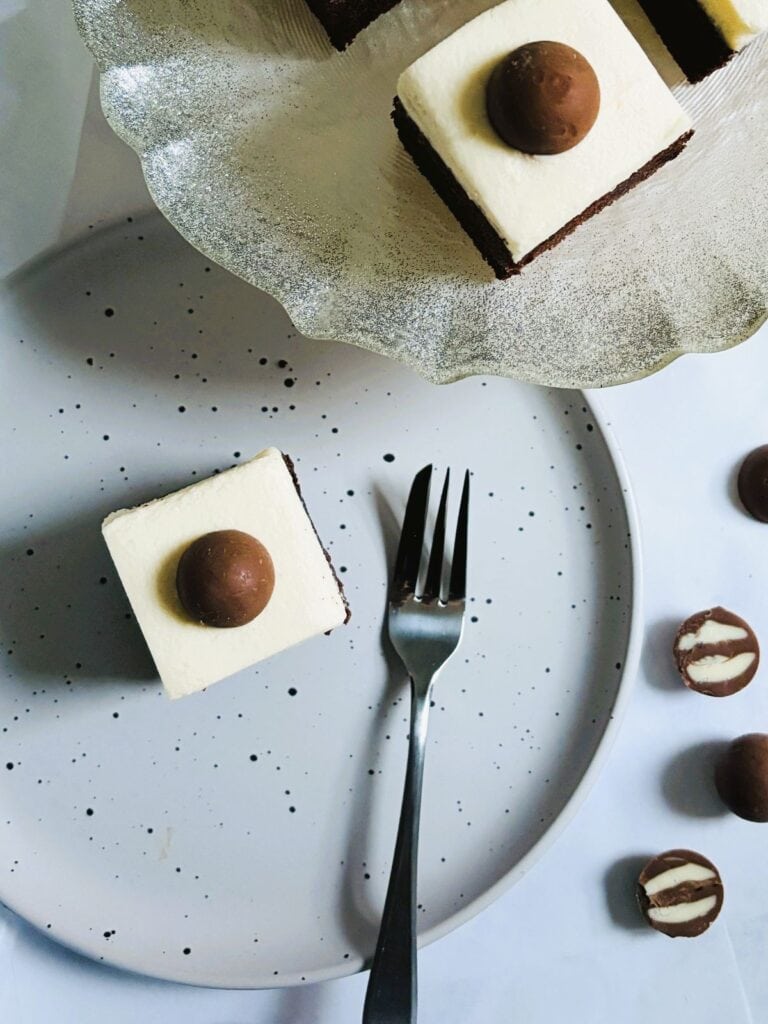
- Easy to portion: Cuts neatly into elegant squares that look lovely on a platter or cake stand.
- Nostalgic with a modern twist: Inspired by a much-loved chocolate bar, but presented in a way that feels polished and Afternoon Tea–worthy.
Good to know
- Size matters: You’ll need a 20cm x 30cm rectangular cake tin or baking pan for this recipe.
- Make the day before (or freeze): The cake will take at least 3 hours to cool completely, so it’s best to make it in the morning, ice it in the afternoon, refrigerate overnight, then cut and serve the following day. Alternatively, bake the cake, cool then freeze until uniced until required.
- Best slicing tip: Set the buttercream before cutting. Use a knife dipped in hot water making sure to wipe between cuts to keep the white buttercream clean. Trim the squares if you need to.
- Transport-ready: This traybake travels exceptionally well in an airtight container, making it ideal for work morning teas or gatherings away from home.
- Decoration optional: If you can’t find Top Deck balls, then use Maltesers or just shave a little chocolate on top instead.
Other Afternoon Tea recipes to make
Coronation Chicken Finger Sandwiches
How to make my Top Deck Style Tray Bake
Read through the recipe before you begin.
NOTE: The cake will take at least 3 hours to cool completely, so it’s best to make it in the morning, ice it in the afternoon, then cut and serve the following day. Alternatively, bake the cake, cool then freeze until required. See FAQ’s for more.
Line your baking tin
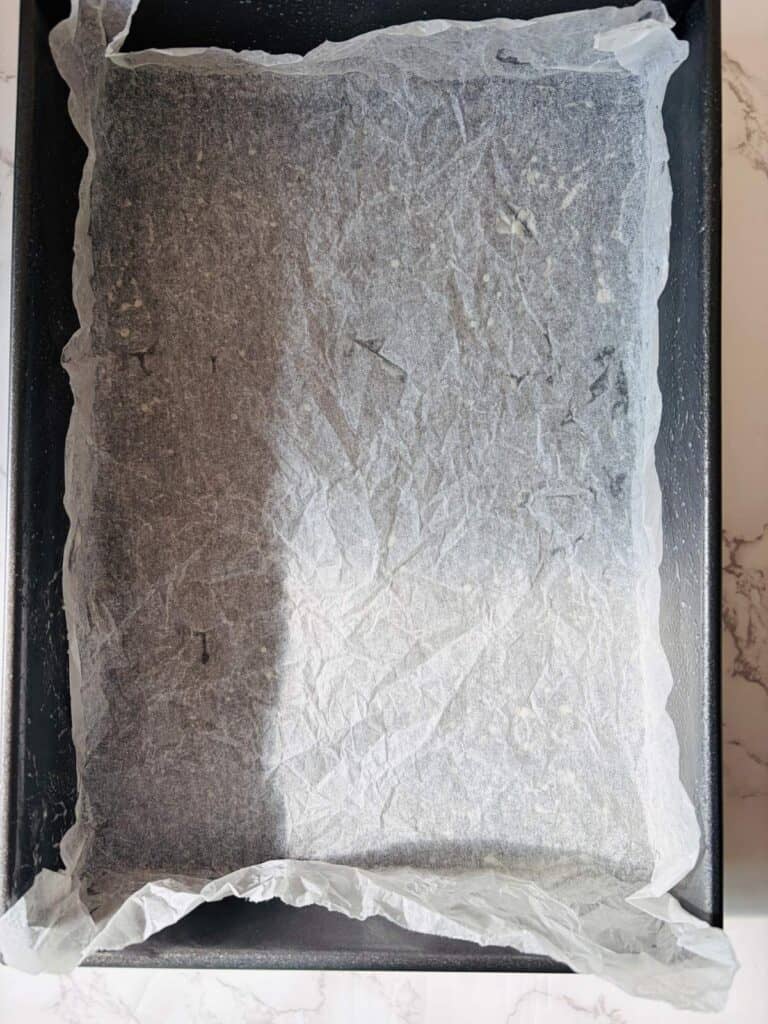
Grease a 20cm x 30 cm rectangular cake tin or roasting pan with either canola spray or softened butter.
Tear off a sheet of baking paper. Make sure it is long enough that it covers the sides at least halfway.
Scrunch the baking paper up into a tight ball then smooth it out as much as you can – this will make it pliable. Press the paper into the pan, shaping around the corners with small creases if you need to. It doesn’t have to be perfect as you’ll trim the cake edges off later.
Set the pan aside.
Chocolate fudge cake preparation
Position your rack in the centre of the oven. Preheat to 160 C fan / 320 F fan.
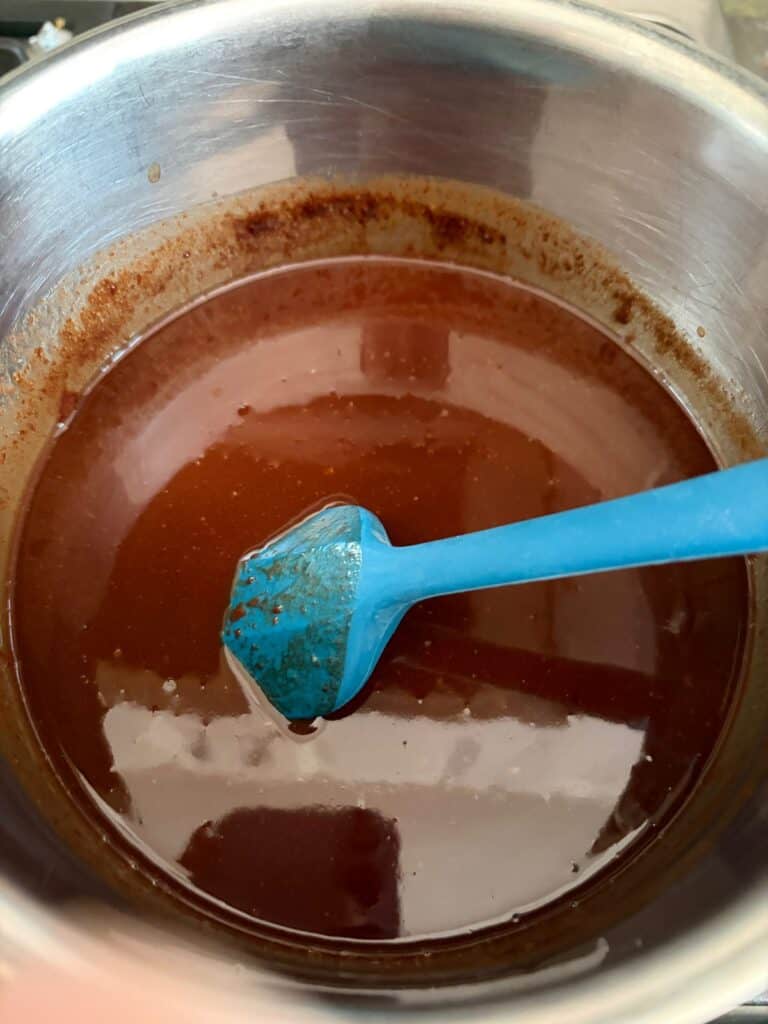
Roughly cube the butter and chop the chocolate then place both in a medium saucepan. Add the instant coffee and water then put the pan on a low heat. Melt the chocolate and butter, stirring occasionally until you are left with a dark, glossy mixture. Turn off the heat and leave to cool.
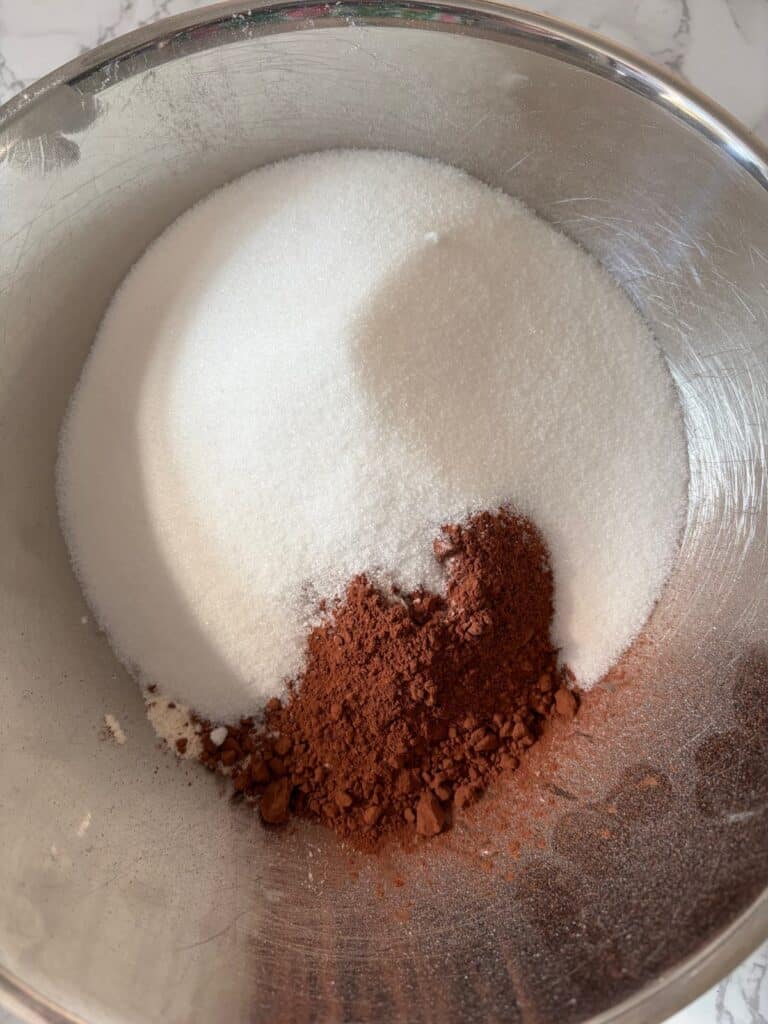
Place the plain and self-raising flours in a very large mixing bowl and add the cocoa powder, bicarb soda and sugar. Stir to combine.
In a separate medium sized bowl add the eggs, vegetable oil and sour cream and whisk together until well combined.
Mix the cake ingredients
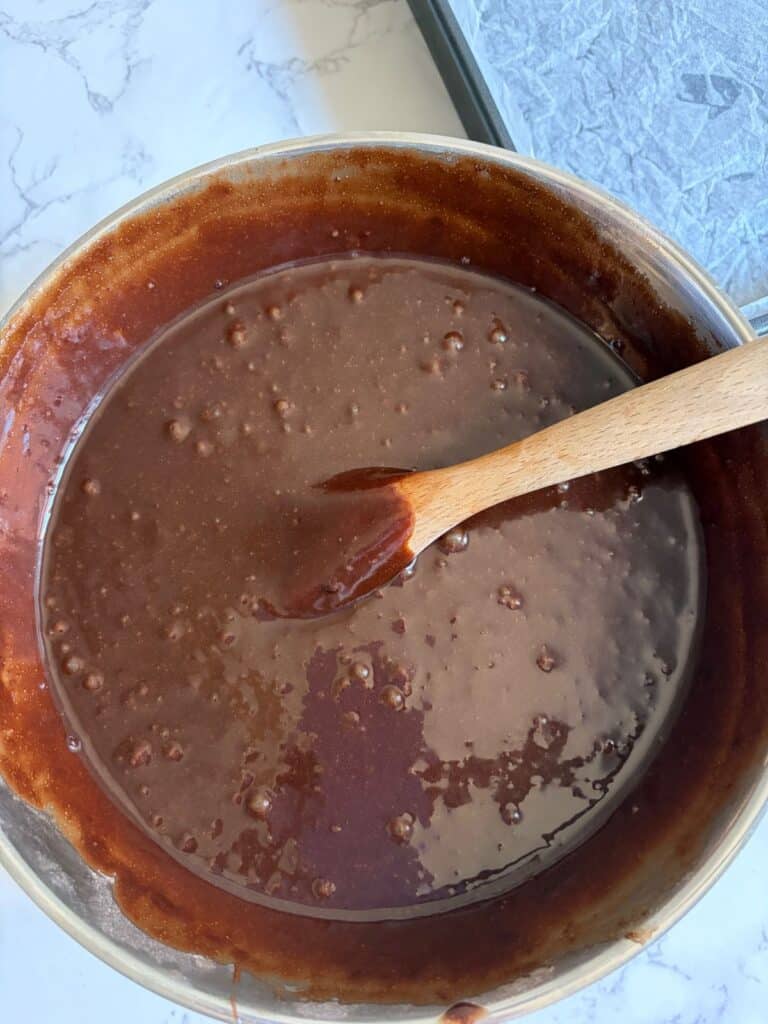
Add the melted butter/chocolate mixture to the flour/sugar bowl and stir well with a large wooden spoon.
Now add half the egg/sour cream mixture, stir until lump free then add the other half and stir until you have a smooth cake batter.
Fill the cake tin
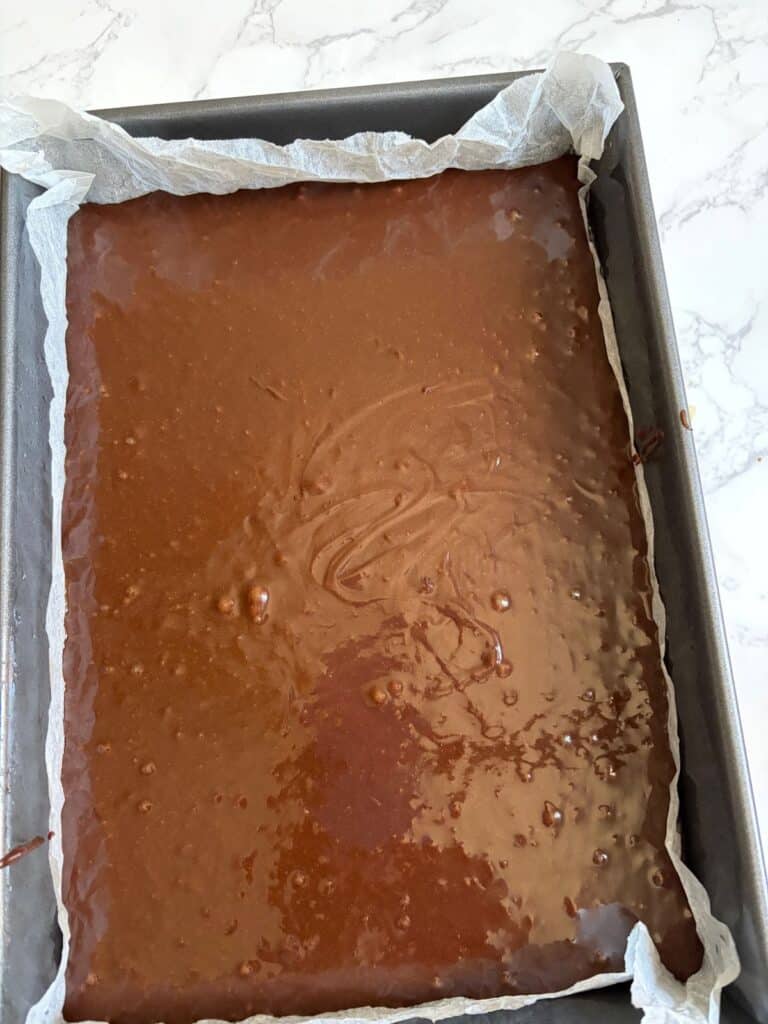
Swap your wooden spoon for a spatula and fill the lined cake tin with the batter. Give it a gentle shake from side to side – it will level out easily.
Bake the cake
Bake for 1 hour and 20 minutes. Remove from the oven then leave to cool in the pan (this will take around 3 hours).
NOTE: The top will have a few patches that look flaky. This is normal and a result of the sugar melting during baking. This will not affect the final appearance as the cake is flipped over before icing. The sides will also be slightly more ‘done’ than the rest of the cake however these are trimmed off once iced.
Make the white chocolate ganache
Wake up the chocolate: Measure 100g / 3.5 oz of the white chocolate buttons into a microwave safe bowl and heat on HIGH (900w) for 30 seconds. Stir. Heat again for a further 20 seconds (HIGH), stir again, then leave in the microwave so the chocolate isn’t affected by the temperature in your kitchen. NOTE: The chocolate will not be melted at this stage but it will have ‘woken up’ so it will be a lot easier to incorporate when you add the hot cream.
Heat the cream: Place the cream in a small saucepan. Heat over low heat stirring occasionally until the cream is very hot to touch.
Remove the bowl with the chocolate from the microwave. Pour over the hot cream and let it sit for 30 seconds.
Now take a spatula or spoon and stir until the white chocolate is completely melted and it has a smooth, glossy appearance.
TIP: If for some reason your chocolate is still not fully incorporated, place the bowl back in the microwave and heat for 20 seconds on HIGH (900w). Stir well then check again. Repeat the process with 10 second bursts (stirring in between each burst) until no chocolate remains.
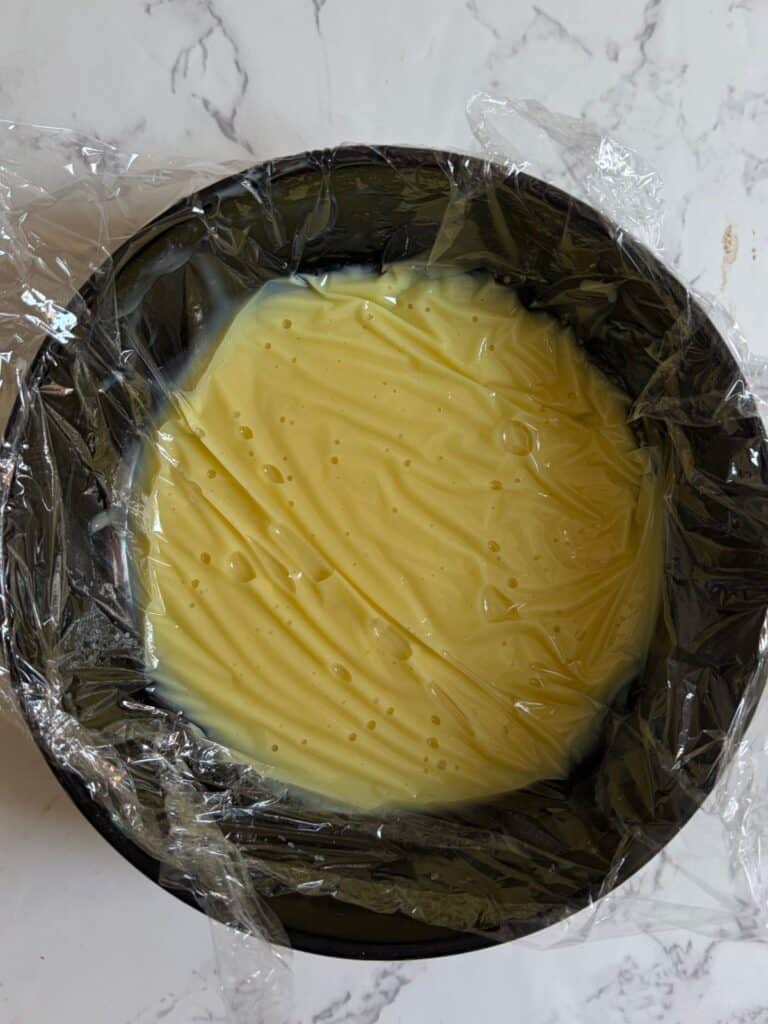
Cool for 10 minutes, stir, then place a piece of plastic wrap on top of the ganache so it’s just touching the surface. Leave on your bench while you make the rest of the icing.
Make the buttercream

Sift the icing sugar into a bowl so it’s lump free.
Roughly chop the softened butter then add it together with the pinch of salt and vanilla in the bowl of a stand mixer fitted with the paddle attachment. Beat until fluffy.
Add the sifted icing sugar one tablespoon at a time until incorporated (this will stop you getting covered in an icing cloud).
Now add the white chocolate ganache and beat on medium until fully incorporated – it should be light and airy.
Pipe the buttercream
Fill a large disposable piping bag with the buttercream and cut off the tip.
Place the cooled cake on a rectangular cake board or large cutting board top side down so the smooth base is facing upwards.
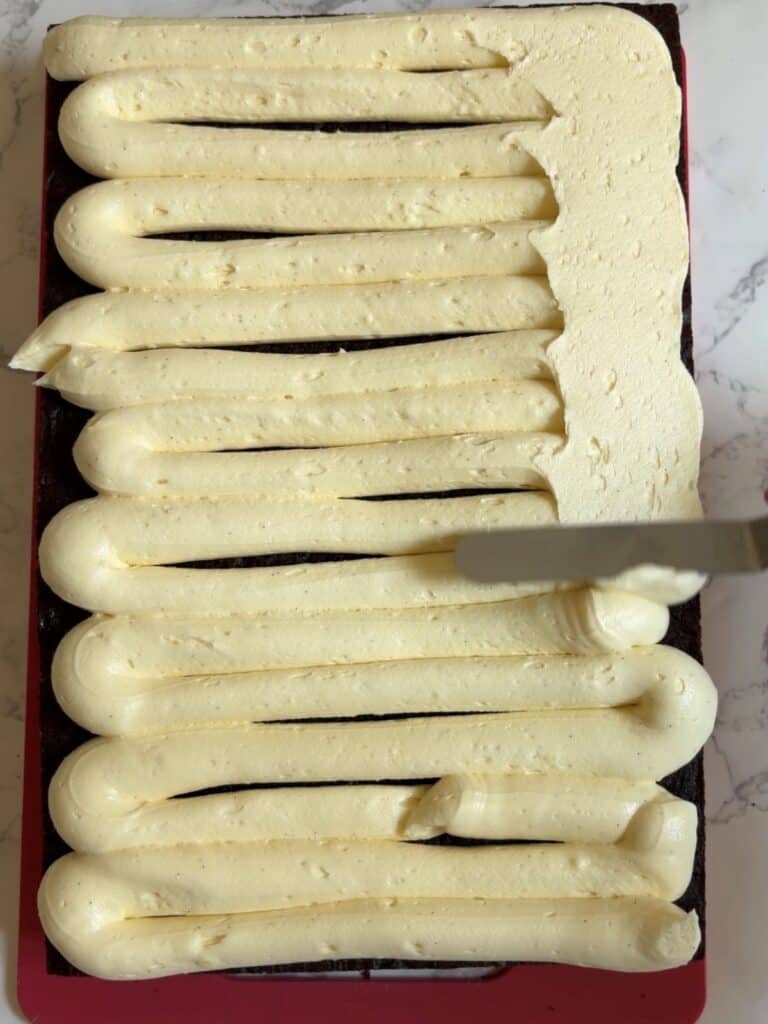
Pipe lines of buttercream across the top of the cake. Save a small amount for attaching the Top Deck balls, cover with plastic wrap and refrigerate until required.
Take an angled spatula and smooth out the buttercream. Don’t stress about getting the edges perfect as you’ll cut those off later on.
Place the cake in the fridge uncovered for 30 minutes (set a timer) to set the buttercream. Remove. Check that the buttercream has set – if not then give it 10 more minutes. Don’t overdo it or the cake will dry out.
Wrap the cake gently in plastic wrap and return to the fridge overnight.
Cut into squares
Remove the bowl with the left-over buttercream from the fridge and leave on your bench to soften up.
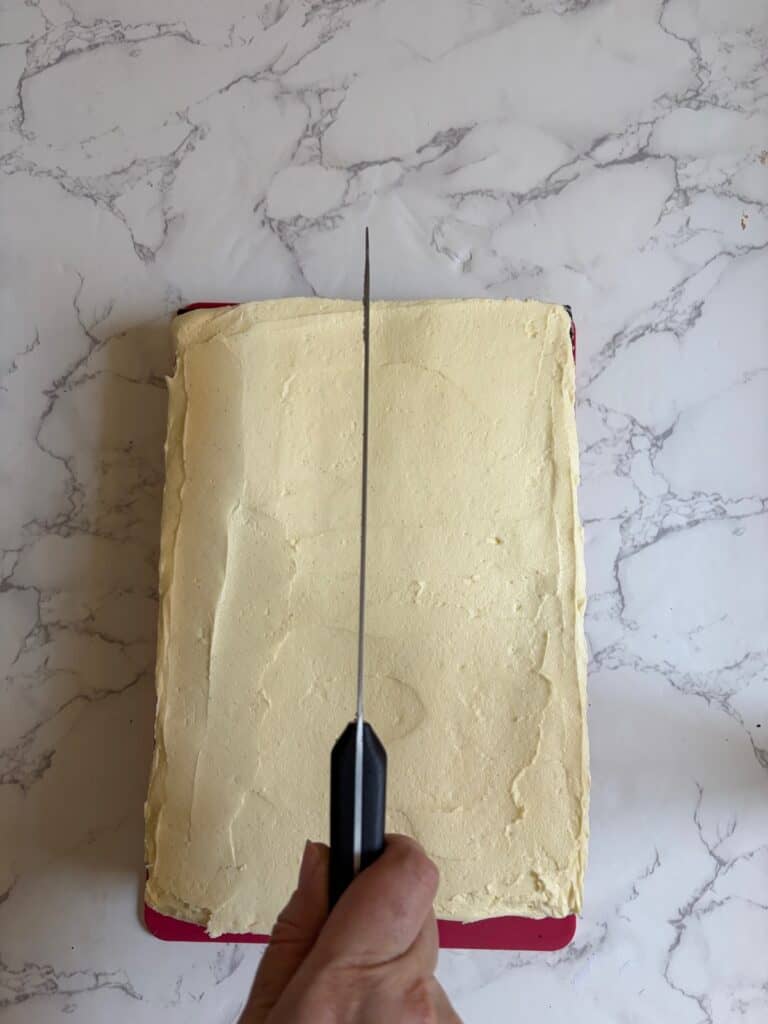
Unwrap the cake and place it on a cutting board – it will be very firm. Fill a tall jug with hot water and place a roll of paper towel next to it. Dip a large knife in the water for a few seconds, dry with paper towel then cut about a centimetre off the edges – dipping and drying as you go. You should now have a rectangle with nice sharp edges!
Take a ruler and measure the length and width of the cake. Divide this amount so you have even squares. I like 6 squares x 4 squares for a fancy afternoon tea and 5 squares by 4 squares for a work morning tea.
Mark out lines with the tip of your knife so you have a cutting guide.
Place a large plate (or two) on your bench.
Dip your knife, dry off, then cut the cake into even squares (dip and dry every time). Put each square on the plate(s).
Add the garnish
Empty the Top Deck balls into a small bowl.
Using the handle end of a teaspoon add a little blob of softened buttercream in the centre of each square. Follow with a Top Deck ball. Repeat with remaining balls and squares.
To store
Line an airtight container with baking paper. Place the squares inside, add the lid and store in the refrigerator for up to 5 days.
To serve
Remove the container from the fridge 45 minutes before serving (leave the lid on).
Place on a tiered stand or platter and serve with coffee or tea.
To freeze
Once the uniced cake is completely cooled wrap in a double layer of plastic wrap then cover and seal with aluminium foil. Freeze for up to 1 month for best results.
To defrost
Place the frozen cake in the fridge the night before icing (leave it sealed in the foil). The next day, remove from the foil (but keep the plastic wrap on) and allow to come to room temperature before icing.

Top Deck Style Traybake
24
servings20
minutes1
hour20
minutesEquipment
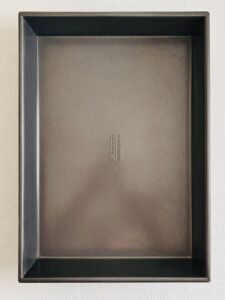 20cm x 30cm cake tin
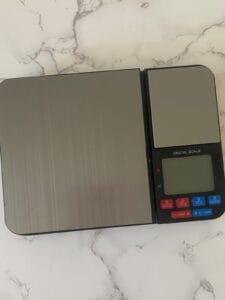 Digital scale
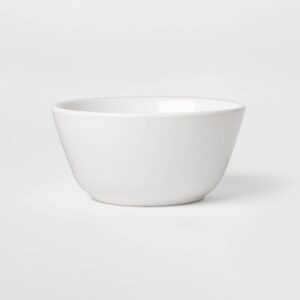 Microwave safe bowl
Equipment
Stand mixer with paddle attachment or beaters for icing
Baking paper
Small saucepan
Extra large mixing bowl
Medium mixing bowl
Small bowl
Whisk
Wooden spoon
Measuring spoons
Cutting board
Large knife
Paper towel
Disposable piping bag
Sifter or fine mesh strainer
Large airtight container
Keep the screen of your device on
Ingredients
- Chocolate fudge cake
220 g 7 3/4 oz unsalted butter
220 g 7 3/4 oz dark chocolate
6 tsp 6 tsp instant coffee
160 ml 5 2/5 fl oz water
125 g 4 2/5 oz self-raising flour
125 g 4 2/5 oz plain flour
50 g 1 3/4 oz cocoa powder
1/2 teaspoon 1/2 tsp bicarb soda
480 g 1 lb caster sugar
4 4 eggs
7 teaspoon 7 tsp vegetable oil
110 ml 3 5/8 fl oz sour cream
- White chocolate buttercream
100 ml 3 3/8 fl oz cream
100 g 3 1/2 oz white chocolate buttons
500 g 1 lb icing sugar, sifted
250 g 8 5/6 oz unsalted butter, softened
1 teaspoon 1 tsp vanilla extract
Pinch Pinch salt
Directions
- How to make my Top Deck Style Tray Bake
- Read through the recipe before you begin.
- NOTE: The cake will take at least 3 hours to cool completely, so it’s best to make it in the morning, ice it in the afternoon, then cut and serve the following day. Alternatively, bake the cake, cool then freeze until required. See FAQ’s for more.
- Line your baking tin
- Grease a 20cm x 30 cm rectangular cake tin or roasting pan with either canola spray or softened butter.
- Tear off a sheet of baking paper. Make sure it is long enough that it covers the sides at least halfway.
- Scrunch the baking paper up into a tight ball then smooth it out as much as you can – this will make it pliable. Press the paper into the pan, shaping around the corners with small creases if you need to. It doesn’t have to be perfect as you’ll trim the cake edges off later.
- Set the pan aside.
- Chocolate fudge cake preparation
- Position your rack in the centre of the oven. Preheat to 160 C fan / 320 F fan.
- Roughly cube the butter and chop the chocolate then place both in a medium saucepan. Add the instant coffee and water then put the pan on a low heat. Melt the chocolate and butter, stirring occasionally until you are left with a dark, glossy mixture. Turn off the heat and leave to cool.
- Place the plain and self-raising flours in a very large mixing bowl and add the cocoa powder, bicarb soda and sugar. Stir to combine.
- In a separate medium sized bowl add the eggs, vegetable oil and sour cream and whisk together until well combined.
- Mix the cake ingredients
- Add the melted butter/chocolate mixture to the flour/sugar bowl and stir well with a large wooden spoon.
- Now add half the egg/sour cream mixture, stir until lump free then add the other half and stir until you have a smooth cake batter.
- Fill the cake tin
- Swap your wooden spoon for a spatula and fill the lined cake tin with the batter. Give it a gentle shake from side to side – it will level out easily.
- Bake the cake
- Bake for 1 hour and 30 minutes. Test the centre with a skewer. If clean remove from the oven then leave to cool in the pan (this will take around 3 hours). If not, add an extra 5 minutes and check again.
- NOTE: The top will have a few patches that look flaky. This is normal and a result of the sugar melting during baking. This will not affect the final appearance as the cake is flipped over before buttercream. The sides will also be slightly more ‘done’ than the rest of the cake however these are trimmed off once iced.
- Make the white chocolate ganache
- Wake up the chocolate: Measure 100g / 3.5 oz of the white chocolate buttons into a microwave safe bowl and heat on HIGH (900w) for 30 seconds. Stir. Heat again for a further 20 seconds (HIGH), stir again, then leave in the microwave so the chocolate isn’t affected by the temperature in your kitchen. NOTE: The chocolate will not be melted at this stage but it will have ‘woken up’ so it will be a lot easier to incorporate when you add the hot cream.
- Heat the cream: Place the cream in a small saucepan. Heat over low heat stirring occasionally until the cream is very hot to touch.
- Remove the bowl with the chocolate from the microwave. Pour over the hot cream and let it sit for 30 seconds.
- Now take a spatula or spoon and stir until the white chocolate is completely melted and it has a smooth, glossy appearance.
- TIP: If for some reason your chocolate is still not fully incorporated, place the bowl back in the microwave and heat for 20 seconds on HIGH (900w). Stir well then check again. Repeat the process with 10 second bursts (stirring in between each burst) until no chocolate remains.
- Cool for 10 minutes, stir, then place a piece of plastic wrap on top of the ganache so it’s just touching the surface. Leave on your bench while you make the rest of the buttercream.
- Make the buttercream
- Sift the icing sugar into a bowl so it’s lump free.
- Roughly chop the softened butter then add it together with the pinch of salt and vanilla in the bowl of a stand mixer fitted with the paddle attachment. Beat until fluffy.
- Add the sifted icing sugar one tablespoon at a time until incorporated (this will stop you getting covered in an icing cloud).
- Now add the white chocolate ganache and beat on medium until fully incorporated – it should be light and airy.
- Pipe the buttercream
- Fill a large disposable piping bag with the buttercream and cut off the tip.
- Place the cooled cake on a rectangular cake board or large cutting board top side down so the smooth base is facing upwards.
- Pipe lines of buttercream across the top of the cake. Save a small amount for attaching the Top Deck balls, cover with plastic wrap and refrigerate until required.
- Take an angled spatula and smooth out the buttercream. Don’t stress about getting the edges perfect as you’ll cut those off later.
- Place the cake in the fridge uncovered for 30 minutes (set a timer) to set the buttercream. Remove. Check that the buttercream has set – if not then give it 10 more minutes. Don’t overdo it or the cake will dry out.
- Wrap the cake gently in plastic wrap and return to the fridge overnight.
- Cut into squares
- Remove the bowl with the left-over buttercream from the fridge and leave on your bench to soften up.
- Unwrap the cake and place it on a cutting board – it will be very firm. Fill a tall jug with hot water and place a roll of paper towel next to it. Dip a large knife in the water for a few seconds, dry with paper towel then cut about 1cm off the edges – dipping and drying as you go. You should now have a rectangle with nice sharp edges!
- Take a ruler and measure the length and width of the cake. Divide this amount so you have even squares. I like 6 squares x 4 squares for a fancy afternoon tea and 5 squares by 4 squares for a work morning tea.
- Mark out lines with the tip of your knife so you have a cutting guide.
- Place a large plate (or two) on your bench.
- Dip your knife, dry off, then cut the cake into even squares (dip and dry every time). Put each square on the plate(s).
- Add the garnish
- Empty the Top Deck balls into a small bowl.
- Using the handle end of a teaspoon add a little blob of softened buttercream in the centre of each square. Follow with a Top Deck ball. Repeat with remaining balls and squares.
- To store
- Line an airtight container with baking paper. Place the squares inside, add the lid and store in the refrigerator for up to 5 days.
- To serve
- Remove the container from the fridge 45 minutes before serving (leave the lid on).
- Place on a tiered stand or platter and serve with coffee or tea.
- To freeze
- Once the uniced cake is completely cooled wrap in a double layer of plastic wrap then cover and seal with aluminium foil. Freeze for up to 1 month for best results.
- To defrost
- Place the frozen cake in the fridge the night before (leave it sealed in the foil). The next day, remove from the foil (but keep the plastic wrap on) and allow to come to room temperature before icing.