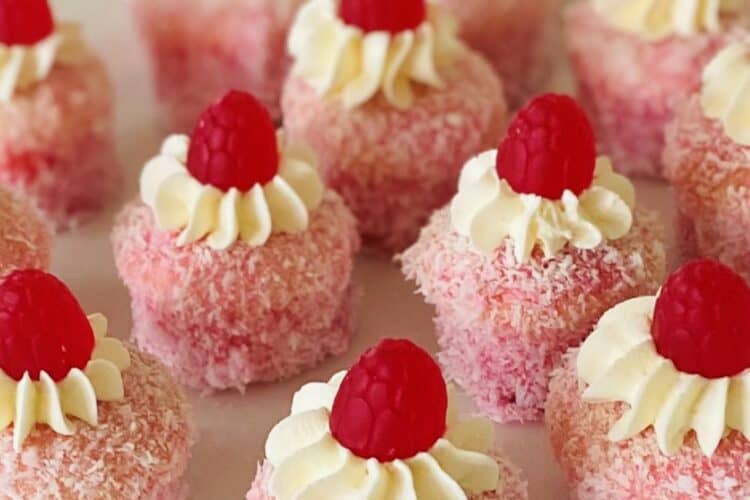
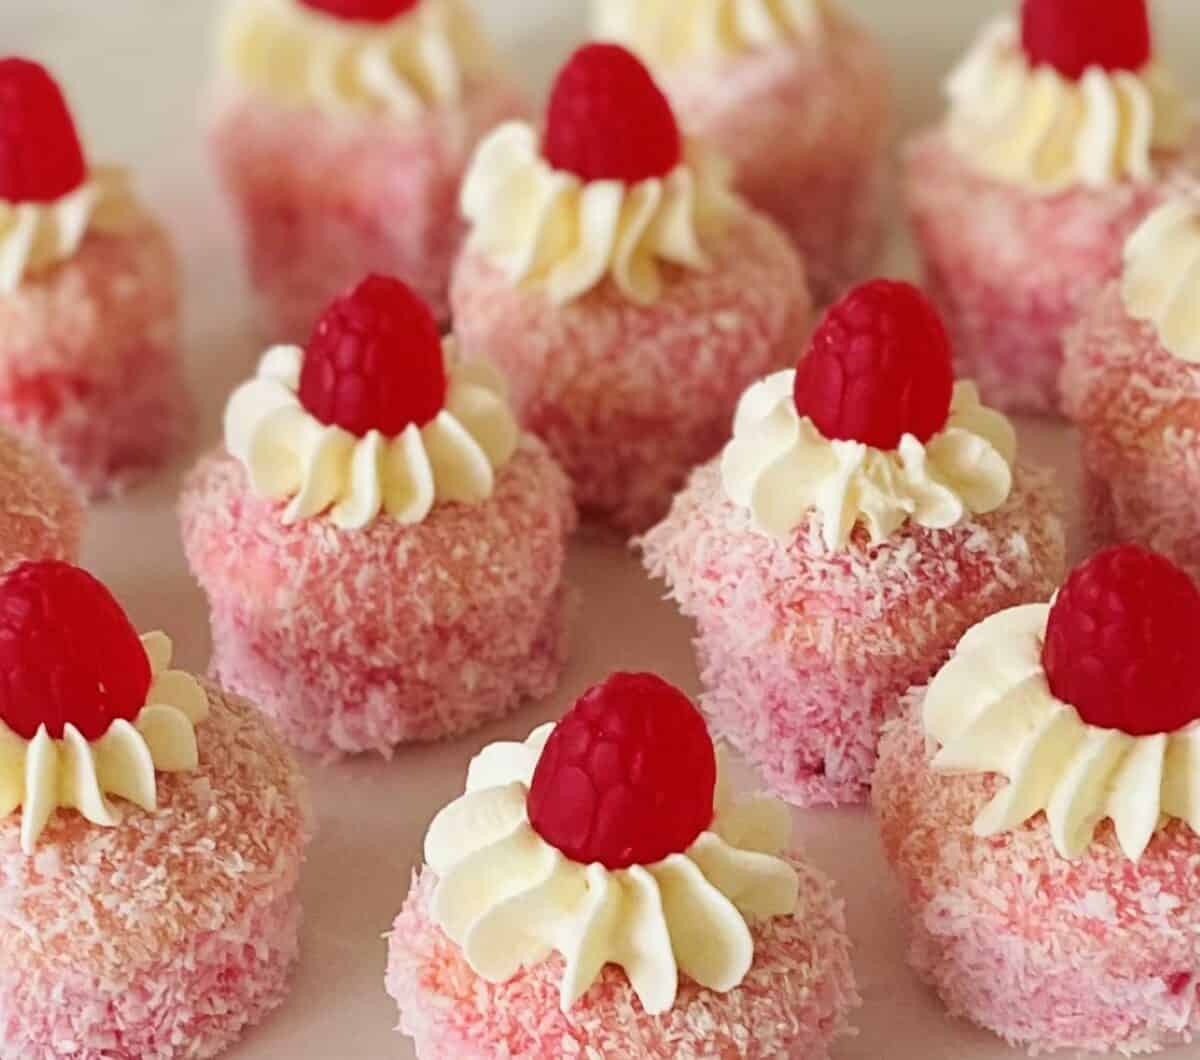
These charming Little Raspberry Jelly Cakes combine soft vanilla sponge dipped in raspberry jelly, rolled in coconut, and topped with freshly whipped cream and a raspberry lolly finish. Inspired by nostalgic bakery favourites and refined for modern Afternoon Tea, they’re carefully tested to ensure the perfect balance of texture, sweetness, and presentation.

Get your tea party started with these little raspberry jelly cakes
These little raspberry jelly cakes epitomise the joy, fun and glamour of afternoon tea. Popular in Australia in the 60s and 70s (my beautiful Grandma Ruth was quite the expert), they have made a bit of a comeback in recent years thanks to a whole new generation of cake lovers. While jelly cakes are traditionally made in a shallow patty pan then sandwiched together with whipped cream, my Grandma always made hers in cupcake form. I think they are a easier to eat this way and when reduced to mini cupcake size as I have done with this recipe, transforms them into something special.
A tea-size treat
The recipe I’ve developed takes all the yummiest parts of the traditional jelly cake and elevates them into a little mini cupcake version that disappear in just two bites – perfect for an Afternoon Tea / High Tea stand. For an extra touch I’ve also added a soft, squishy lolly raspberry on top – well they are JELLY cakes after all!
The actual cake part is made with my tried and tested, super-moist cupcake recipe which contains butter and sour cream together with self-raising flour which makes them incredibly light and fluffy.
Why you’ll love these little raspberry jelly cakes:
- These are perfect for any afternoon tea party, and the best part is that you can do everything ahead. Simply keep the jelly cakes in the fridge then put them on your prettiest plate 30 minutes before your guests arrive.
- They’re fluffy on the inside, covered with raspberry jelly and fine desiccated coconut on the outside and they taste so delicious that it’s hard to stop at just one. The fresh, whipped cream and sweet lolly raspberry provides a mouthwatering finish.
- This recipe makes 24 mini raspberry jelly cakes that will keep for at least 2 days in the fridge in a sealed container.
- You can also just make the mini vanilla cupcakes part, freeze, then defrost when you are ready to turn them into jelly cakes – the choice is yours.
I’ve included the dimensions of the cupcake cases as well as details on how to measure your batter so that they don’t overflow and you have consistency across your batch.
Good to know
You will need a stand mixer with a paddle attachment to make these. You will also need digital scales to ensure accuracy and success.
As with any recipe, make sure you read all the steps before you begin – happy baking!
Why not try these recipes too?
Ingredients for my Little Raspberry Jelly Cakes
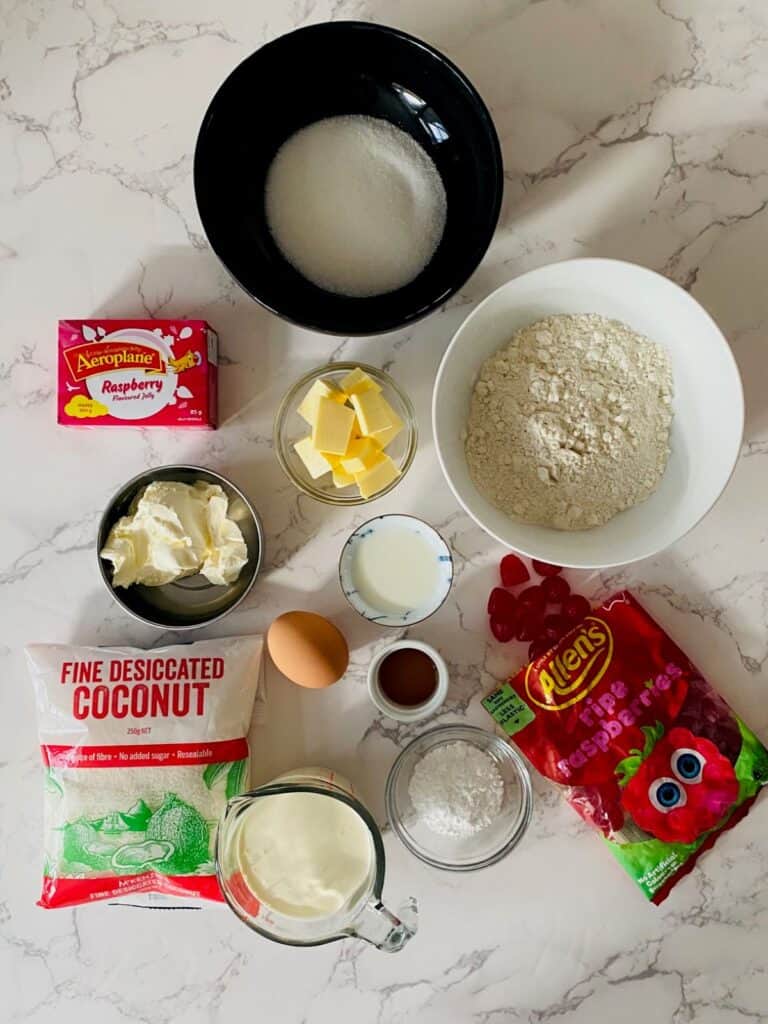
Sugar – Use standard white granulated sugar.
Self raising flour – This is all-purpose flour with baking powder already added to it in the right proportions. Make sure yours is fresh as it will affect the rise of your cupcakes. I always write the date of opening on mine and buy a new packet if its been open longer than 6 months.
Sour cream – Use fresh, full-fat sour cream as it will give your cakes a wonderfully moist texture. The acid in the sour cream will also react with the baking powder in the flour, resulting in a good rise and fluffy texture.
Raspberry jelly crystals – I used Aeroplane brand for this recipe. Look for crystals that contain real sugar not sugar-free or low-sugar as this will affect the final taste of your cupcakes.
Cream – I used thickened cream that was suitable for whipping (see the container to check that yours will too).
Fine desiccated coconut – The finer the better as you will be able to cover more of the raspberry jelly.
Icing sugar – It’s only a small amount so if you have icing mixture instead of icing sugar, then of course it is OK to use that instead.
Lolly raspberries – I used Allen’s Ripe Raspberries which are a squishy jelly-style lolly. Of course you could use fresh raspberries as a substitute – delicious!
Vanilla bean extract – Use extract not essence as it won’t give you the true vanilla flavour you are looking for in the mini cupcakes.
You will also need
Unsalted butter, a pinch of fine table salt, full fat milk, and an egg
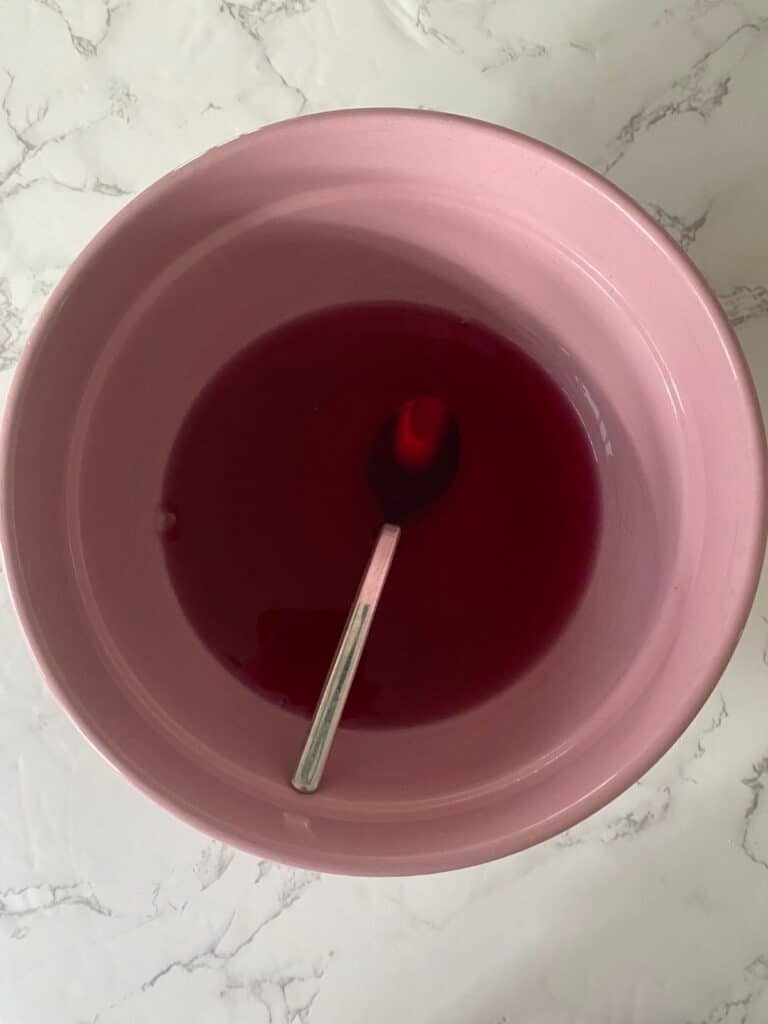
Make the jelly
Important: For this recipe you will need to make a semi-set jelly that resembles the texture of egg white not water. You will need a large ceramic bowl for the jelly as it will make it easier to dip the mini cupcakes.
Mix the jelly crystals with water as per the instructions on the back or side of the jelly box. Set a timer for 1 hour and 30 minutes instead of the recommended time. Meanwhile, make the cupcakes.
Make the mini vanilla cupcakes
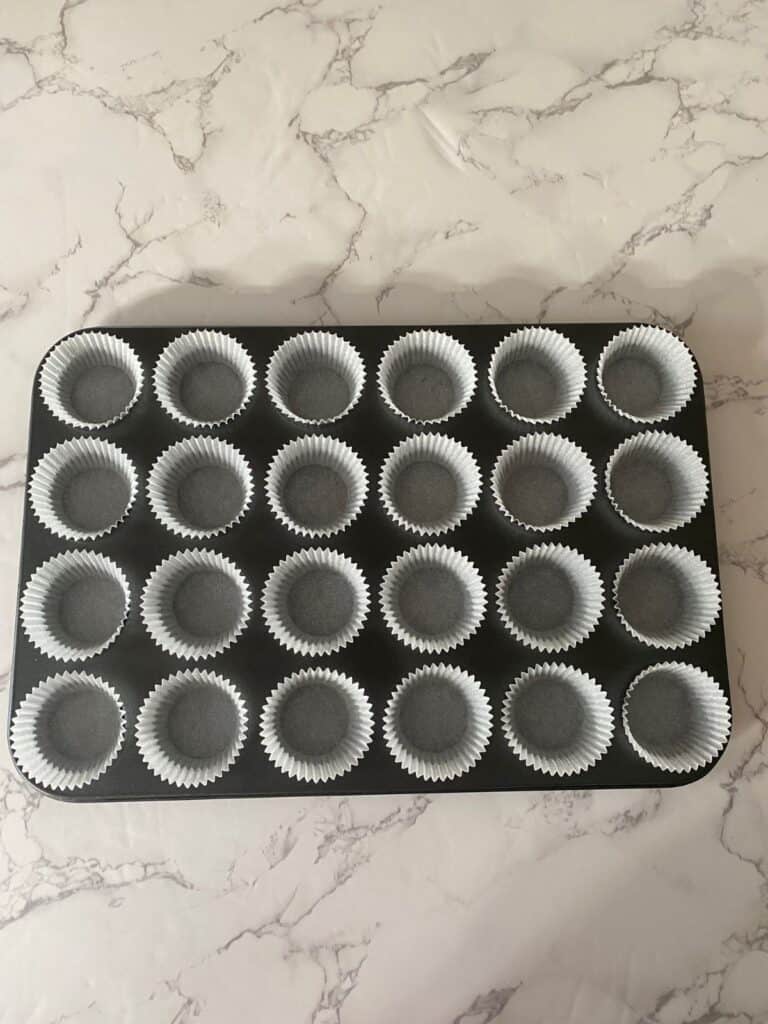
You will need mini cupcake cases with a base diameter measurement of 38mm / 1.5 inch.
Preheat the oven to 160 C (fan) / 325 F (fan). Line a mini muffin tin with 24 mini cupcake cases and set aside.
Measure out the sugar, self-raising flour and salt into the bowl of a stand mixer.
Soften the butter in a microwave safe bowl (20 to 30 seconds on high at 900W) and it place next to the stand mixer together with a spoon.
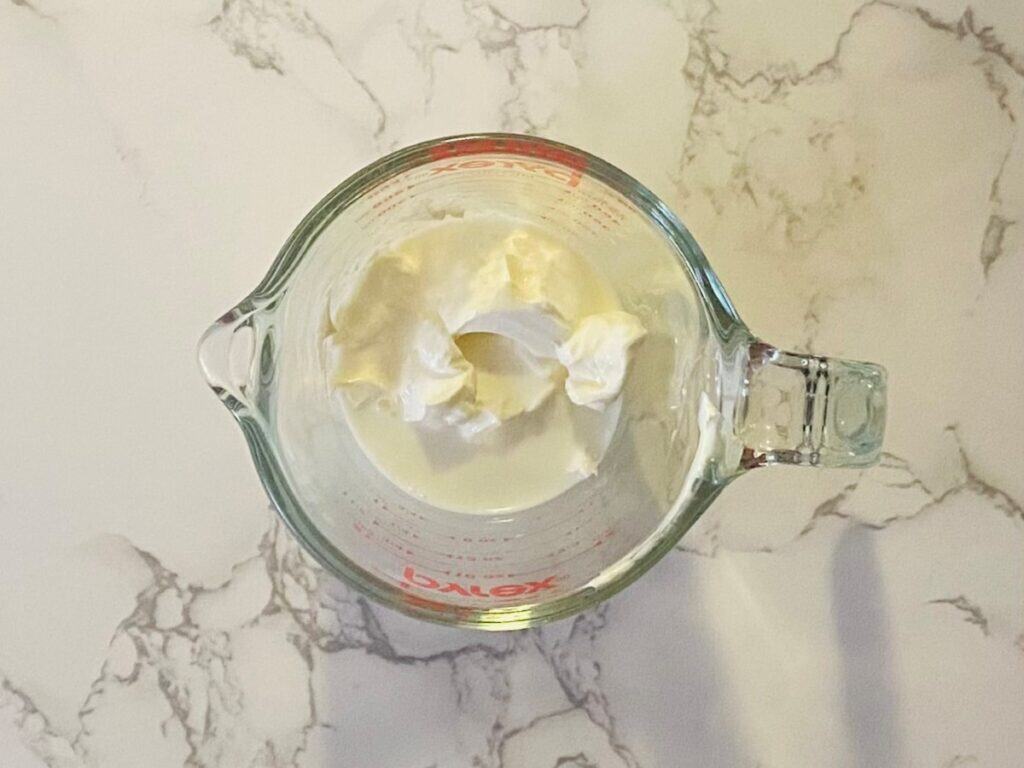
Measure out the sour cream and milk in a microwave safe jug. Stir to break up the sour cream, then microwave on high for 30 seconds 900w. Stir thoroughly to distribute the heat then add the egg and vanilla extract and stir again thoroughly. Put the jug next to your stand mixer with a spatula.
Place the bowl with the dry ingredients on a stand mixer fitted with a paddle attachment and mix on low speed for 30 seconds.
Add the butter and mix on low until the mixture resembles a breadcrumb-like texture.
Scrape the sides of the bowl. Re-start the mixer on low then slowly add the sour cream mixture, use the spatula to get as much out of the jug as you can. Increase the speed to medium and beat for 30 seconds until light and fluffy. Do not overmix or else the batter will have a dense texture when baked. Scrape the sides again if necessary and give a quick mix to incorporate.
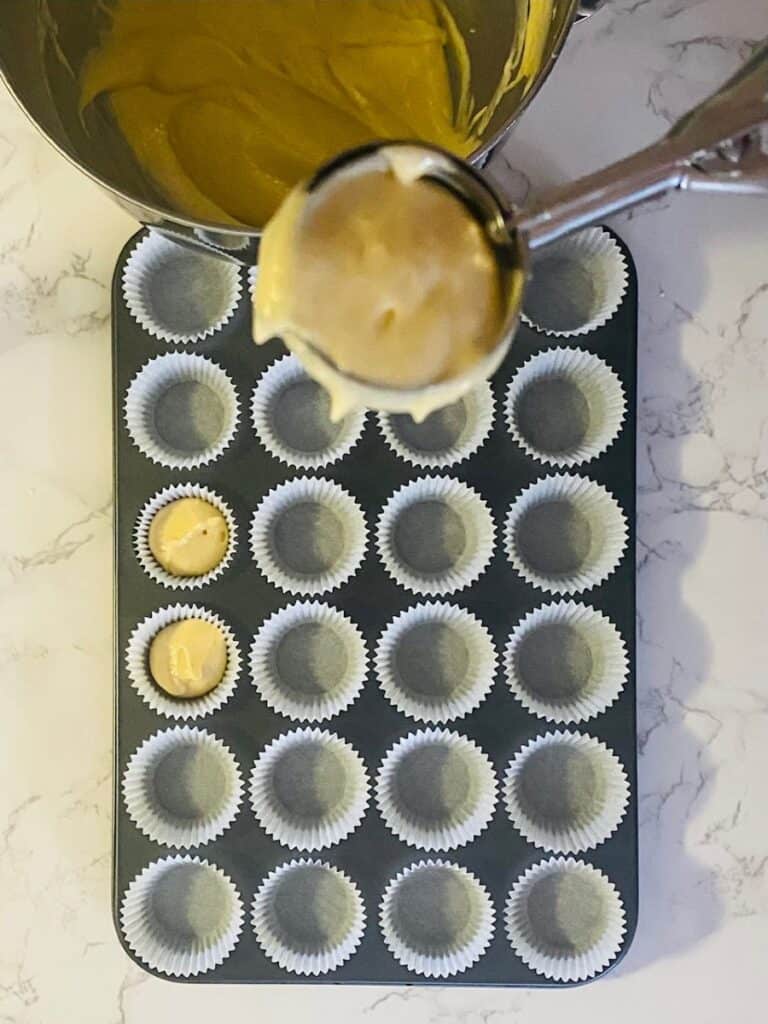
Fill the cases
Fill a small ice cream scoop ¾ full and divide the batter equally between the mini cupcake wrappers. If you don’t have a scoop or your wrappers are a different size then fill each wrapper to just under half full (see image). They will rise A LOT in the oven.
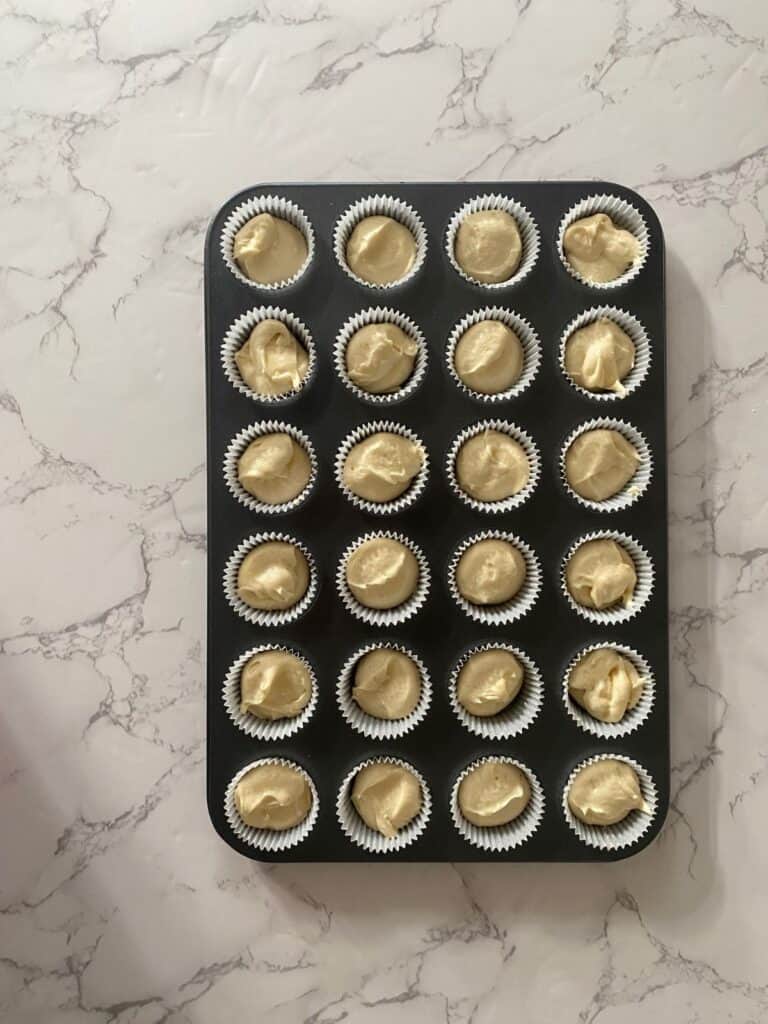
Tip: Once full, check that all the cases are sitting evenly in the muffin tin, adjust if you need to.
Bake then store
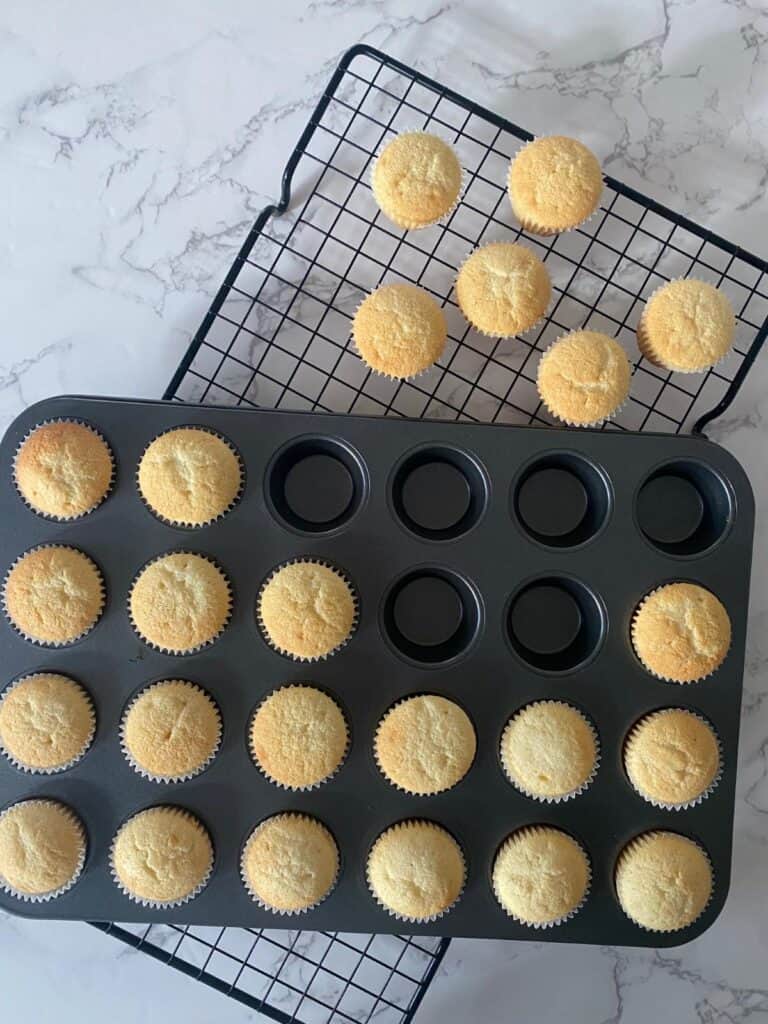
Place the mini cupcakes in the preheated oven and cook for 15 minutes then remove from the oven. Take them out of the muffin tin and cool on a rack as soon as possible without burning your fingers. Note: They will puff right up while cooking then settle nice and flat once cooled.
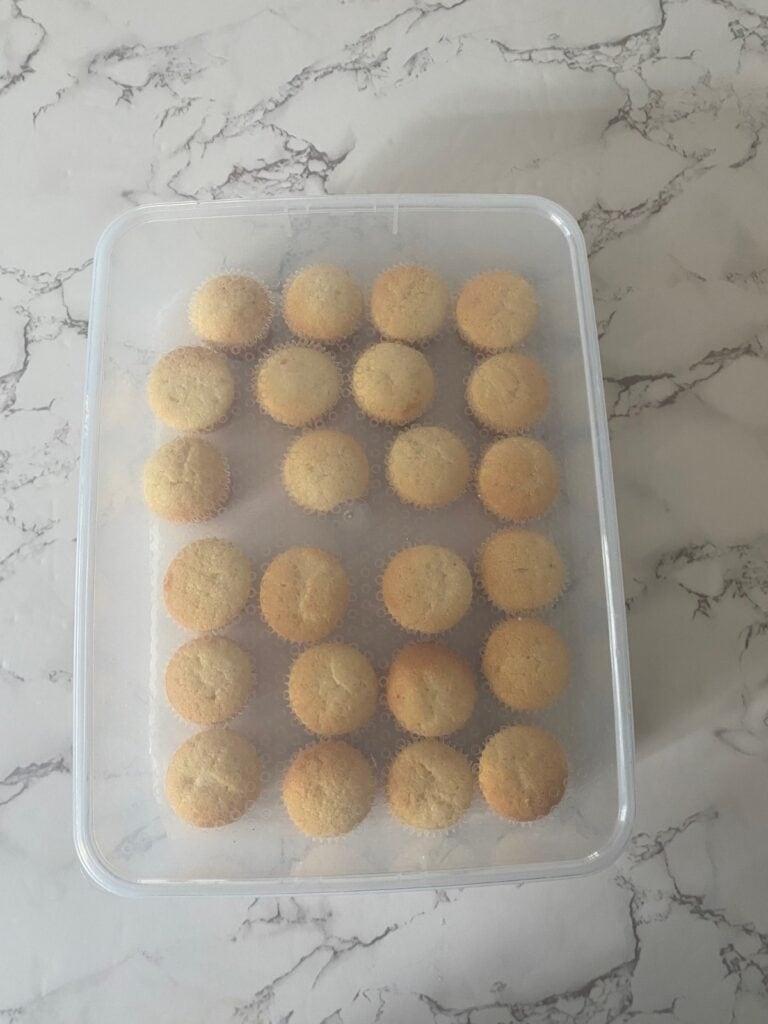
When cooled completely, store in a sealed container and leave them on your bench.
Check the jelly
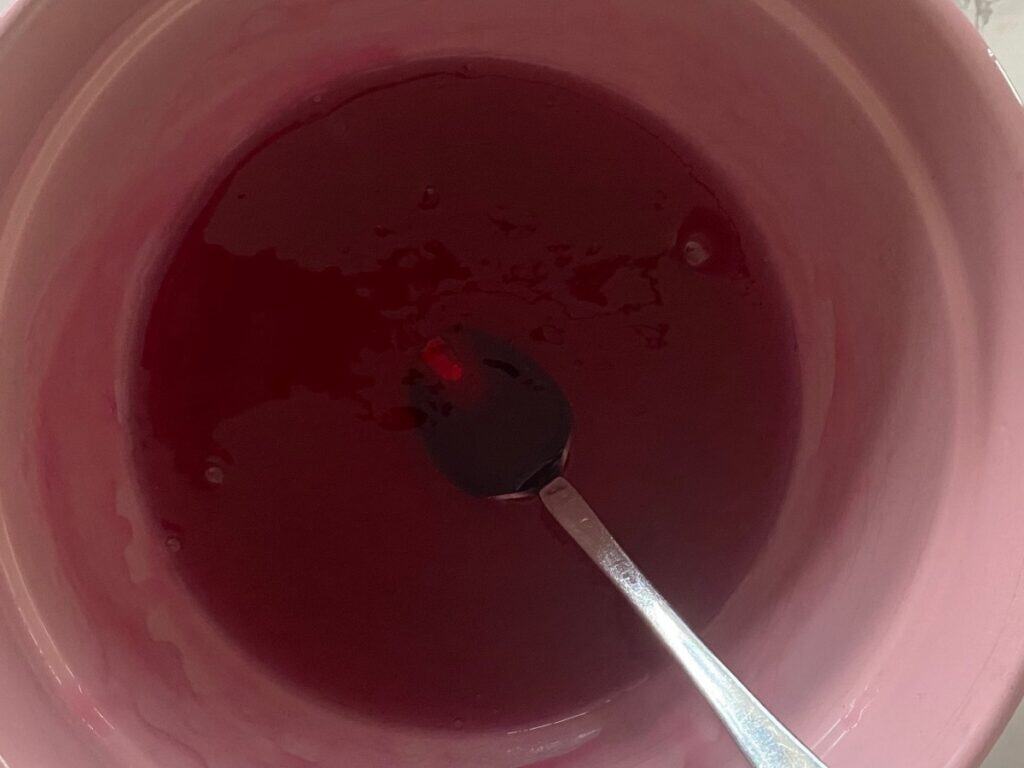
After 1 hour 30 minutes, remove the jelly from the fridge. Stir -it needs to have the consistency of egg white, that is, not watery but not too thick either.
If it is still on the watery side, then return the bowl to the fridge and check again in 15 minutes. Keep checking every 10-15 minutes until you are happy with the texture.
Note: When I made this recipe, my jelly took 1 hour 45 minutes, however bowls, fridges, outside temperature and jelly brands are all different, so I suggest regular checks instead.
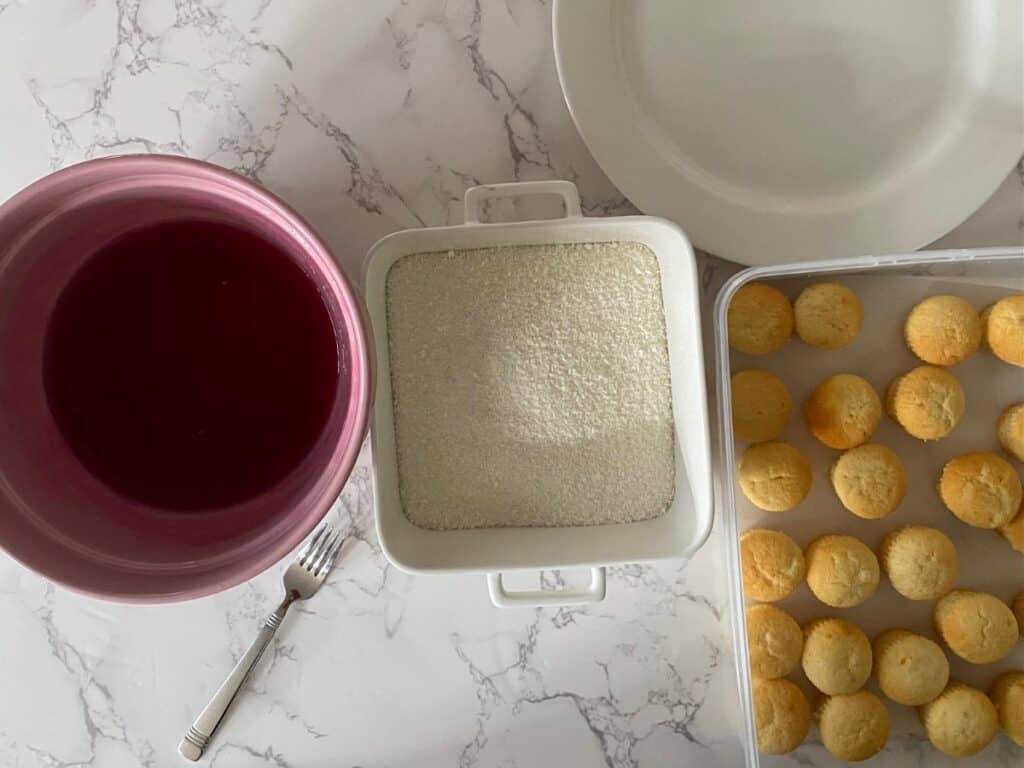
Get ready for the jelly dipping and coconut rolling
Place the jelly on your bench.
Fill a wide bowl with the desiccated coconut. Add a dessert spoon and set aside.
Place a couple of large plates on your bench or a tray lined with baking paper.
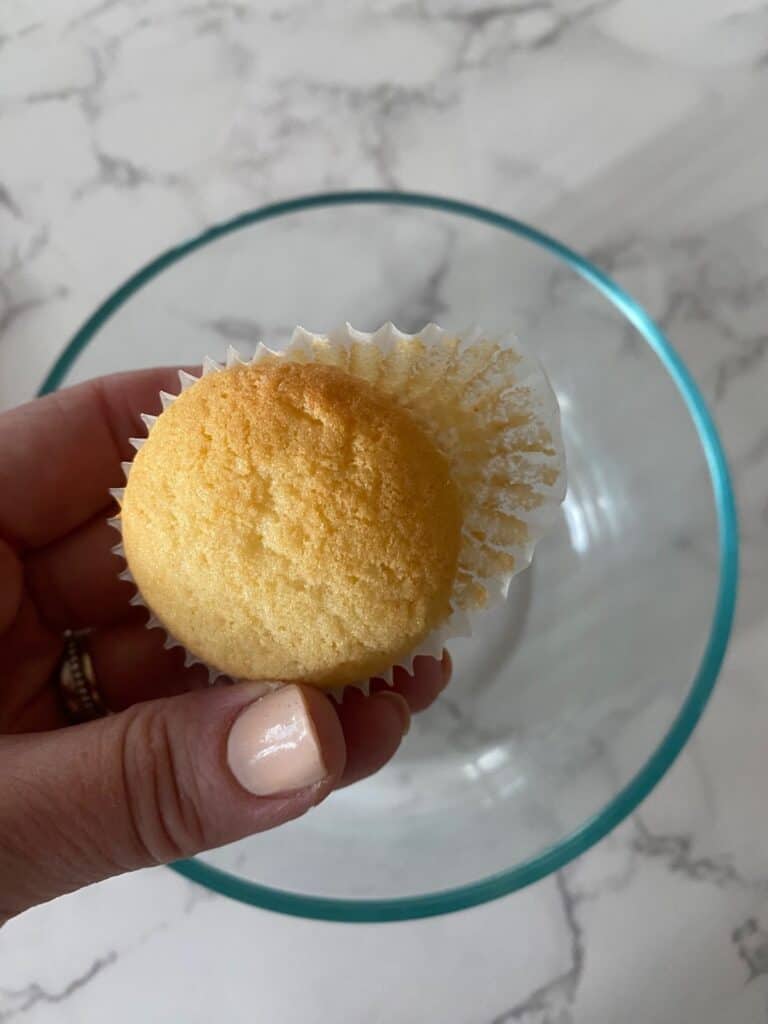
Remove the paper baking cases
Take a mini cupcake from your sealed container and carefully peel off the paper baking case. Place it on your platter or plate. Repeat with the remaining cupcakes. Dispose of the cases but keep your container handy as you will need it again shortly.
Transform them into raspberry jelly cakes
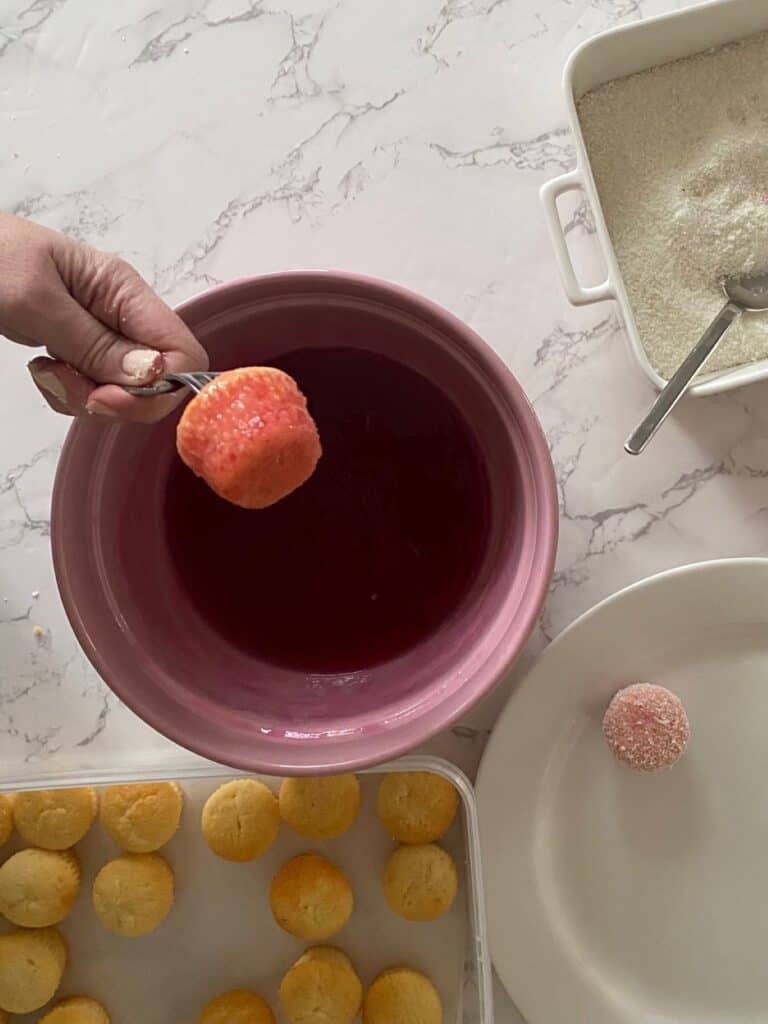
Insert a fork into the TOP of a cupcake – about half way.
Dip it into the bowl of jelly, tilting the bowl if you need to, until it is completely covered in the jelly. Let any excess jelly fall back in the bowl.
Roll the little raspberry jelly cakes in coconut
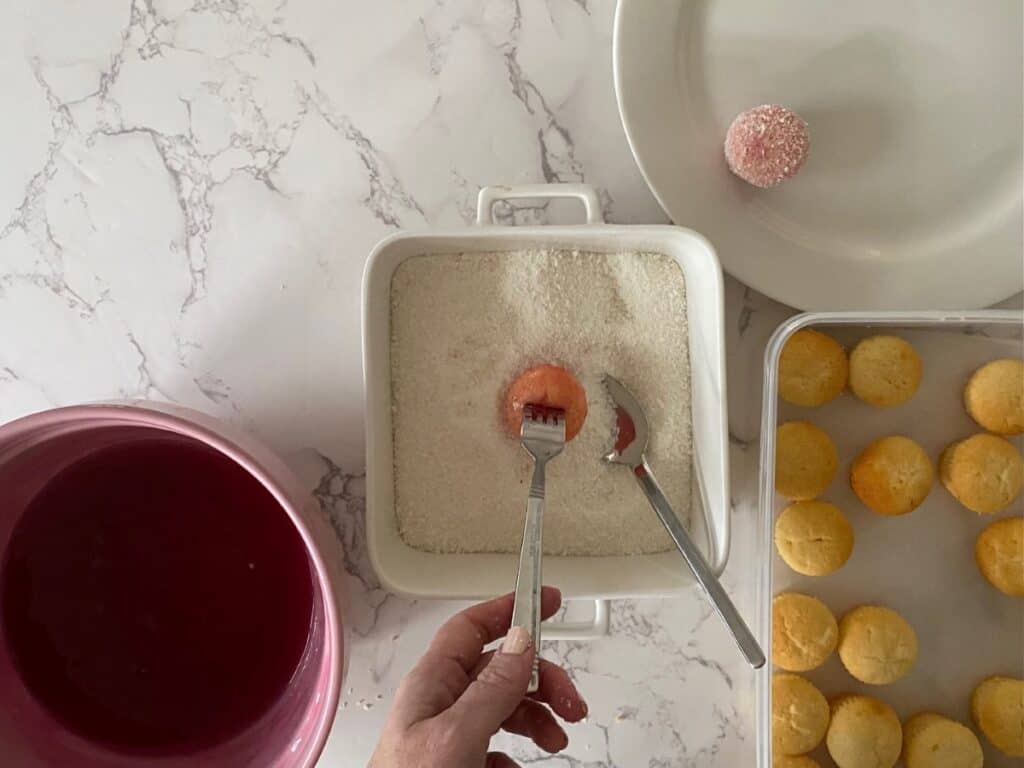
Place the cupcake in the bowl with the coconut and gently remove the fork with your fingers. Take the dessertspoon and cover the cupcake with coconut, turning to make sure it is completely covered.
Place on a plate or platter
Put the cupcake (which is now a jelly cake) on your plate or platter, being careful not to rub off too much of the coconut and jelly with your fingers. Repeat with the remaining cupcakes.
Dry then set in the fridge
Leave to dry for 20 minutes then carefully pack back into a sealed container(s) ensuring that they are not touching. Place in the fridge for 30 minutes.
Set up your piping bag
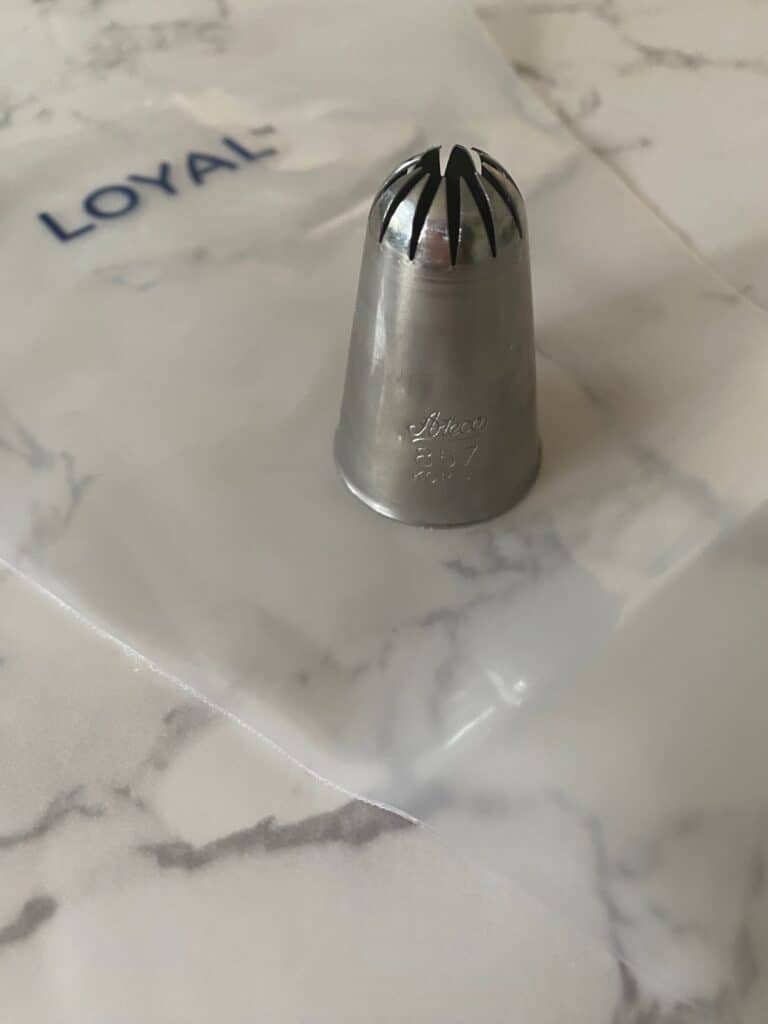
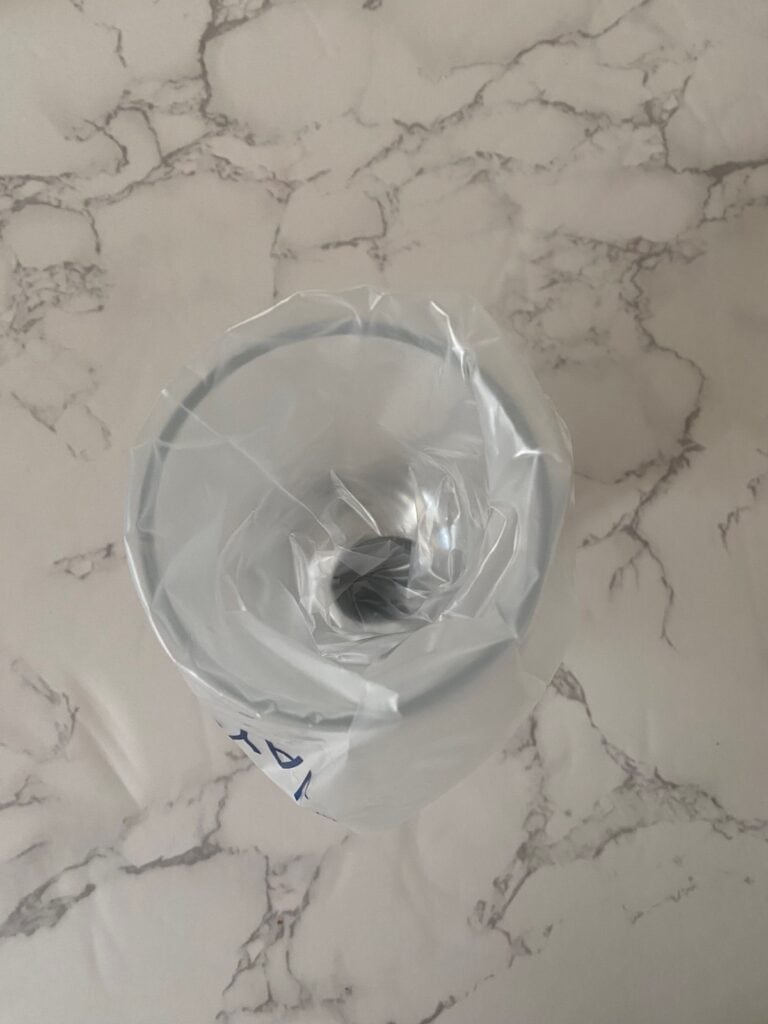
While you wait for the little raspberry jelly cakes to set, fit a medium disposable piping bag with a large, closed piping tip such as an Ateco 857. Cut off the end and place it in a glass with the top third turned over to make a cuff.
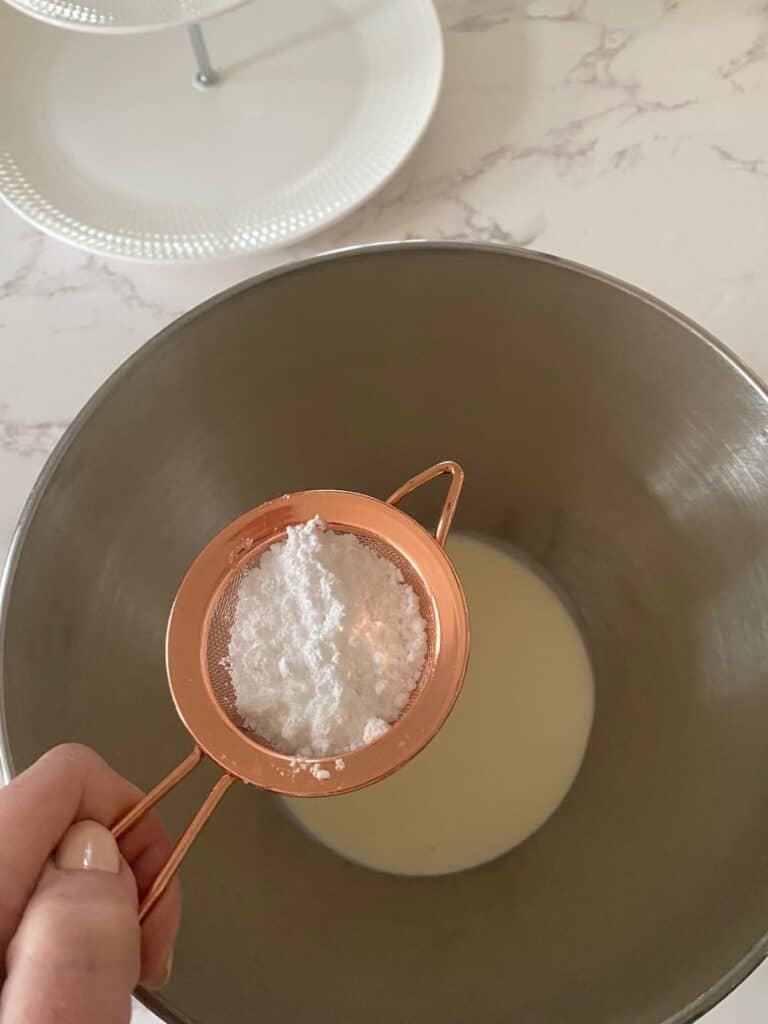
Whip the cream
Fit your stand mixer with the whisk attachment.
Put the cream in the stand mixer bowl then sift the icing sugar on top.
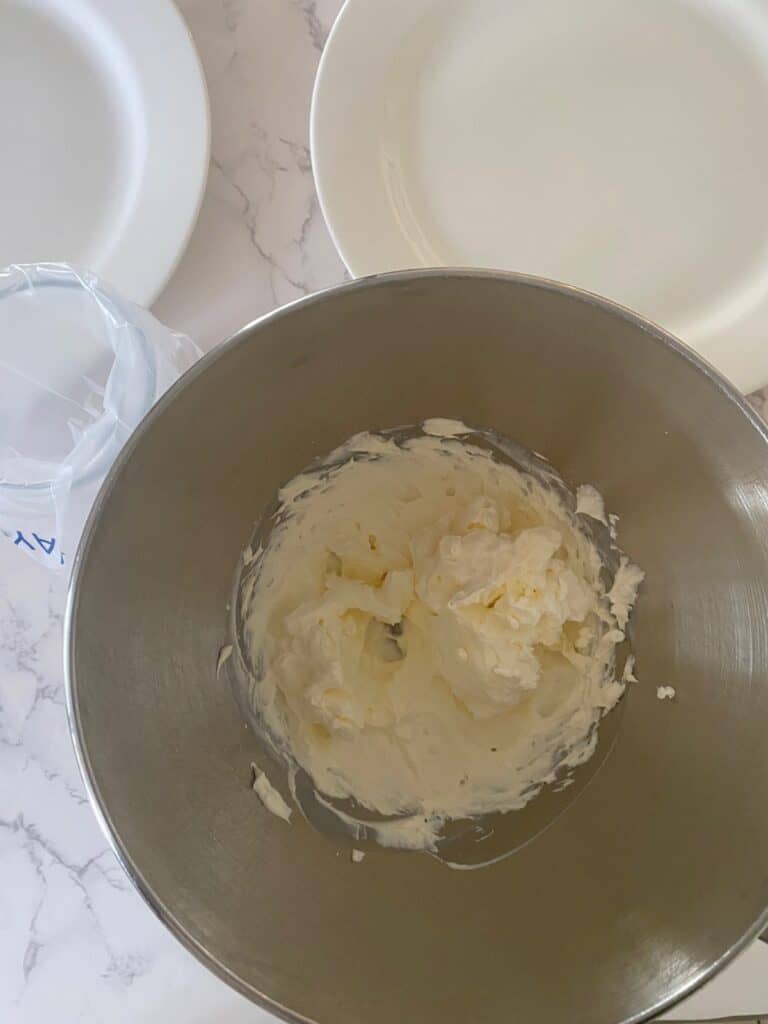
Whip the cream on medium speed until it is firm and holds its shape. As it’s a small amount of cream this will only take a minute or so.
Fill the piping bag
Add the cream to the piping bag with a spatula, pull up the cuff, twist the end.
Garnish the little raspberry jelly cakes
Take your little raspberry jelly cakes out of the fridge, but leave them in their container (unless serving immediately).
Hold the piping bag with the cream directly above a cake and pipe a swirl of whipped cream on top. Repeat with remaining jelly cakes.
Take a lolly raspberry and gently press it into the cream. Repeat with the rest of the jelly cakes.
To store
Add the lid, then store in the fridge until required. They will keep for up to two days.
To serve your beautiful little raspberry jelly cakes
Place the little raspberry jelly cakes on a decorative platter, plate or tiered stand 30 minutes before serving.
FAQs about my raspberry jelly cakes
Can I make the mini cupcake part ahead of time? Yes! They are really easy to make ahead. Simply bake the cupcakes, cool then freeze in a sealed container for up to 1 month. Defrost overnight in the fridge then leave them on your bench while you make the jelly and wait for it to semi-set. Follow the rest of the instructions for dipping, rolling, garnishing etc. Store in a container in the fridge for up to 2 days.
Little Raspberry Jelly Cakes
24
servings1
hour30
minutes15
minutesEquipment
 Close star piping tip Ateco 857
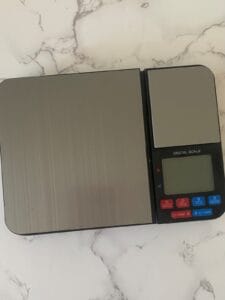 Digital scale
 Stand mixer with paddle and whisk attachments
Other equipment
Stand mixer with bowl, plus paddle and whisk attachments
Digital scale
24 mini cupcake cases with a base diameter measurement of 38mm / 1.5 inches
24 hole mini muffin tin
Large storage container with lid
Large & medium mixing bowls
Microwave safe jug
Small ice cream scoop
Two plates or a tray lined with baking paper
Fork & dessert spoon
Medium disposable piping bag
Large closed star piping tip – Ateco 857
Spatula
Small strainer and teaspoon
Keep the screen of your device on
Ingredients
- For the coating
85 g 3 oz packet Raspberry Jelly Crystals
250 g 8 5/6 oz fine desiccated coconut
- Cupcakes
90 g 3 1/6 oz sugar
130 g 4 3/5 oz self-raising flour
60 g 2 1/8 oz unsalted butter
Pinch Pinch fine table salt
110 g 3 7/8 oz sour cream
2 tablespoons 2 tbsp full fat milk
1 1 egg
1 teaspoon 1 tsp vanilla extract
- Garnish
150 ml 10 1/7 tbsp cream suitable for whipping
1 tablespoon 1 tbsp icing sugar
24 24 lolly raspberries or fresh raspberries
Directions
- Make the jelly
- Important: For this recipe you will need to make a semi-set jelly that resembles the texture of egg white not water. You will need a large ceramic bowl for the jelly as it will make it easier to dip the mini cupcakes.
- Mix the jelly crystals with water as per the instructions on the back or side of the jelly box. Set a timer for 1 hour and 30 minutes instead of the recommended time. Meanwhile, make the cupcakes.
- Mini Vanilla Cupcakes
- You will need mini cupcake cases with a base diameter measurement of 38mm / 1.5 inch.
- Preheat the oven to 160 C (fan) / 325 F (fan). Line a mini muffin tin with 24 mini cupcake cases and set aside.
- Measure out the sugar, self-raising flour and salt into the bowl of a stand mixer.
- Soften the butter in a microwave safe bowl (20 to 30 seconds on high at 900W) and place it next to the stand mixer together with a spoon.
- Measure out the sour cream and milk in a microwave safe jug. Stir to break up the sour cream, then microwave on high for 30 seconds 900w. Stir thoroughly to distribute the heat then add the egg and vanilla extract and stir again thoroughly. Put the jug next to your stand mixer with a spatula.
- Place the bowl with the dry ingredients on a stand mixer fitted with a paddle attachment and mix on low speed for 30 seconds.
- Add the butter and mix on low until the mixture resembles a breadcrumb-like texture.
- Scrape the sides of the bowl. Re-start the mixer on low then slowly add the sour cream mixture, use the spatula to get as much out of the jug as you can. Increase the speed to medium and beat for 30 seconds until light and fluffy. Do not overmix or else the batter will have a dense texture when baked. Scrape the sides again if necessary and give a quick mix to incorporate.
- Fill a small ice cream scoop ¾ full and divide the batter equally between the mini cupcake wrappers. If you don’t have a scoop or your wrappers are a different size then fill each wrapper to just under half full (see image). They will rise A LOT in the oven.
- Tip: Once full, check that all the cases are sitting evenly in the muffin tin, adjust if you need to.
- Place the mini cupcakes in the preheated oven and cook for 15 minutes then remove from the oven. Take them out of the muffin tin and cool on a rack as soon as possible without burning your fingers. Note: They will puff right up while cooking then settle nice and flat once cooled.
- When cooled completely, store in a sealed container and leave them on your bench.
- Check the jelly
- After 1 hour 30 minutes, remove the jelly from the fridge. Stir -it needs to have the consistency of egg white, that is, not watery but not too thick either.
- If it is still on the watery side, then return the bowl to the fridge and check again in 15 minutes. Keep checking every 10-15 minutes until you are happy with the texture.
- Note: When I made this recipe, my jelly took 1 hour 45 minutes, however bowls, fridges, outside temperature and jelly brands are all different, so I suggest regular checks instead.
- Get ready for the jelly dipping and coconut rolling
- Place the jelly on your bench.
- Fill a wide bowl with the desiccated coconut. Add a dessert spoon and set aside.
- Place a couple of large plates on your bench or a tray lined with baking paper.
- Remove the paper baking cases
- Take a mini cupcake from your sealed container and carefully peel off the paper baking case. Place it on your platter or plate. Repeat with the remaining cupcakes. Dispose of the cases but keep your container handy as you will need it again shortly.
- Dip in the jelly
- Insert a fork into the top of a cupcake – about half way.
- Dip it into the bowl of jelly, tilting the bowl if you need to, until it is completely covered in the jelly. Let any excess jelly fall back in the bowl.
- Roll in the coconut
- Place the cupcake in the bowl with the coconut and gently remove the fork with your fingers. Take the dessertspoon and cover the cupcake with coconut, turning to make sure it is completely covered.
- Place on a plate or platter
- Put the cupcake (which is now a jelly cake) on your plate or platter, being careful not to rub off too much of the coconut and jelly with your fingers. Repeat with the remaining cupcakes.
- Dry then set
- Leave to dry for 20 minutes then carefully pack back into a sealed container(s) ensuring that they are not touching. Place in the fridge for 30 minutes to set the jelly.
- Set up your piping bag
- While you wait for the cupcakes to set, fit a medium disposable piping bag with a large, closed piping tip such as an Ateco 857. Cut off the end and place it in a glass with the top third turned over to make a cuff.
- Whip the cream
- Fit your stand mixer with the whisk attachment.
- Put the cream in the stand mixer bowl then sift the icing sugar on top.
- Whip the cream on medium speed until it is firm and holds its shape. As it’s a small amount of cream this will only take a minute or so.
- Fill the piping bag
- Add the cream to the piping bag with a spatula, pull up the cuff, twist the end.
- Garnish the jelly cakes
- Take the jelly cakes out of the fridge, but leave them in their container (unless serving immediately).
- Hold the piping bag with the cream directly above a jelly cake and pipe a swirl of whipped cream on top. Repeat with remaining jelly cakes.
- Take a lolly raspberry and gently press it into the cream. Repeat with the rest of the jelly cakes.
- To store
- Add the lid, then store in the fridge until required. They will keep for up to two days.
- To serve
- Place on a decorative platter, plate or tiered stand 30 minutes before serving
Everything looks amazing and no doubt taste even better. Cannot wait to try some.
Amazing lady anna.
Thanks so much Lesley!
So yummy! Everyone loved them and I’ve been asked to make them again next week.
That’s fantastic! I’m so glad you (and everyone else) loved them.
These Jelly Cake are Excellent!
Triggered some memories of how my Mum and Grandma used to make them!
Thanks so much Rob! I’m so glad they brought back happy memories for you.
Very easy to make, and delicious. Took me back to my childhood.
Thanks so much Bron….I’m so happy they brought back lovely memories for you.