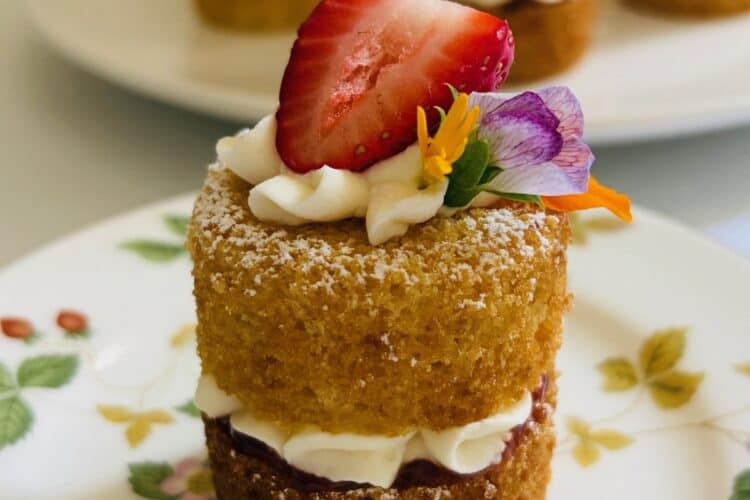
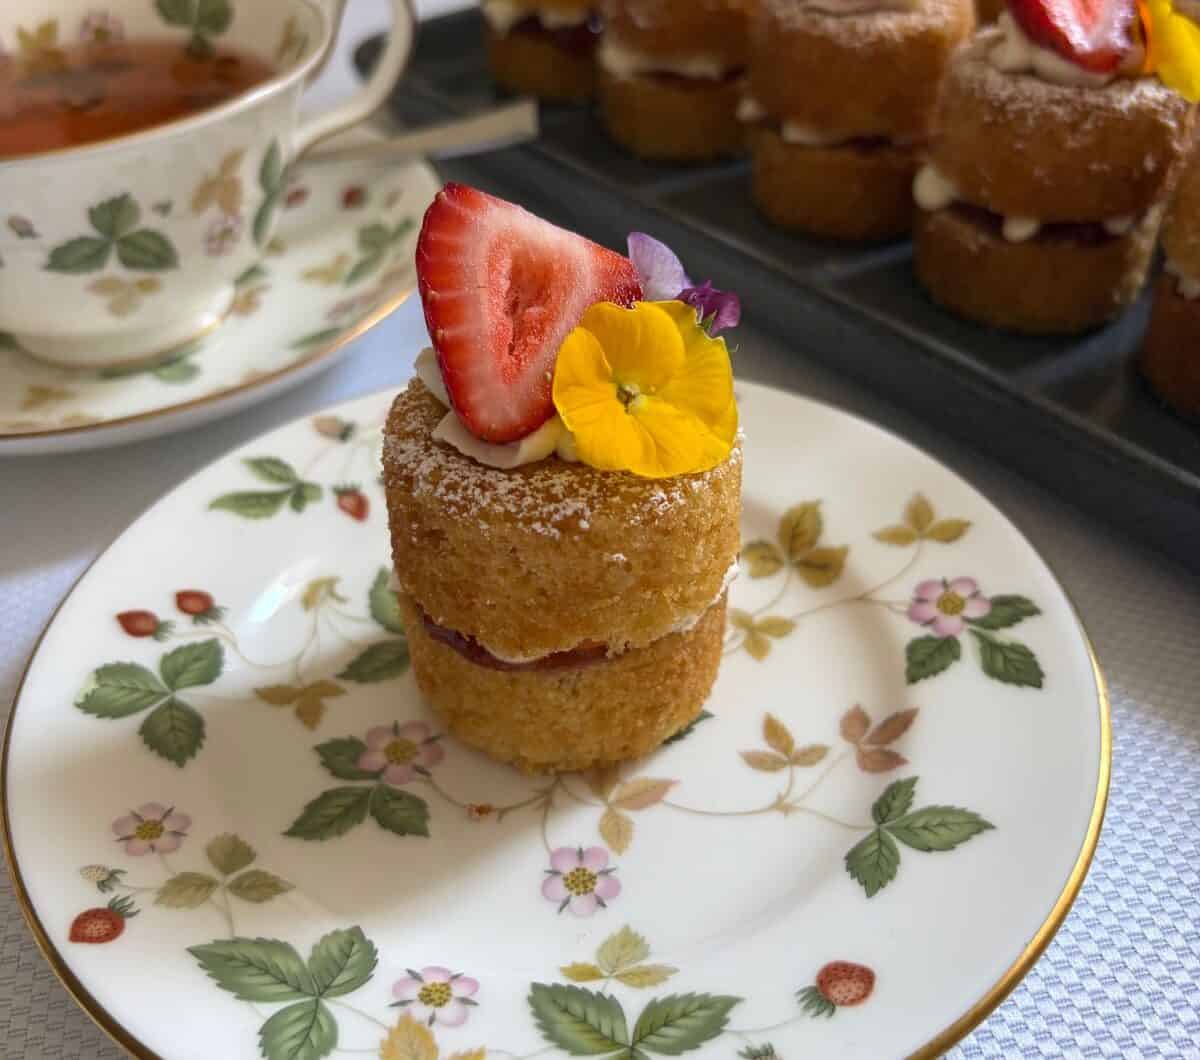
These pretty, Easy Mini Victoria Sponge Cakes are a classic Afternoon Tea treat, scaled down and perfected for entertaining. Beginner-friendly and utterly delicious, they’re made with a fluffy vanilla sponge enriched with sour cream for a moist, tender crumb. Filled with strawberry jam and a simple vanilla mascarpone cream that’s easy to whip and pipe, they’re finished with fresh strawberries and edible flowers for a beautifully elegant finish.
Why fat is your mini cake (baking) friend
An odd way to start a section? Perhaps — but there’s a very good reason for it.
Mini cakes with exposed sides are notoriously prone to drying out, and it’s something I see far too often. Many mini cake recipes rely on a traditional Victoria sponge baked in a large sheet, then cut into small rounds. While they may look beautiful initially, these little cakes are almost guaranteed to be dry and disappointing to eat. And no — jam and cream won’t save them.
The issue is twofold. First, cutting mini cakes from a larger sponge leaves all the sides exposed, increasing air contact and moisture loss. Second, the classic Victoria sponge formula — equal parts butter, sugar, eggs, and self-raising flour — is light but relatively low in fat. That works beautifully for a full-sized cake served fresh, but once reduced to mini portions and left out for any length of time, dryness is inevitable. In baking terms, cake dryness is the equivalent of a soggy pastry bottom — to be avoided at all costs!

How to Get Perfect Results Every Time
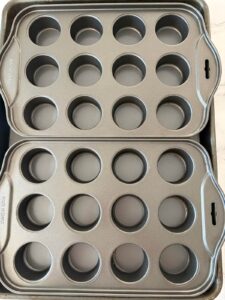
To avoid all of that, I use mini cheesecake pans with removable bases (sold in a two-pack on Amazon). Baking the cakes individually gives you beautifully sealed sides and immediately limits moisture loss.
I also enrich the batter with milk and sour cream, alongside the butter, to increase the fat content. This ensures the cakes stay moist for much longer without sacrificing that classic light, fluffy sponge texture. The result is a cake that pairs perfectly with jam and cream — and still tastes wonderful hours later.
Super Cream That Doesn’t Collapse
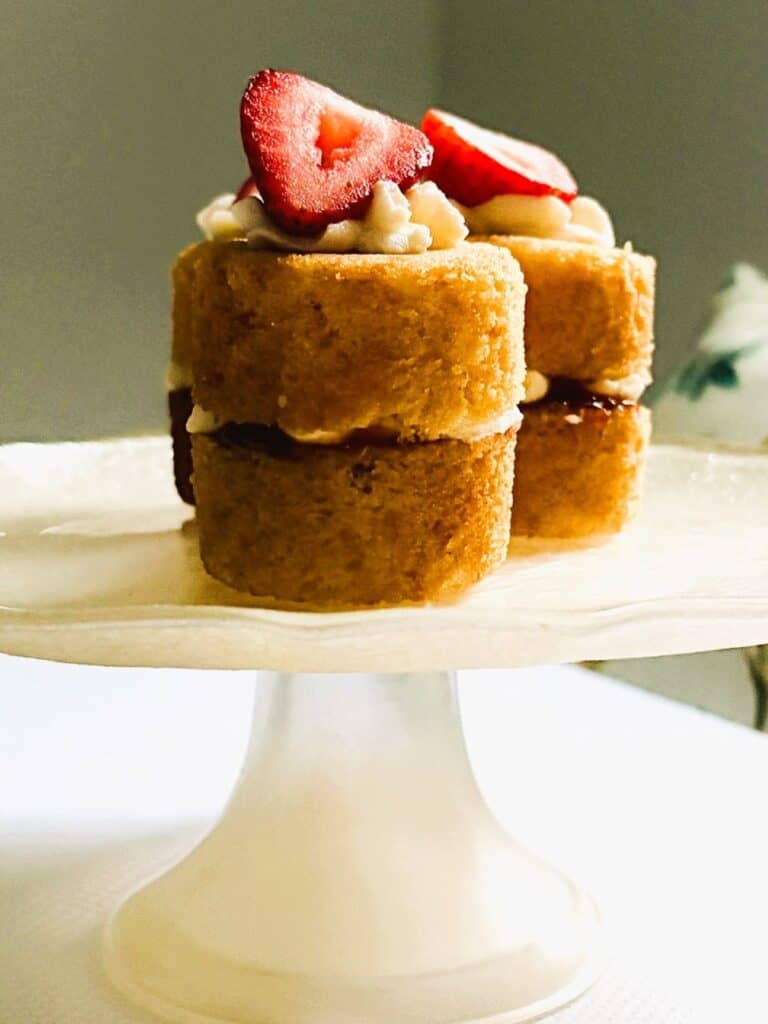
These mini cakes are filled with a stable mascarpone cream, made with mascarpone, cream, vanilla and icing sugar (powdered sugar). It pipes beautifully, holds its shape, and most importantly, doesn’t weep or sink into the sponge. No soggy layers, no sliding tops — just neat, elegant cakes every time.
Why you’ll love these
Moist for longer: Added fat from sour cream and milk keeps these mini cakes soft and tender, even when left out.
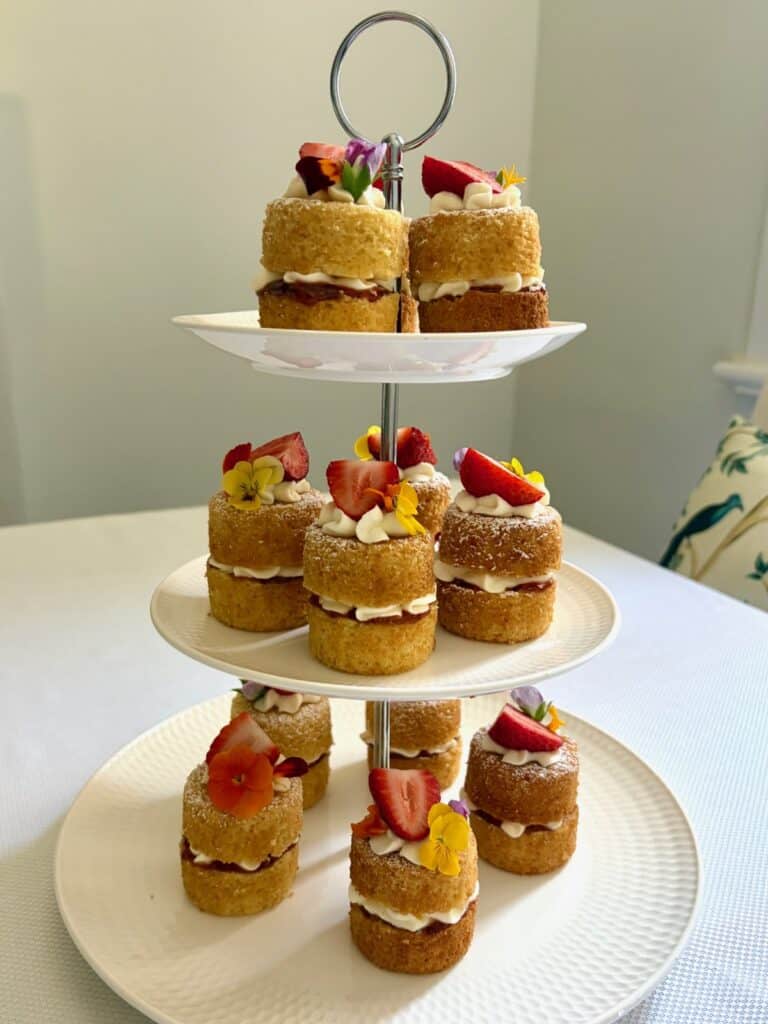
Perfect for Afternoon Tea: Individually baked with sealed sides, so they look pretty and taste great.
Beginner-friendly: Straightforward methods with reliable results every time.
Stable, pipeable cream: No collapsing, leaking, or soggy sponge.
Elegant without effort: Fresh fruit and flowers elevate them instantly for special occasions.
Need help planning an Afternoon Tea? Try these:
Hosting an Afternoon Tea at Home
How to make these Easy Mini Victoria Sponge Cakes
Prep the pans
Preheat the oven to 160 C fan/320 F fan.
Spray each cavity of two x 12 hole mini cheesecake pans (see Equipment) with canola spray then place them on a baking sheet. Set aside for now.
Make the cake batter

Place the sugar, flour, baking powder, bicarb soda and salt into the bowl of the stand mixer.
Soften the butter in a microwave safe bowl (20 to 30 seconds on high at 900W) and place next to the stand mixer together with a tablespoon or small spatula.
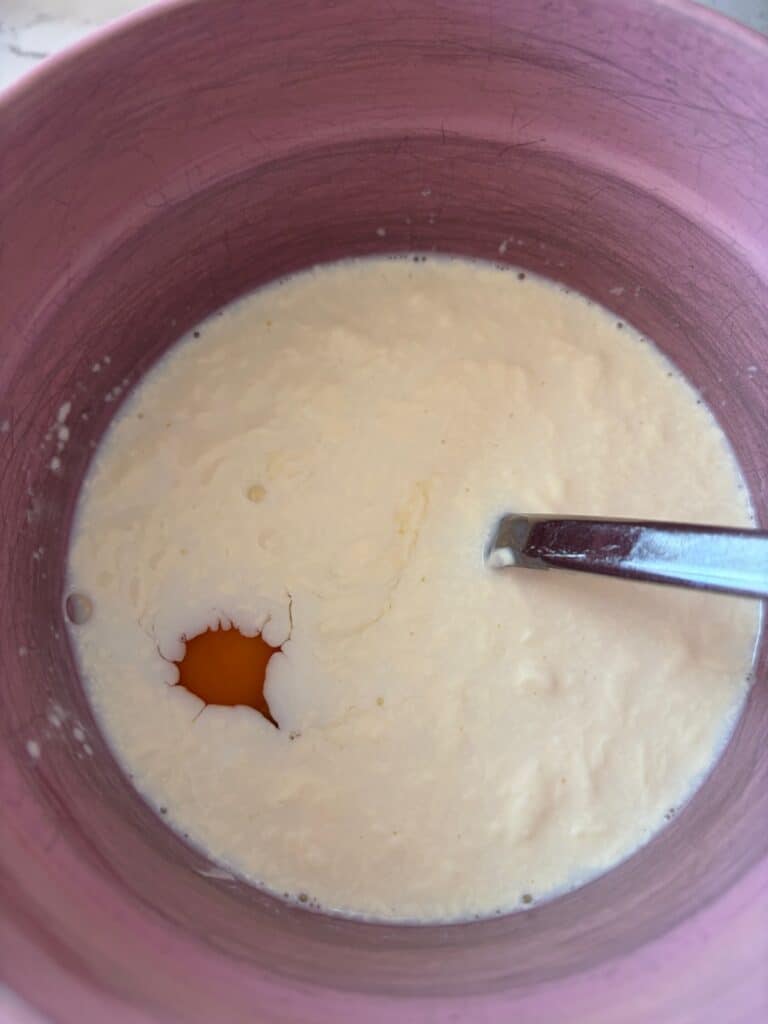
Measure out the sour cream and milk into a microwave safe jug, stir, then microwave on HIGH for 30 seconds (900w). Stir thoroughly to distribute the heat then add the eggs and vanilla extract and stir again thoroughly. It should be around room temperature.
Place the stand mixer bowl with the dry ingredients on a stand mixer fitted with a paddle attachment and mix on low speed for 30 seconds. Add the butter and mix on low until the mixture resembles a breadcrumb-like texture.
Stop the mixer and scrape the sides of the bowl. Re-start the mixer on low then slowly add the sour cream mixture. Increase the speed to medium (level 4 on a KitchenAid) and beat for 30 seconds until light and fluffy -use a timer. Do not overmix or else the batter will have a dense texture when baked.
Scrape the sides again if necessary and give a quick mix to incorporate.
Fill the pans
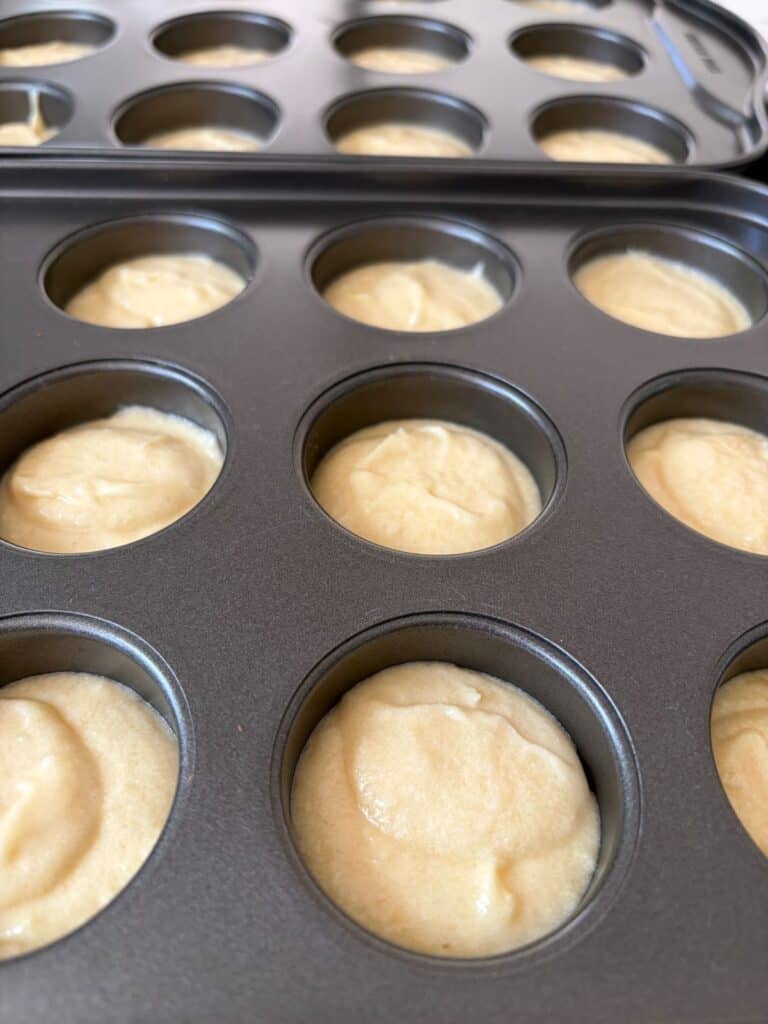
Fill each cavity half-full (they will rise A LOT). You may find that you have around ¼ cup of batter left over – don’t add it to the cavities or else they will spill over the tops.
NOTE: You can make a two or three cupcakes if you have cases to hand and would like to use it up.
Bake the mini Victoria sponge cakes
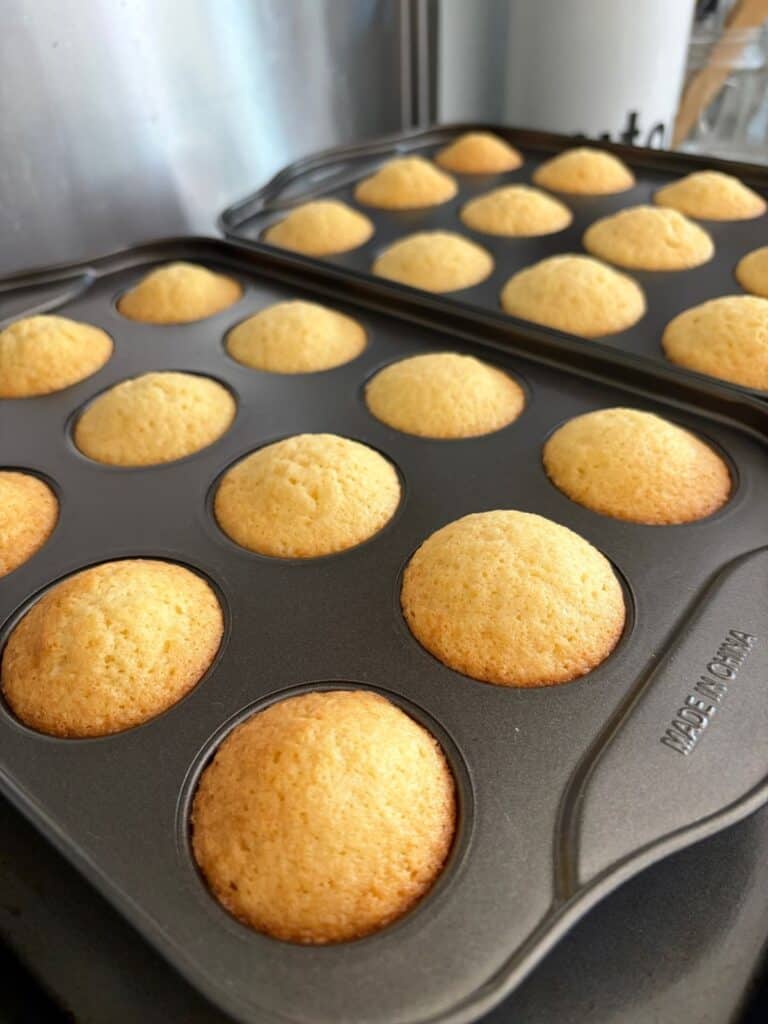
Place the tray of Mini Victoria Sponge Cakesin the preheated oven and cook for 20 minutes until they just start to colour on top then remove them from the oven. Leave to cool for 20 minutes, then tip the pan over and press the cakes out onto a wire rack. Turn right side up then cool completely.
TIP: Sometimes the removable bases stick to the bottom of the cake. If this happens, take a small knife and gently prise it off until it comes free.
Firm up
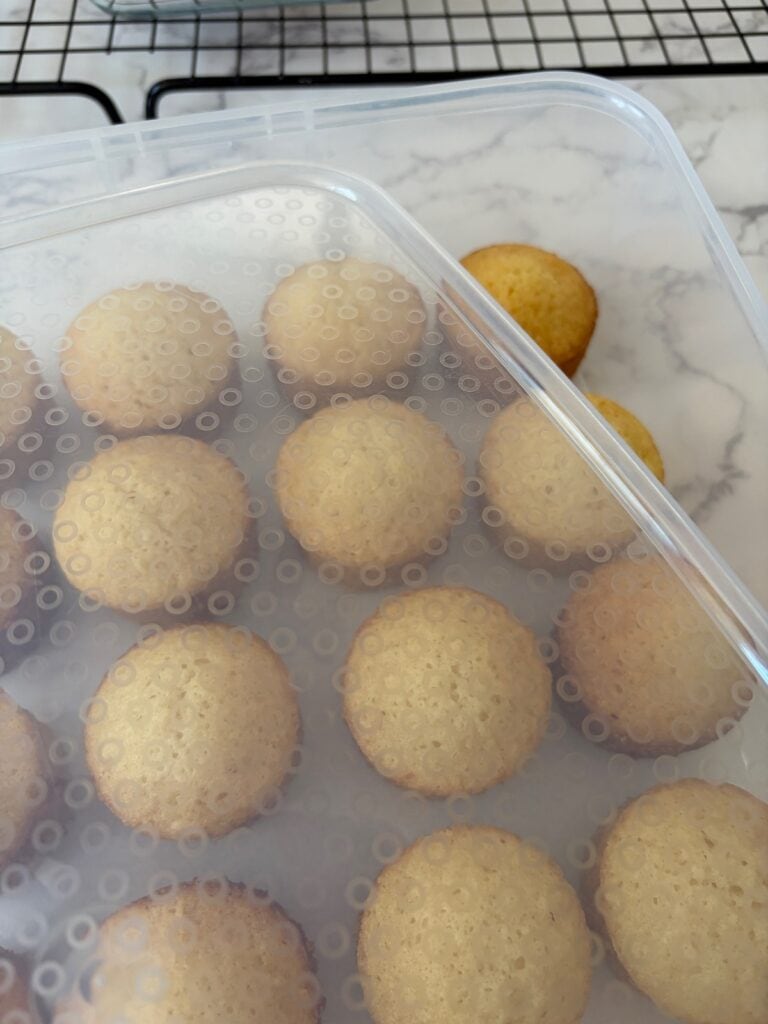
Put the cooled cakes in an airtight container lined with baking paper and refrigerate for 1 hour to firm up. This will make it a lot easier to trim and ensure you get nice smooth edges.
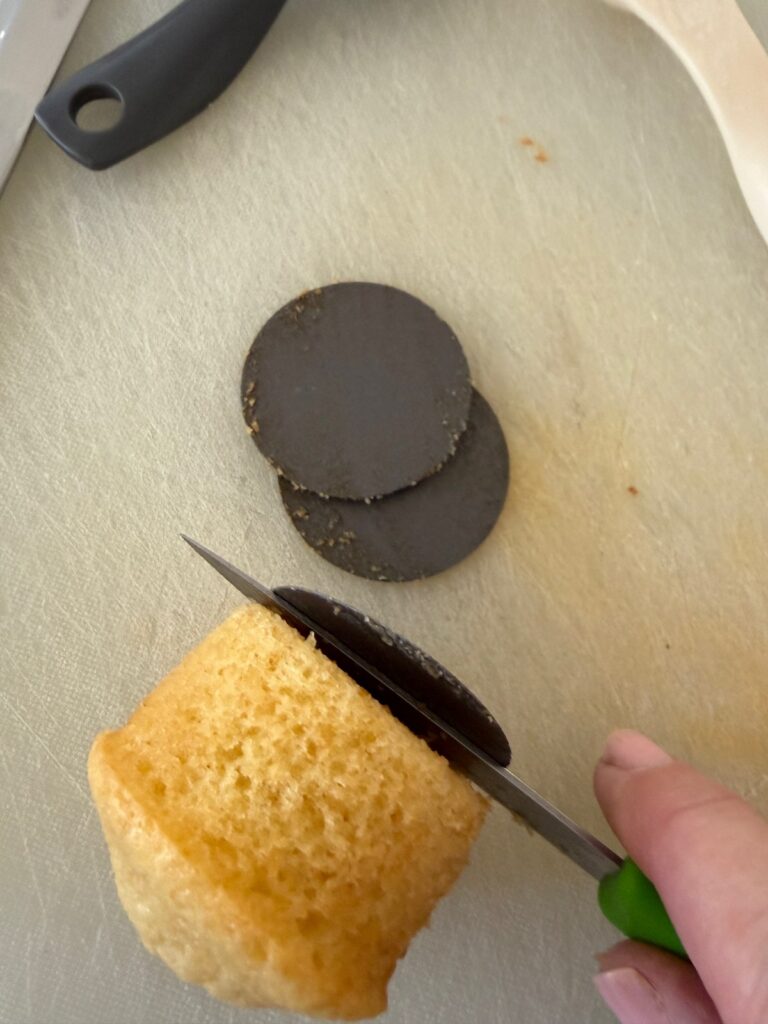
Trim the tops
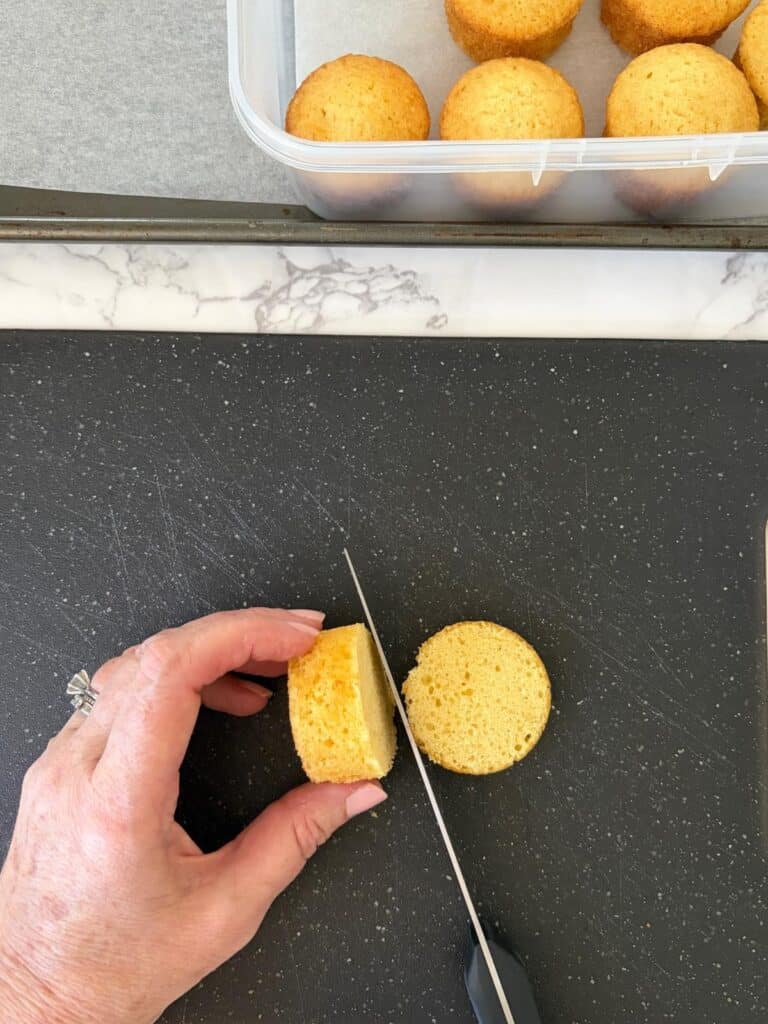
After an hour: Line a tray with baking paper and set aside.
Trim the tops off the cakes ensuring that they are all the same size – around 2cm. Put the tops in a ziplock bag and freeze – they can be used for white chocolate cake balls at a later date.
Match the trimmed cakes up into pairs, place them on the tray upside down so the cut side doesn’t dry out, then cover loosely with plastic wrap while you whip the cream.
Make the cream
Place the mascarpone, cream, icing sugar, vanilla and a pinch of salt in the bowl of a stand mixer fitted with the whisk attachment. Whip on medium speed until thick and pipeable (approx. 2 mins).
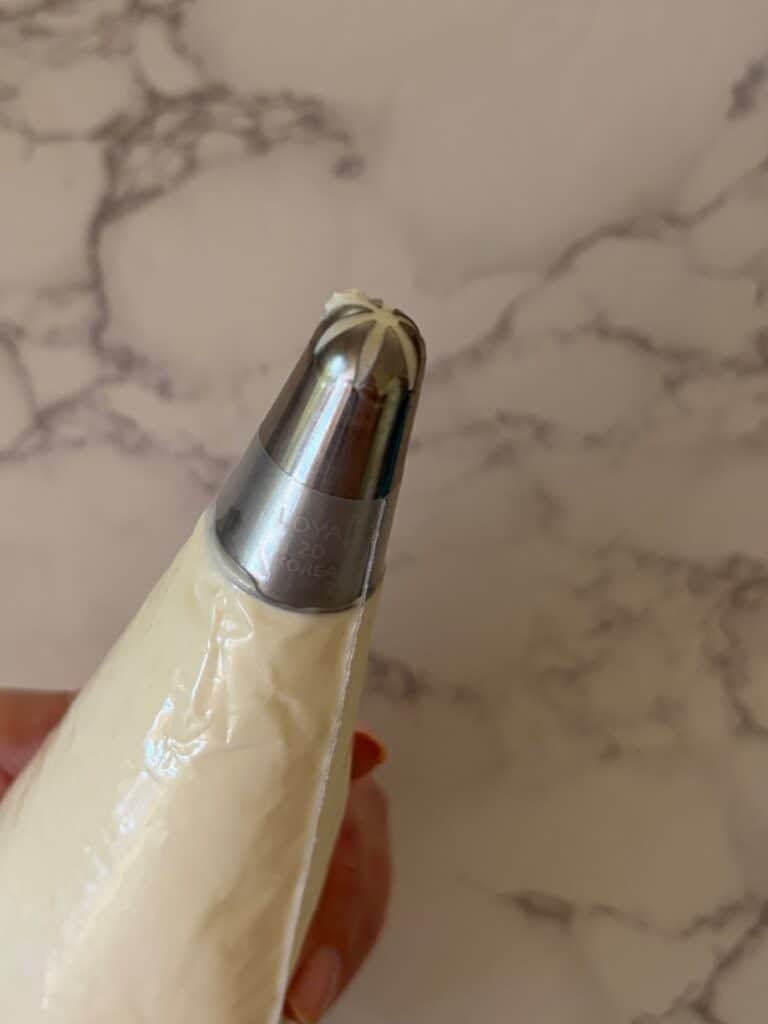
Fit a medium disposable piping bag with a large open or closed star tip (such as a 1M or 2D). Place it in a tall glass then turn over the top third to make a cuff. Fill with the cream then remove the piping bag from the glass, twist the top to seal
Assemble the cakes
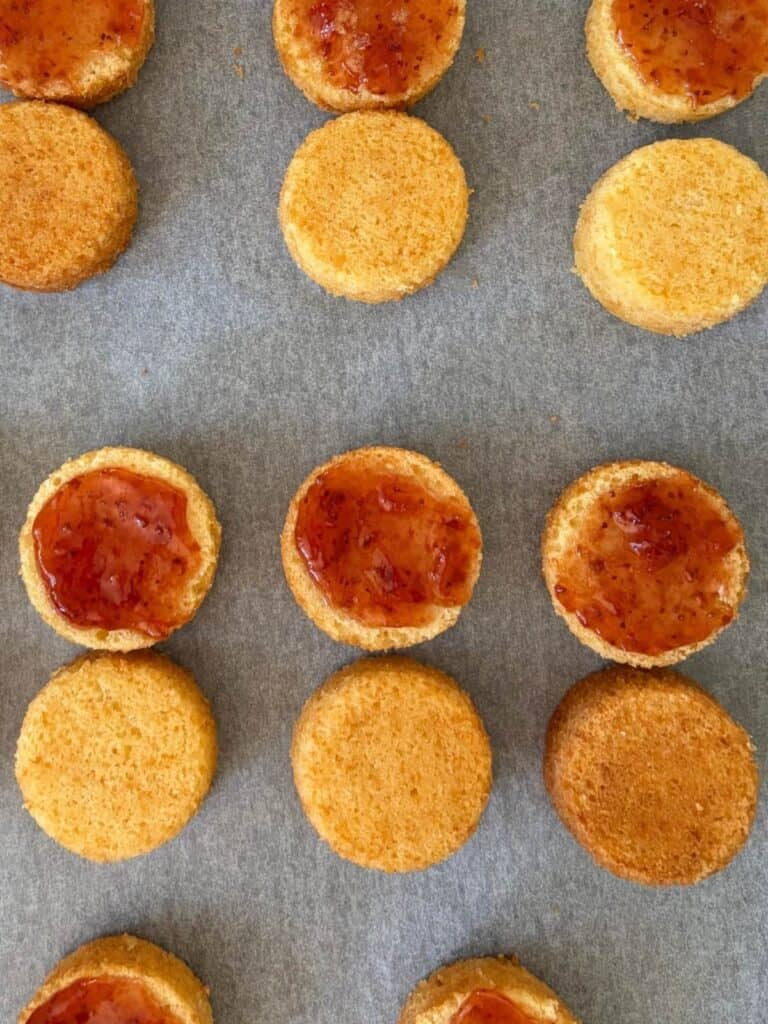
Add the jam first: Take a pair of cakes and add a little teaspoonful of strawberry jam on one half. Use the back of the spoon or palette knife to spread it around. Repeat with the remaining cake pairs.
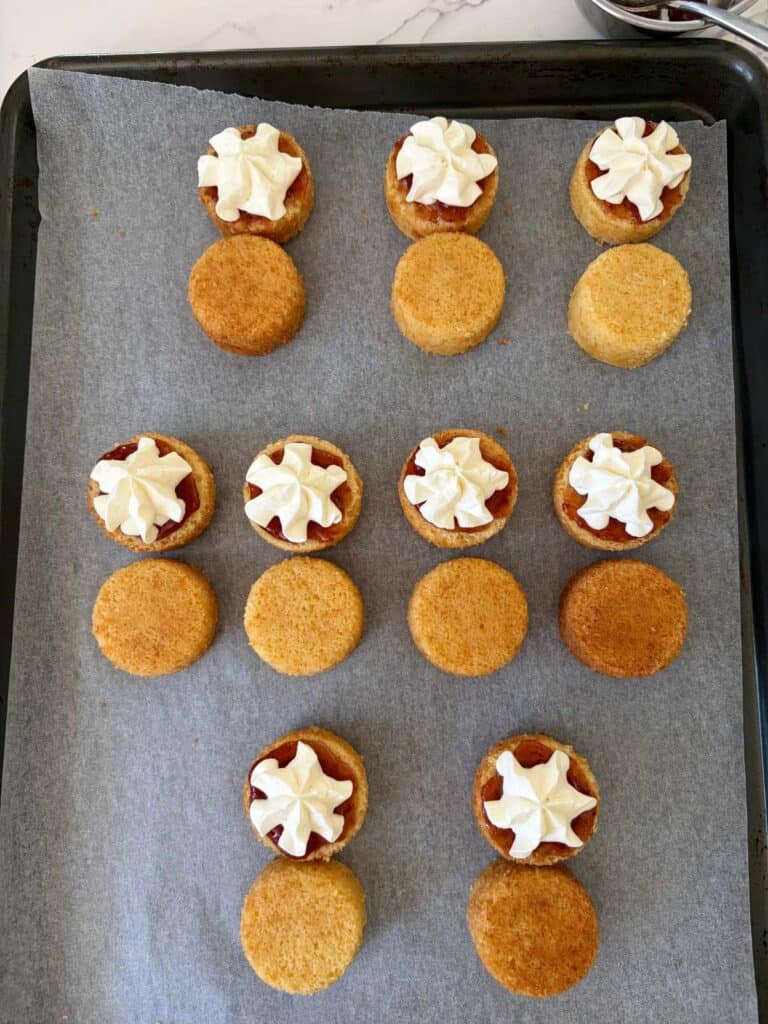
Add the cream: Holding the tip directly above the jam, pipe a small amount of cream until it reaches just inside the edge. Repeat with the remaining cakes. Save of the rest of the cream for the garnish.
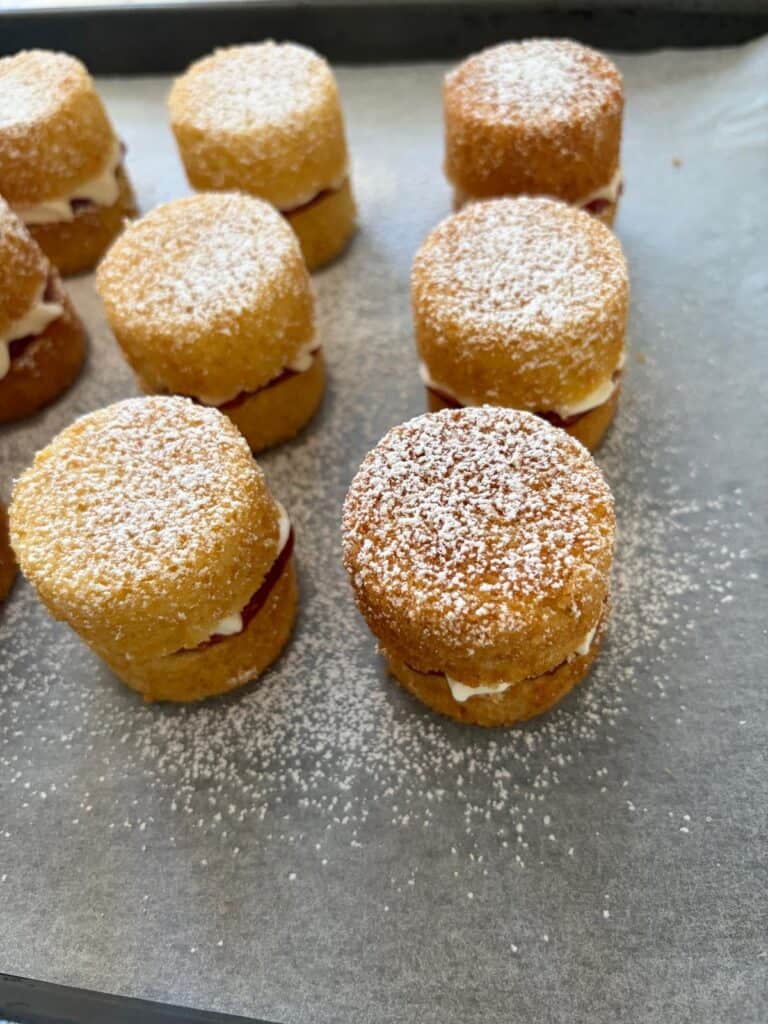
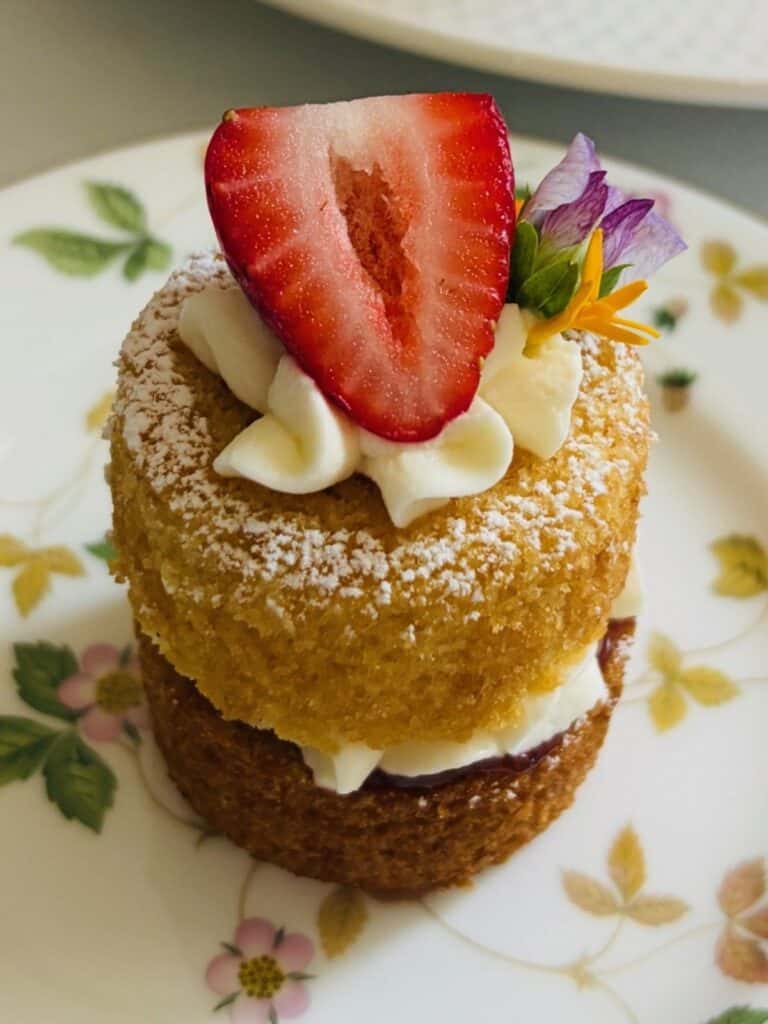
Top and dust: Place the other cake on top of the cream and press very gently to seal. Repeat. Take a small sieve and add a little icing sugar. Dust over the tops of each cake.
Garnish with the strawberries and edible flowers
Wash and dry 6 small strawberries. Cut off the hull and leaves then slice in half lengthways.
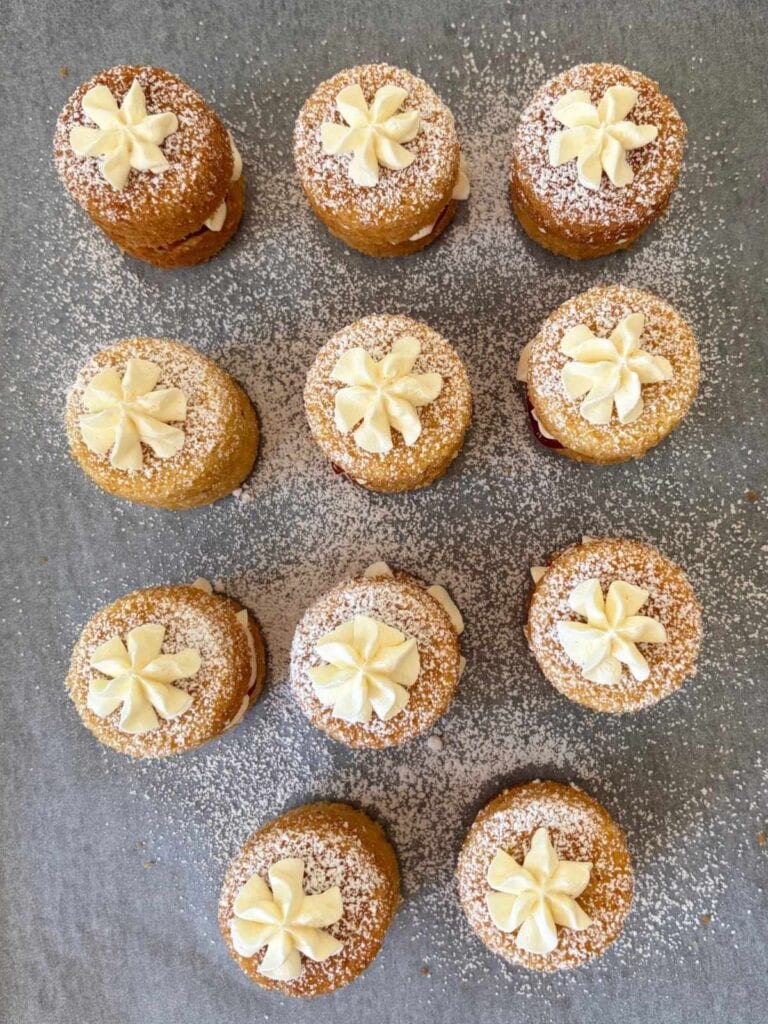
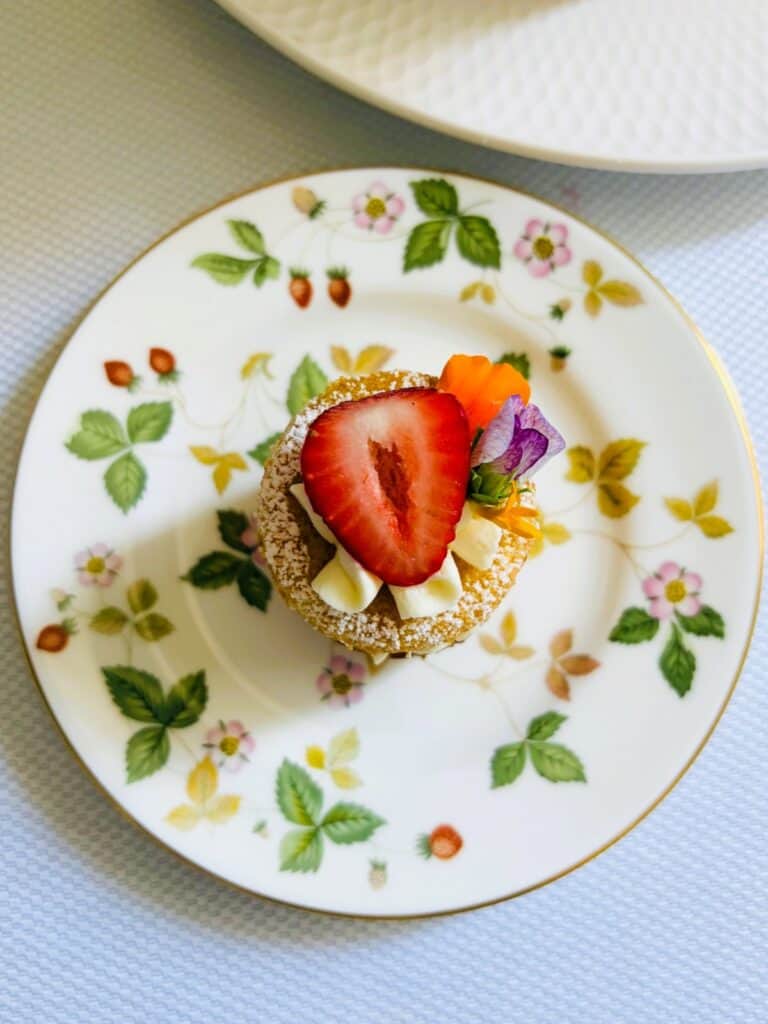
Pipe a small star of cream on top of each cake. Add a strawberry and tuck in a few edible flowers.
To serve
Place each Mini Victoria Sponge Cake on a plate, platter or the top of a tiered stand. Serve immediately.
To store
Store in an airtight container lined with baking paper in the refrigerator overnight (remove the flowers). Re-dust with icing sugar before serving.
To freeze
Freeze uncut and unfilled mini cakes for up to a 1 month in a ziplock bag. Defrost overnight in the fridge before trimming the tops then following the steps for assembly.
Easy Mini Victoria Sponge Cakes
12
servings20
minutes20
minutesEquipment
 Mini cheesecake pans with removable baseClick here to view on Amazon
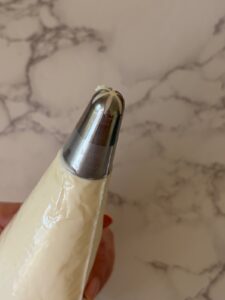 1M or 2D piping tip
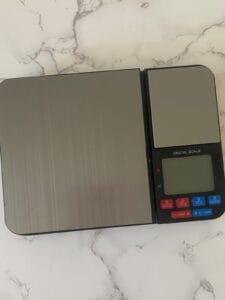 Digital scales
Other Equipment
Stand mixer with whisk and paddle attachments
Large airtight container
Large baking tray
Small fine mesh strainer
Measuring spoons
Medium disposable piping bag
Spatula
Spoon or mini icecream scoop for filling cavities
Wire rack
Small knife
Microwave safe jub
Microwave safe bowl
Keep the screen of your device on
Ingredients
- Victoria sponge cakes
canola spray or melted butter for greasing the pans
275 g 9 5/7 oz plain / all purpose flour
240 g 8 1/2 oz sugar
180 g 6 1/3 oz unsalted butter, softened
1 tsp 1 tsp baking powder
1/2 tsp 1/2 tsp bicarb soda
pinch pinch salt
2 large 2 large eggs
60 g 2 1/8 oz sour cream
1 tsp 1 tsp vanilla extract
150 ml 5 fl oz full fat/full cream milk
- Mascarpone cream
Pinch Pinch salt
- Filling
strawberry jam / preserves
- Garnish
6 small 6 small strawberries
edible flowers (optional)
icing sugar (extra) for dusting
Directions
- Read through the recipe from start to finish then preheat the oven to 160 C fan/320 F fan.
- Spray each cavity of two x 12 hole mini cheesecake pans (see Equipment) with canola spray then place them on a baking sheet. Set aside for now.
- Make the cake batter
- Place the sugar, flour, baking powder, bicarb soda and salt into the bowl of the stand mixer.
- Soften the butter in a microwave safe bowl (20 to 30 seconds on high at 900W) and place next to the stand mixer together with a tablespoon or small spatula.
- Measure out the sour cream and milk into a microwave safe jug, stir, then microwave on HIGH for 30 seconds (900w). Stir thoroughly to distribute the heat then add the eggs and vanilla extract and stir again thoroughly. It should be around room temperature.
- Place the stand mixer bowl with the dry ingredients on a stand mixer fitted with a paddle attachment and mix on low speed for 30 seconds. Add the butter and mix on low until the mixture resembles a breadcrumb-like texture.
- Stop the mixer and scrape the sides of the bowl. Re-start the mixer on low then slowly add the sour cream mixture. Increase the speed to medium (level 4 on a KitchenAid) and beat for 30 seconds until light and fluffy -use a timer. Do not overmix or else the batter will have a dense texture when baked.
- Scrape the sides again if necessary and give it a quick mix to incorporate.
- Fill each cavity half-full (they will rise A LOT). You may find that you have around ¼ cup of batter left over – don’t add it to the cavities or else they will spill over the tops.
- NOTE: You can make a two or three cupcakes if you have cases to hand and would like to use the mixture up.
- Bake the mini Victoria sponge cakes
- Place the tray of Mini Victoria Sponge Cakes in the preheated oven and cook for 20 minutes until they just start to colour on top then remove them from the oven. Leave to cool for 20 minutes, then tip the pan over, press the bases and release the cakes onto a wire rack. Turn right side up then cool completely.
- TIP: Sometimes the removable bases stick to the bottom of the cake. If this happens, take a small knife and gently prise it off until it comes free – see photo above.
- Firm up
- Put the cooled cakes in an airtight container lined with baking paper and refrigerate for 1 hour to firm up. This will make them a lot easier to trim and ensure you get nice smooth edges.
- Trim the tops
- After an hour: Line a tray with baking paper and set aside.
- Trim the tops off the cakes ensuring that they are all the same size – around 2cm. Put the tops in a ziplock bag and freeze – they can be used for white chocolate cake balls at a later date.
- Match the trimmed cakes up into pairs, place them on the tray upside down so the cut side doesn’t dry out, then cover loosely with plastic wrap while you whip the cream.
- Make the cream
- Place the mascarpone, cream, icing sugar, vanilla and a pinch of salt in the bowl of a stand mixer fitted with the whisk attachment. Whip on medium speed until thick and pipeable (approx. 2 mins).
- Fit a medium disposable piping bag with a large open or closed star tip (such as a 1M or 2D). Place it in a tall glass then turn over the top third to make a cuff. Fill with the cream then remove the piping bag from the glass, twist the top to seal
- Assemble the cakes
- Add the jam first: Take a pair of cakes and add a little teaspoonful of strawberry jam on one half. Use the back of the spoon or palette knife to spread it around. Repeat with the remaining cake pairs.
- Add the cream: Holding the tip directly above the jam, pipe a small amount of cream until it reaches just inside the edge. Repeat with the remaining cakes. Save of the rest of the cream for the garnish.
- Top and dust: Place the other cake on top of the cream and press very gently to seal. Repeat. Take a small sieve and add a little icing sugar. Dust over the tops of each cake.
- Garnish
- Wash and dry 6 small strawberries. Cut off the hull and leaves then slice in half lengthways.
- Pipe a small star of cream on top of each cake. Add a strawberry and tuck in a few edible flowers.
- To serve
- Place each Mini Victoria Sponge Cake on a plate, platter or the top of a tiered stand. Serve immediately.
- To store
- Store in an airtight container lined with baking paper in the refrigerator overnight (remove the flowers). Re-dust with icing sugar before serving.
- To freeze
- Freeze uncut and unfilled mini cakes for up to a 1 month in a ziplock bag. Defrost overnight in the fridge before trimming the tops then following the steps for assembly.