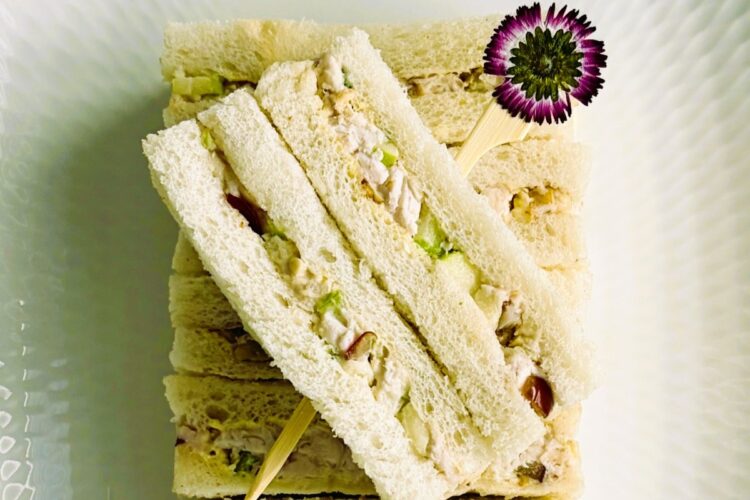
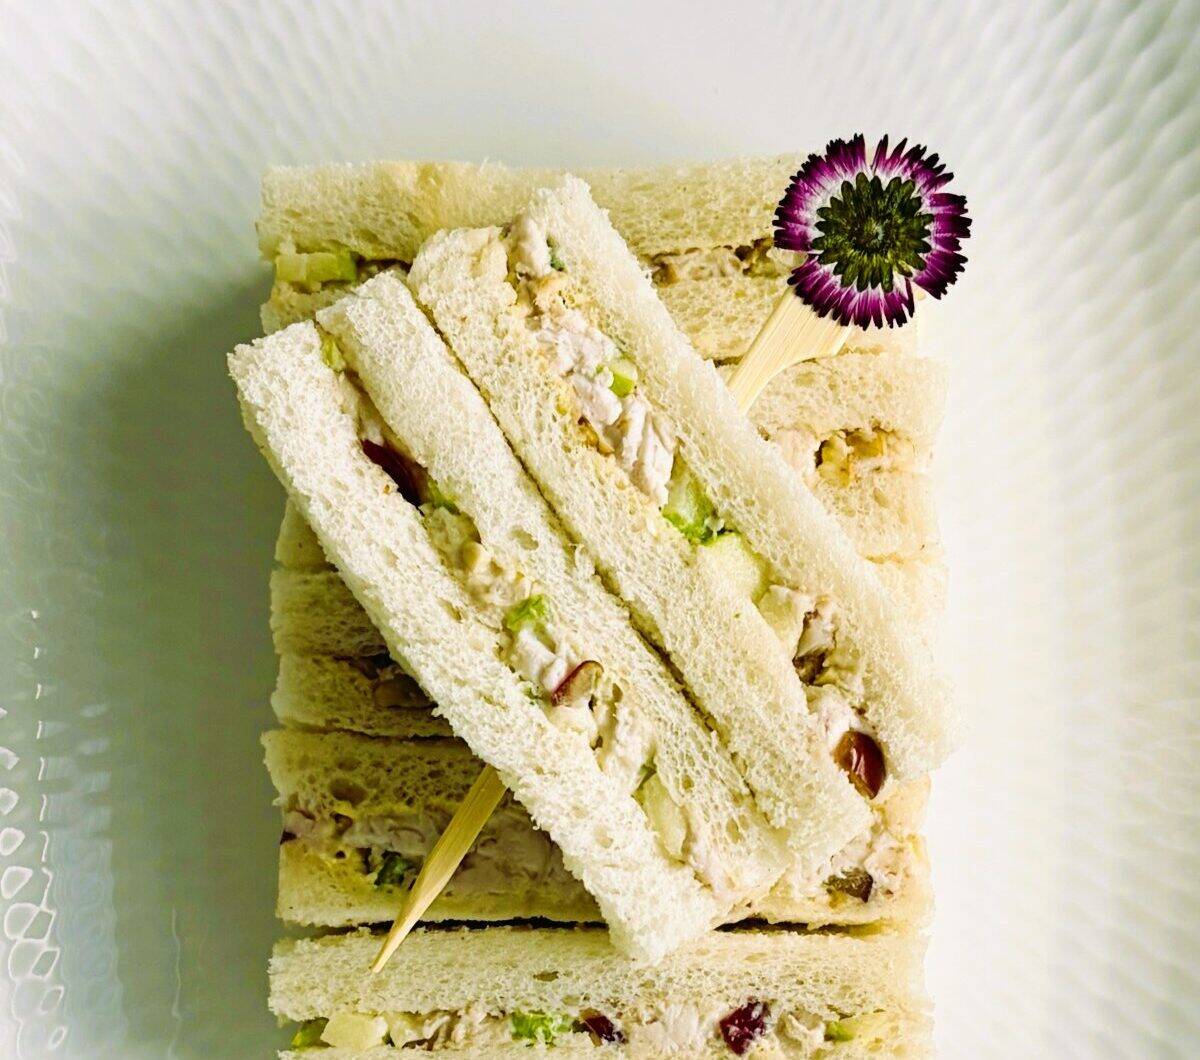
These Chicken Waldorf Finger Sandwiches are my elegant twist on the classic Waldorf combination that I’ve adapted for Afternoon Tea entertaining. Drawing on my experience creating refined menus for celebrations and gatherings, I’ve balanced tasty BBQ chicken breast, crisp apple, celery, red grapes and walnuts in a zesty mayonnaise that feels fresh rather than heavy. Complemented with a chive butter, these impressive sandwiches bring a touch of five-star looks to your tiered stand—while still being simple to prepare at home.
First time making finger sandwiches? Read my Finger Sandwiches Guide for tips and tricks before you begin.
Why Chicken Waldorf is a crowd pleaser
Chicken Waldorf is one of those timeless combinations that almost everyone enjoys. Inspired by the original Waldorf salad created at the elegant Waldorf Astoria New York in the late 1800s, the pairing of juicy chicken, crisp apple, celery, red grapes and creamy dressing delivers the perfect balance of savoury, sweet, and fresh flavours.
As a sandwich filling, Chicken Waldorf truly shines. The mayonnaise holds everything together beautifully, while the crunch of apple and celery keeps each bite light rather than heavy as the acid from the red grapes makes sure the mayo doesn’t dominate. This is one of those fillings that is actually better 24 hours after you’ve made it. The secret is to keep all the ingredients small (as there’s a bit to pack in).
TIP: If you like a chunkier filling then use a small slider or bake at home dinner roll instead.
Good to know
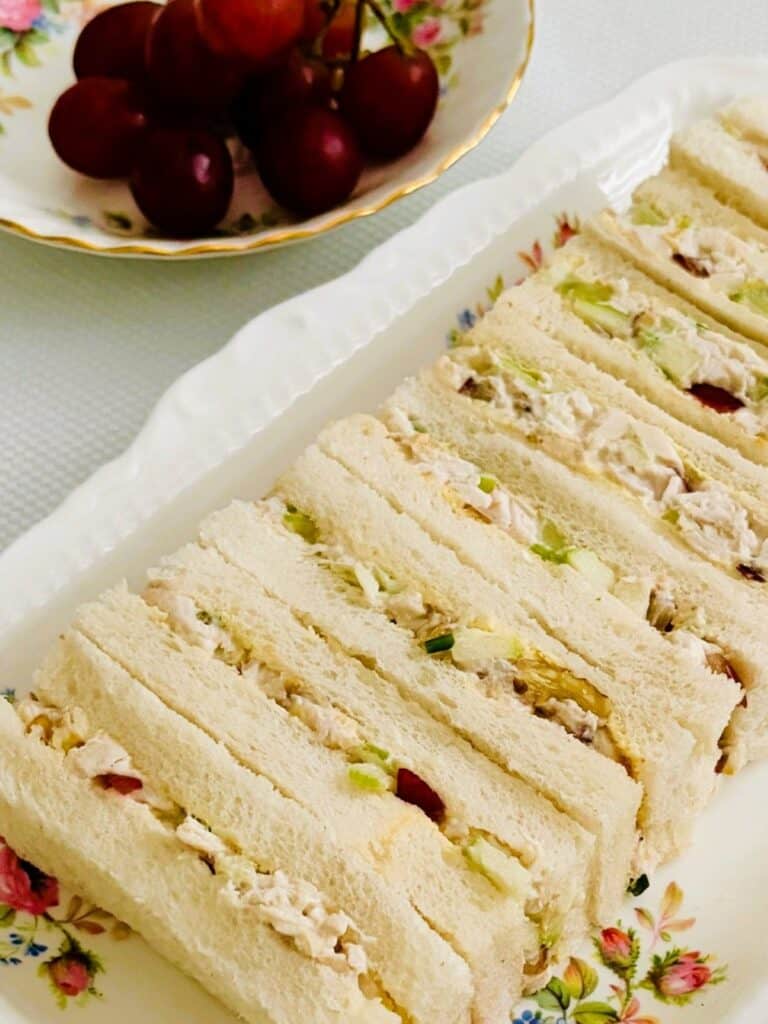
- Makes: 9 fingers so perfect to mix with other finger sandwiches, or double the ingredients for a brunch platter or a large number of guests.
- Skill level: Easy
- Perfect for: Afternoon Tea, bridal showers, garden parties, elegant lunches
- Make-ahead: Yes
Why You’ll Love These Chicken Waldorf Sandwich Stacks
- A refined take on a timeless classic flavour combination
- Light, fresh, and balanced—never heavy or overly creamy
- Make-ahead friendly for stress-free entertaining
Make your Afternoon Tea at Home extra special with these links
Hosting an Afternoon Tea at Home
How to make Chicken Waldorf Finger Sandwiches
Read through the recipe before you begin.
Make the chive butter
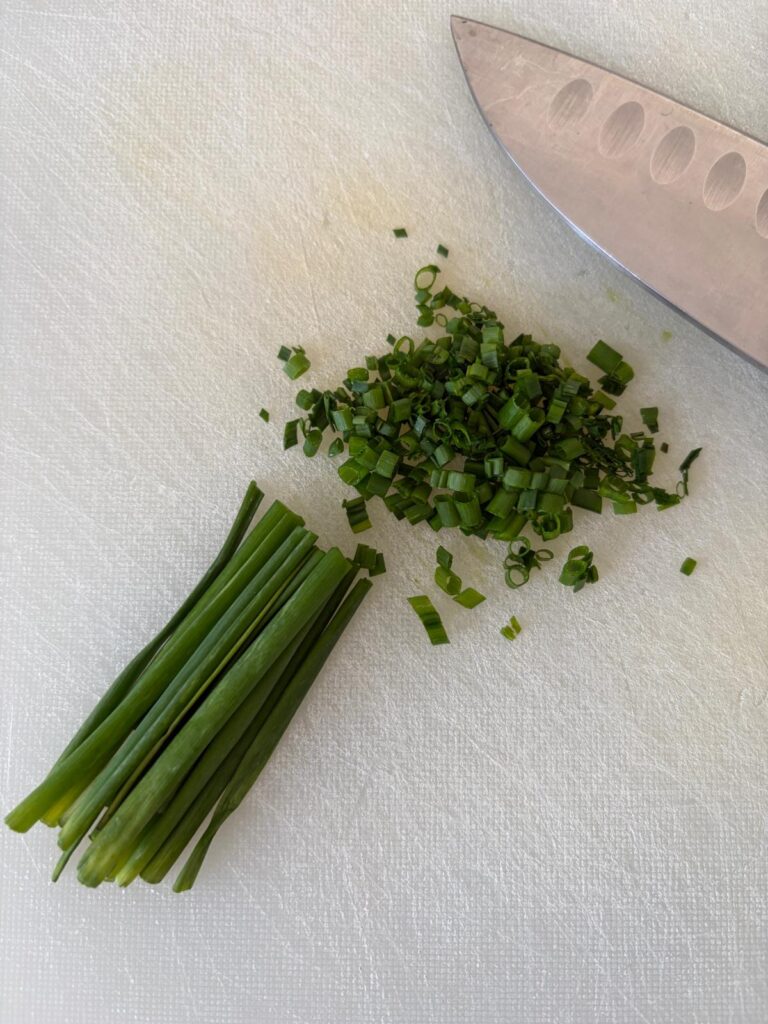
Finely chop the chives, add to the softened butter and stir until well combined.
Prepare the filling

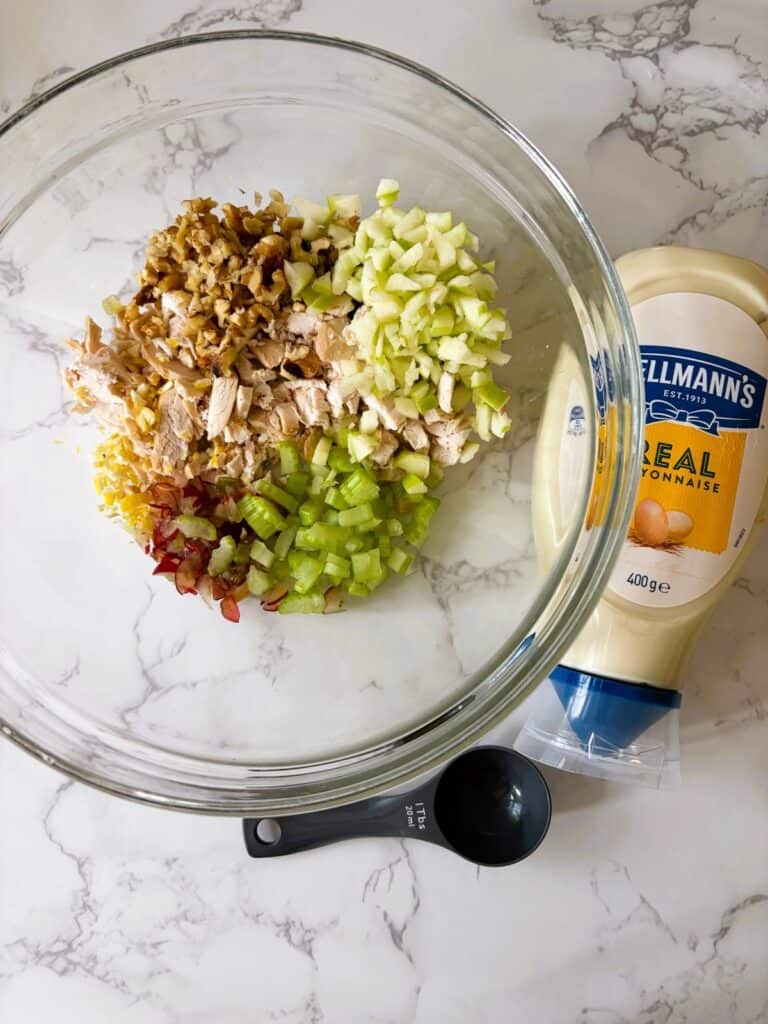
Zest the lemon, then chop the chicken, apple, celery, walnuts and grapes into small dice and place in a medium sized bowl. TIP: The smaller the pieces the easier it is to keep the sandwiches together. You don’t want a chunk of walnut or grape falling out once cut.
Add the pinch of salt, then fold through the mayonnaise. Taste. Add a little more mayonnaise if the mixture seems dry – it needs a light creamy texture. Refrigerate up to 24 hours for the flavours to develop (if you have time).
Assemble the sandwiches

Spread the chive butter on all slices of bread.
Add an even layer of filling on 3 slices, then top with the remaining slices of bread, pressing gently without squashing the texture.
Cut into fingers
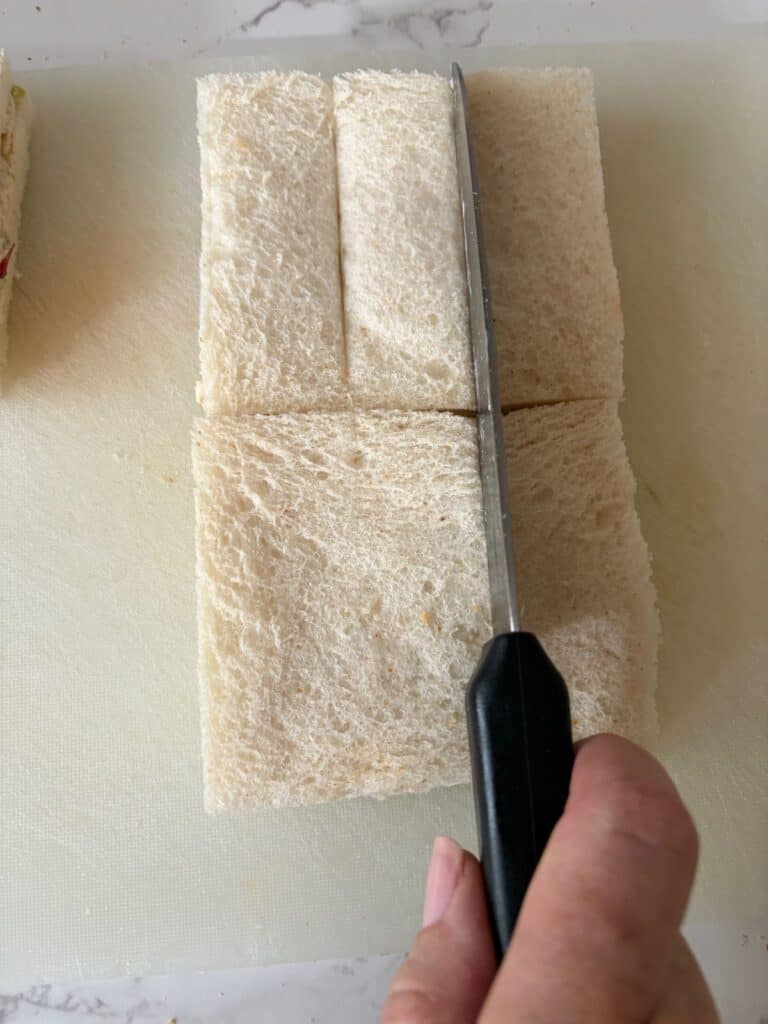
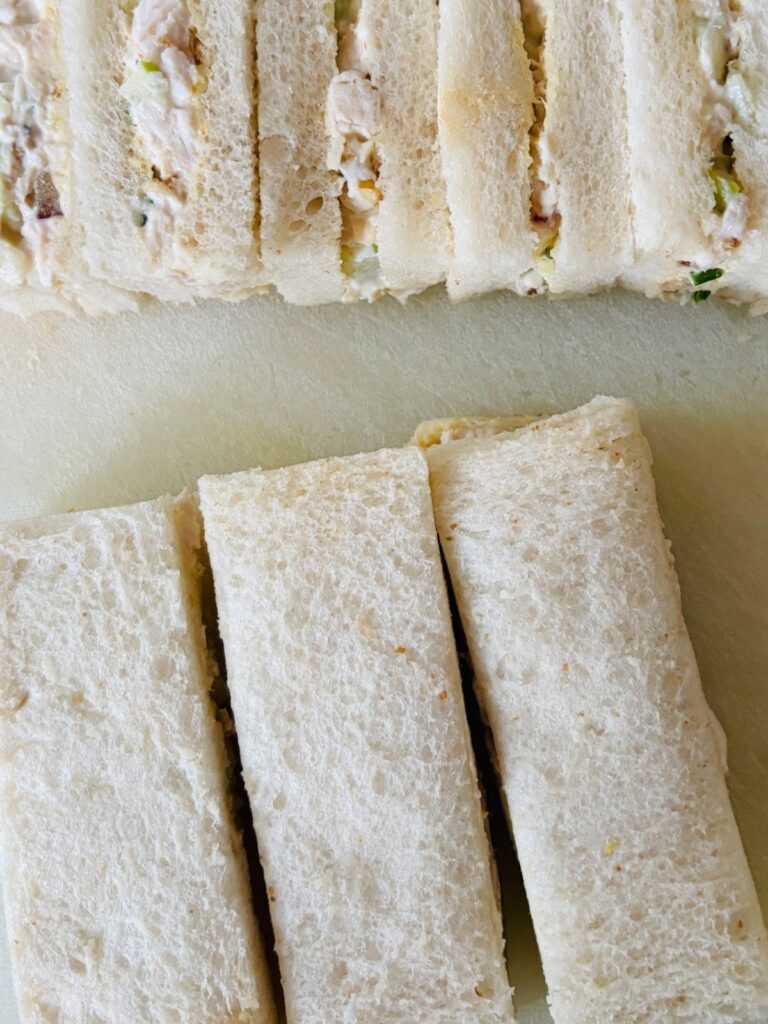
Using a bread knife / serrated edge knife gently remove the crusts on all sandwiches. Check they are all the same size, trim if necessary. Score each sandwich into three equal fingers then cut.
TIP: Use a light sawing motion not a pressing motion when cutting so you don’t squash the bread. See my Finger Sandwiches Guide for lots of tips on making perfect sandwiches every time.
To Store
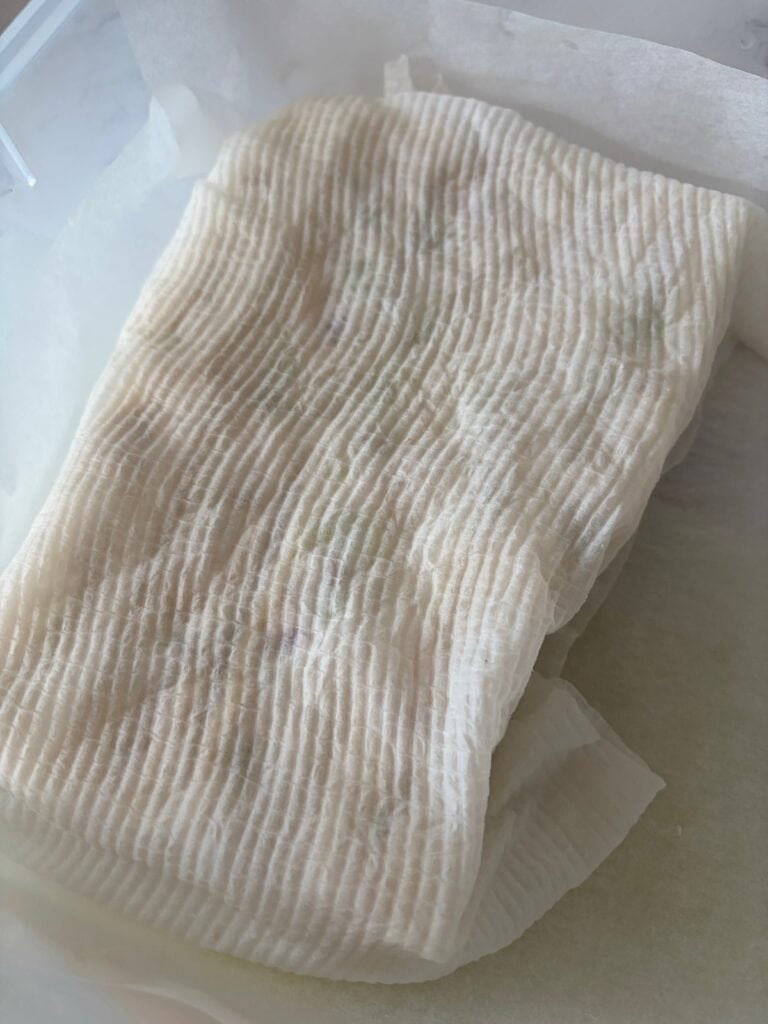
Line an airtight container with baking paper then place the cut fingers inside. Wet a couple of pieces of paper towel, wring it out then lay it over the sandwiches tucking in the edges so they don’t dry out. Add the lid then store in the refrigerator for up to 3 hours.
To Serve
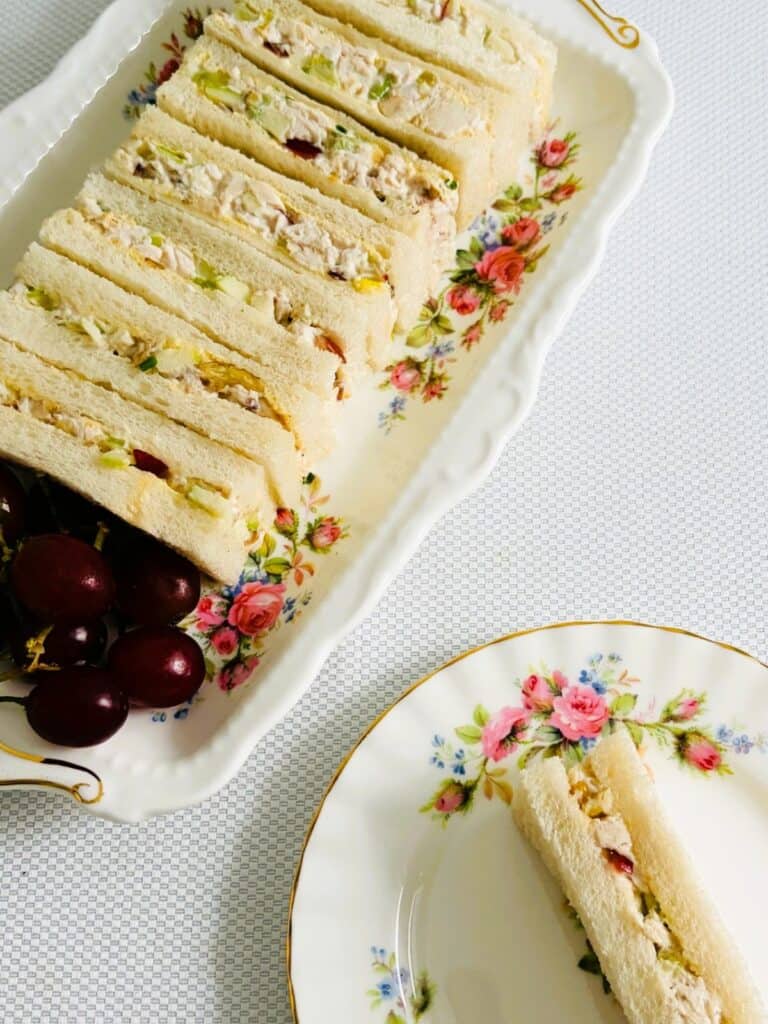
Remove the fingers from the container and place them on a sandwich plate or tiered stand just before serving so they don’t spoil or dry out.
Frequently Asked Questions
Can I make these ahead? The filling and chive butter can be prepared up to 24 hours in advance and refrigerated. Allow the butter to come to room temperature before spreading.
Assemble fingers 3 hours before serving and store in an airtight container the fridge (see above To Store).
Chicken Waldorf Finger Sandwiches
9
servings20
minutesEquipment
 Kitchen knife
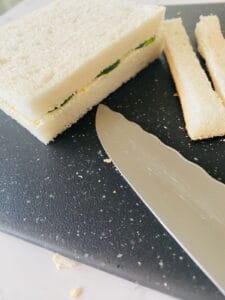 Bread / serrated knife
 Paper towel
Other equipment
Cutting board
Measuring spoons
Digital scales
Large mixing bowl
Airtight container
Keep the screen of your device on
Ingredients
6 slices 6 slices soft white sandwich bread
40 g 1 2/5 oz unsalted butter, softened
1/2 teaspoon 1/2 tsp chopped chives
1/2 teaspoon 1/2 tsp lemon zest from a small lemon
1 1 BBQ chicken breast
1/2 1/2 Granny Smith apple
1/2 1/2 stick celery
30 g 1 oz walnuts
6 6 red grapes
Pinch Pinch salt
3 tbsp 3 tbsp whole egg mayonnaise
Directions
- Read through the recipe before you begin.
- Make the chive butter
- Finely chop the chives, add to the softened butter and stir until well combined.
- Prepare the filling
- Zest the lemon, then chop the chicken, apple, celery, walnuts and grapes into small dice and place in a medium sized bowl. TIP: The smaller the pieces the easier it is to keep the sandwiches together. You don’t want a chunk of walnut or grape falling out once cut.
- Add the pinch of salt, then fold through the mayonnaise. Taste. Add a little more mayonnaise if the mixture seems dry – it needs a light creamy texture. Refrigerate up to 24 hours for the flavours to develop (if you have time).
- Assemble the sandwiches
- Spread the chive butter on all slices of bread.
- Add an even layer of filling on 3 slices, then top with the remaining slices of bread, pressing gently without squashing the texture.
- Cut into fingers
- Using a bread knife / serrated edge knife gently remove the crusts on all sandwiches. Check they are all the same size, trim if necessary. Score each sandwich into three equal fingers then cut.
- TIP: Use a light sawing motion not a pressing motion when cutting so you don’t squash the bread. See my Finger Sandwiches Guide for lots of tips on making perfect sandwiches every time.
- To Store
- Line an airtight container with baking paper then place the cut fingers inside. Wet a couple of pieces of paper towel, wring it out then lay it over the sandwiches tucking in the edges so they don’t dry out. Add the lid then store in the refrigerator for up to 3 hours.
- To Serve
- Remove the fingers from the container and place them on a sandwich plate or tiered stand just before serving so they don’t spoil or dry out.
You are truly amazing Anna. X
You are! But thank you, I really appreciate your lovely words of support xx