This classic Afternoon Tea Scones recipe provides detailed, step-by-step guidance to achieve a tall rise, soft interior, and delicate crumb every time. Carefully tested for reliability, it’s a dependable foundation for traditional cream tea and elegant entertaining.
Afternoon Tea Scones – the heart of every gathering
No Afternoon Tea is complete without a batch of classic English scones. With a delicate crunch on the outside and an irresistibly light, fluffy interior, they are an absolute must-have for your next gathering. However, despite their simple ingredient list, scones have earned a reputation for being tricky to perfect—from flat and dense to chewy or dry, I’ve tasted them all! You’d think such a timeless bake would be foolproof, yet even the most experienced bakers can find themselves challenged by the elusive perfect scone.
With this in mind, I decided that if I am going to write an Afternoon Tea blog, then I am going to make sure that I can at least offer a well researched, delicious and fail safe scone recipe!
I spent many a morning making batch after batch of scones (6 in total); tweaking the recipe, changing the temperature, examining various techniques until I was 100% happy with the results. Here is what I discovered:
Top Tips for Scone Success
INGREDIENTS
Use a scale to measure ingredients to ensure accuracy – Cups can differ from country to country, skewing your recipe and results.
Use fresh Self Raising flour – How old is your flour? Self Raising flour is plain flour with BAKING POWDER added to it. Baking powder loses its efficacy over time so it makes sense that if you are using old flour then your scones may fall flat.
TIP: Don’t use Self Raising flour that’s been opened longer than 6 months. Buy a fresh packet of Self Raising flour for your scones and write the date on it when you open it.
Use cold butter and milk – While a bit of a challenge to rub very cold butter into the flour, it truly makes a big difference. So too does cold milk. When cold meets hot in the oven it creates steam resulting in a soft and fluffy textured scone with a good rise.
TIP: If your kitchen is warm, cut up your butter and measure out the milk as per the recipe but put it back into the fridge until you need it.
MIXING
Mix with a knife not a spoon – Weird yes, but mixing with a flat-bladed knife helps to gently incorporate the ingredients without overworking the dough. This is crucial for achieving a light and fluffy texture. See the video at the end of the recipe.
TIP: Excessive mixing can develop too much gluten resulting in dense scones.
Don’t knead for too long – With the previous tip in mind, don’t over work your dough. Remember that you will have to re-knead your scraps a number of times so kneading for too long at the start is risky.
TIP: Use a timer. I find the perfect amount of kneading at the beginning is 40 seconds, followed by very quick kneads to bring the scraps together between cutting out for a second and third time.
CUTTING
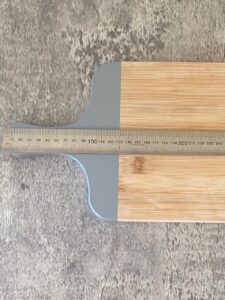
Measure your dough – Use a ruler to ensure your dough is the same height every time you re-form it. This will result in evenly sized scones that take the same time to cook. No more half overdone and half underdone scones.
TIP: While sky-high scones look great, they also risk toppling over in the oven. Keep them no higher than 2.5cm (1 inch) and no larger than 5cm (2 inches). They will then look in proportion when split.
Don’t twist the cutter – Use a stamping motion (straight down then pull up). Twisting will result in wonky scones.
TIP: Dust your cutter with a little extra flour each time. This will ensure a smooth cut.
BAKING
Put them close together – Once you’ve cut out all the scones, rearrange them on your tray so they are very close together but not touching. Less than a finger space is a good guide. This will provide a little extra support as they rise and reduce the risk of wonkiness.
TIP: Embrace the wonky scone. Sometimes despite your best efforts, you will get a batch of scones that have a slight lean to them. There is nothing wrong with this and they will still be just as delicious. Yes it’s annoying but baking is a never ending buffet of surprises and sometimes you just have to roll with it.
Break or cut
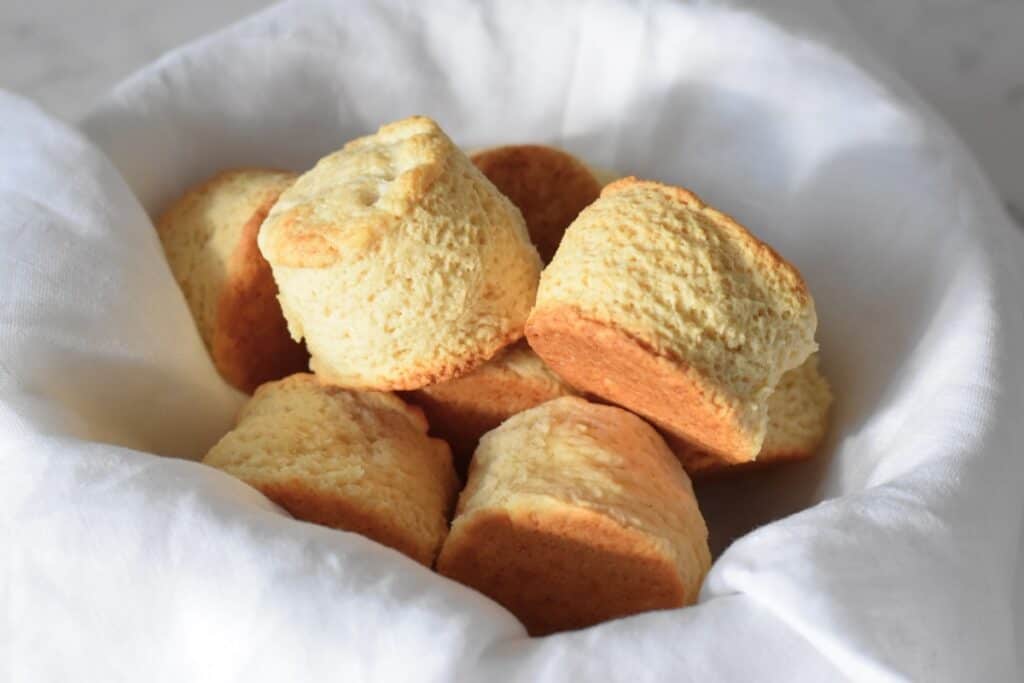
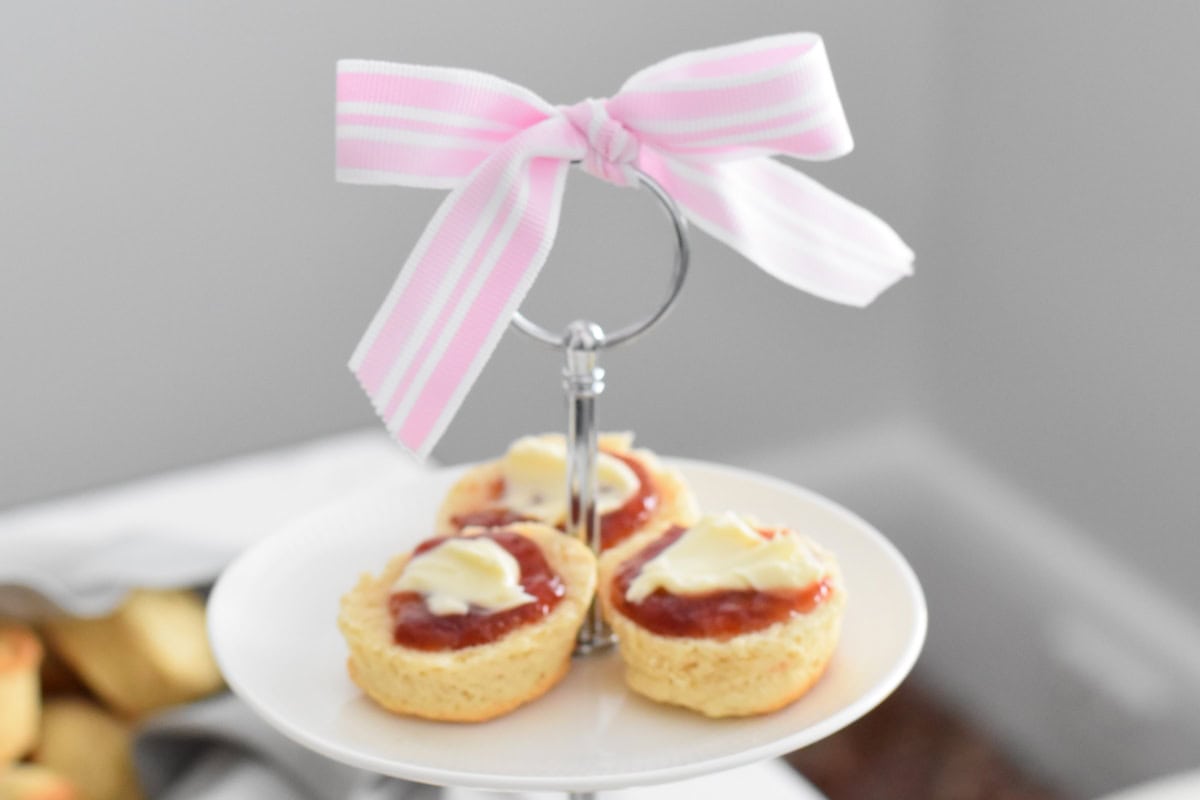
These scones are a perfect size for afternoon tea – not too big but nice and high so they are very easy to break open with your fingers. Cutting a scone should never be necessary unless you are putting together a pre-prepared plate and you want them to all be the same height.
While they will always taste wonderful straight from the oven, when hosting an afternoon tea this is not always possible, so this recipe is also fantastic for freezing and reheating.
Scone Toppings
Serve with delicious toppings such as:
- Clotted or double cream
- Jam such as strawberry, raspberry, cherry or apricot or why not try my Ginger scones with lime marmalade and vanilla double cream for something a little different!
- Lemon curd (a zesty alternative for citrus lovers)
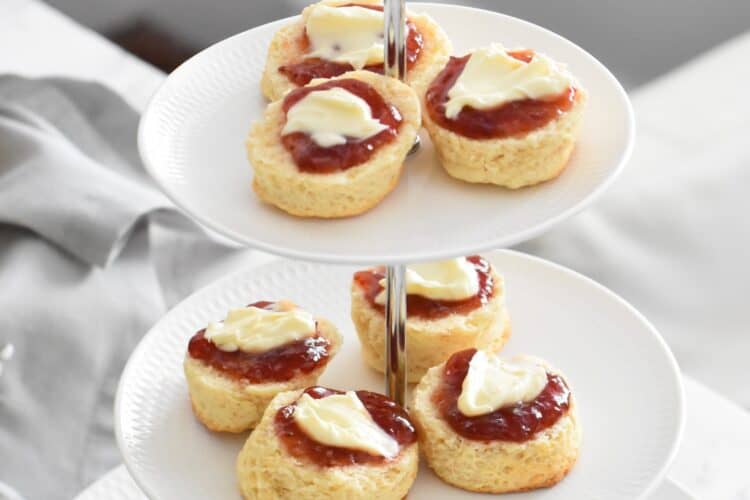
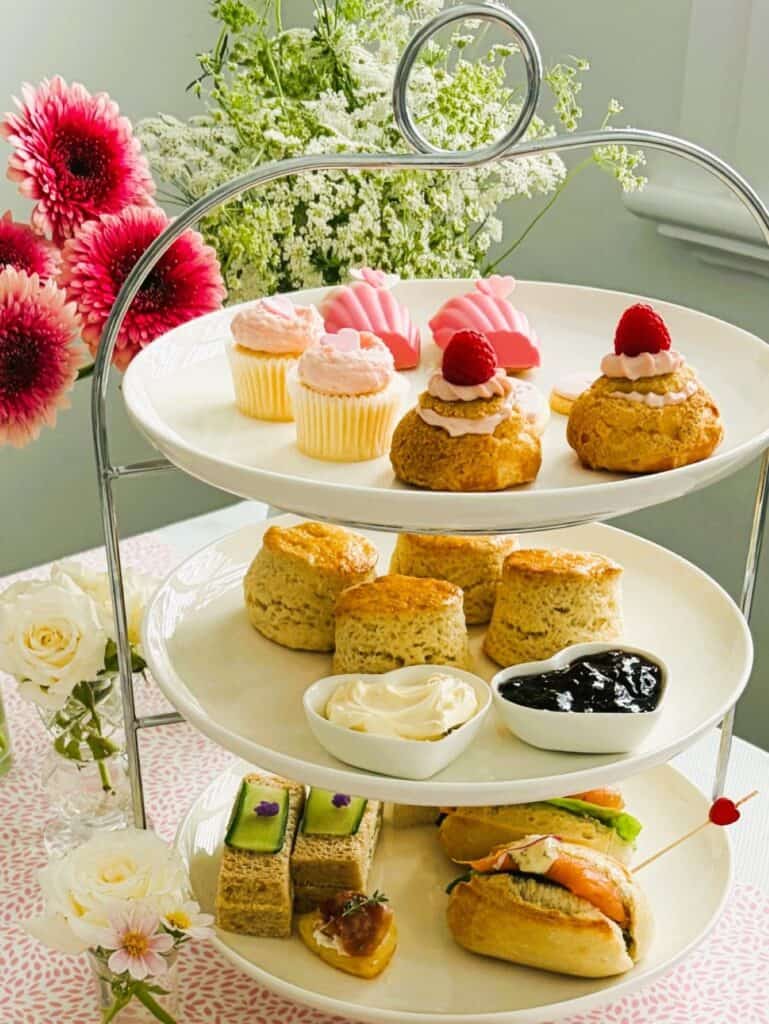
Keep them warm in a clean tea towel, then place in a pretty bowl when ready to serve or pop them on your tiered stand. You can add the jam and cream yourself or leave the scones whole for your guests to split and make up however they like.
Enjoy with a strong cup of tea, a glass of sparkling prosecco or even a frothy cappuccino if you prefer. Whatever you choose, my Afternoon Tea Scones are an absolute must-have for any gathering with friends or family.
Ingredients for Afternoon Tea Scones
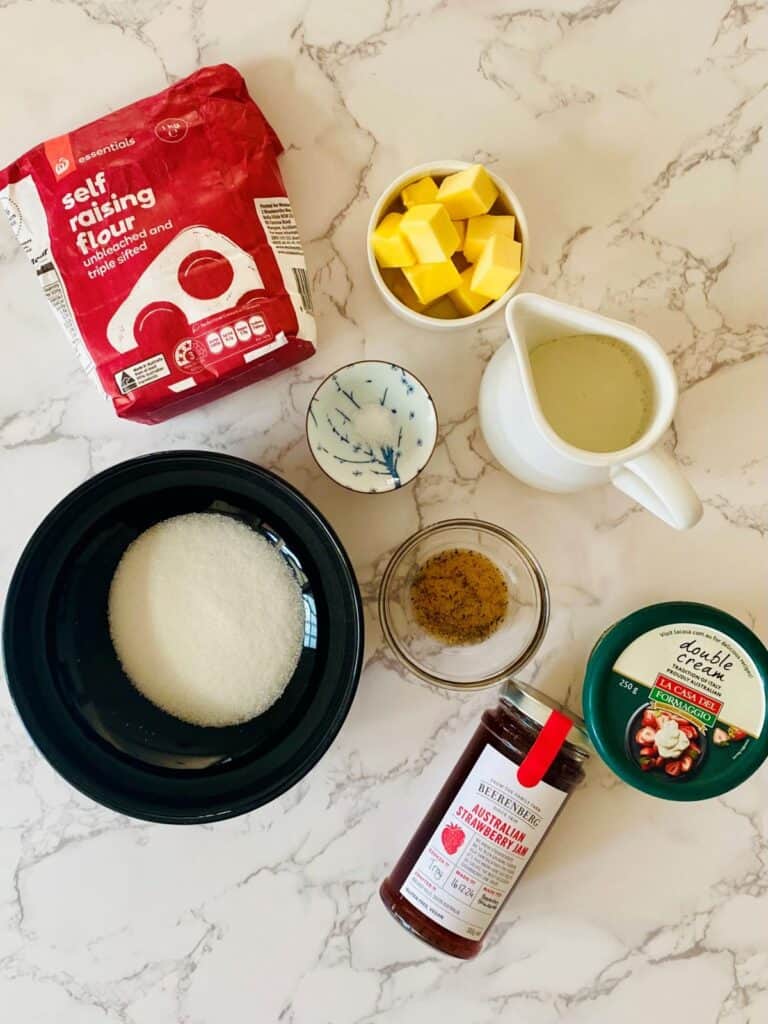
Unsalted butter: I recommend using unsalted butter so that the amount of salt can be tweaked to suit the ingredients. If you only have salted butter then omit the salt in the recipe.
Self-raising flour: This is all-purpose flour with baking powder that has been added to it. However just like baking powder it can lose its effectiveness after 6 months. TIP: When you open a fresh packet, write the date on it so you can keep track of hold old it is and replace it as necessary.
Salt: Fine table salt
Milk: Full-fat / full-cream milk. The fat will add moistness and flavour. Skim won’t give the same result.
Sugar: Plain white granulated sugar
Vanilla extract: Use pure (not imitation) vanilla extract with seeds if you can find it or without seeds if you can’t.
Double cream: This cream is so dense that a spoon can stand by itself. With a fat content of 41%/ 3.5oz (you can find this info on the back of the tub), the thickness means you don’t have to whip. You also don’t need much to make a scone taste amazing due to its beautiful mouthfeel. *Substitute: You can use whipping or thickened cream.
Jam: I’ve used Strawberry Jam from Beerenberg because it is made from delicious South Australian strawberries and produced about 30 minutes from where I live. I highly recommend purchasing a jar if you live in Australia (try Woolworths or Coles). If not, use a jam that is lovely and thick and contains real fruit. The scones will be better for it and your guests will appreciate it too.
TIP: If you are super clever and can make your own then 100% do that – it will be a wonderul addition to your afternoon tea. You could even send a jar home with your guests as a memento of the day.
How to make scones
Preheat the oven 200 C / 400F (no fan) or 180 C / 350 F (with fan).
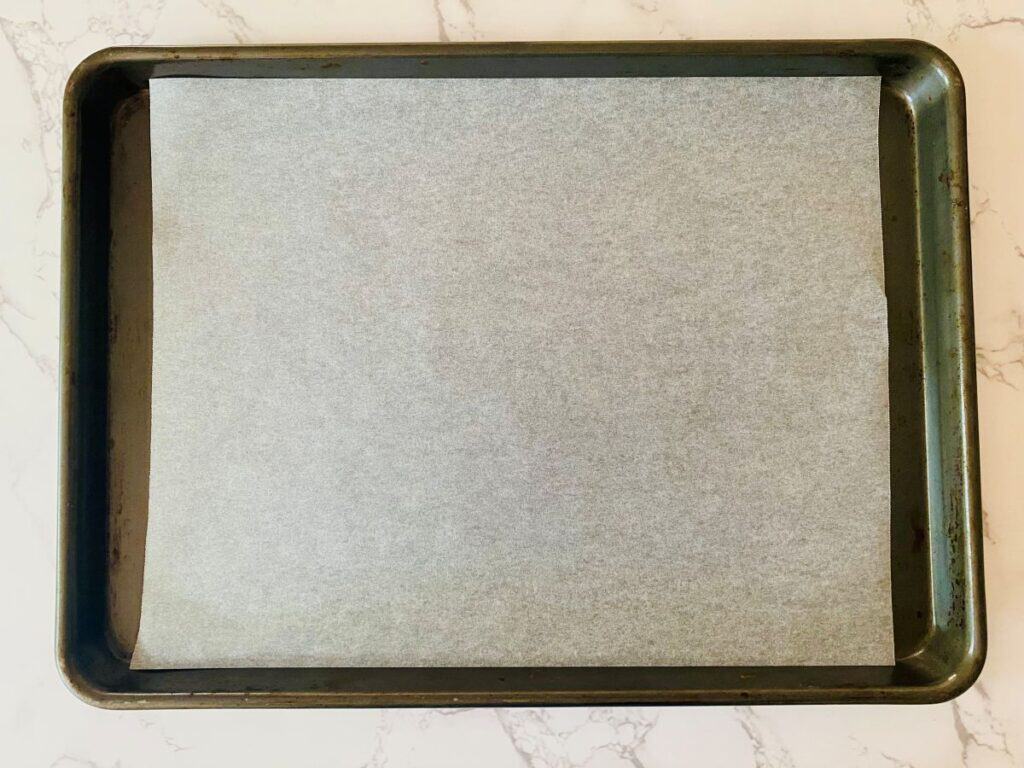
Line a large baking tray with baking paper such as Glad Bake or similar and set aside. Find a ruler and put it on your bench.
Cut the cold butter into small cubes, place in a small dish.
Prep the rest of your ingredients and equipment so you can work quickly. This ensures the scone dough stays cool and you get a good rise and fluffy texture.
Work quickly…
Place the self-raising flour in a large mixing bowl. Leave the packet on your bench as you will need a little extra to dust the board and cutter.
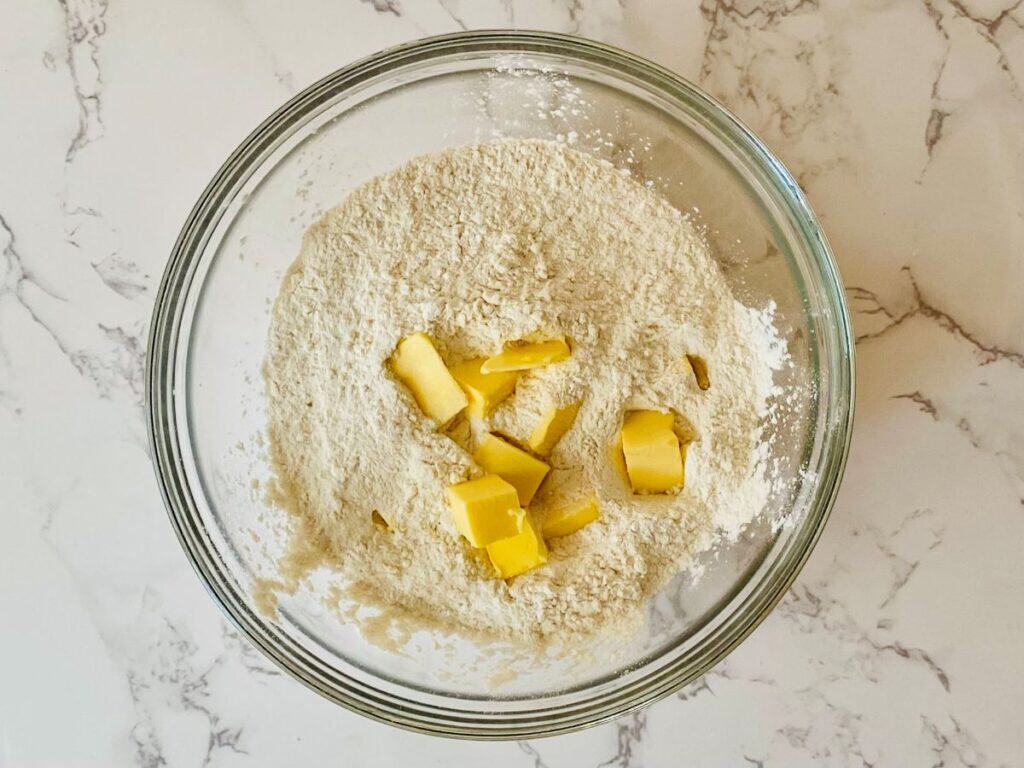
Add the butter and using the tips of your fingers press it into the flour – it will be hard at first. Keep working until all of the butter has been incorporated and the mixture resembles coarse breadcrumbs.
Add the salt and sugar and gently stir together with a spoon.
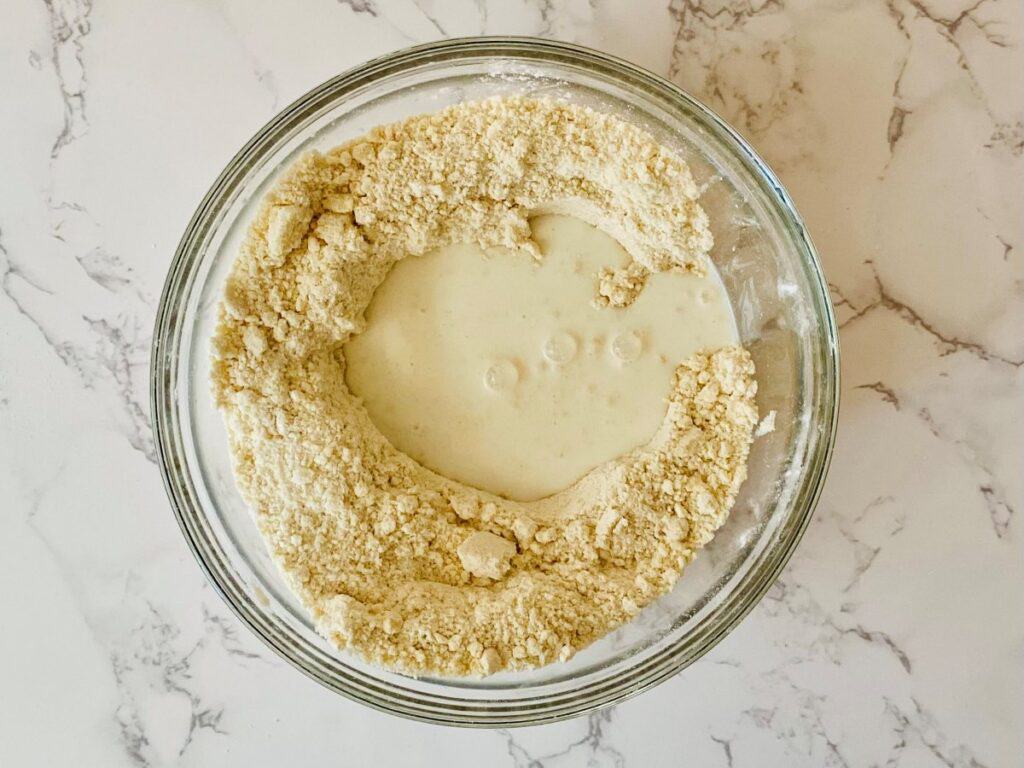
Add the milk
Make a well in the centre of the mixture. Slowly add the milk, then using the flat bladed knife, mix together with a turning and slicing motion until all the flour is incorporated.
Use a timer…
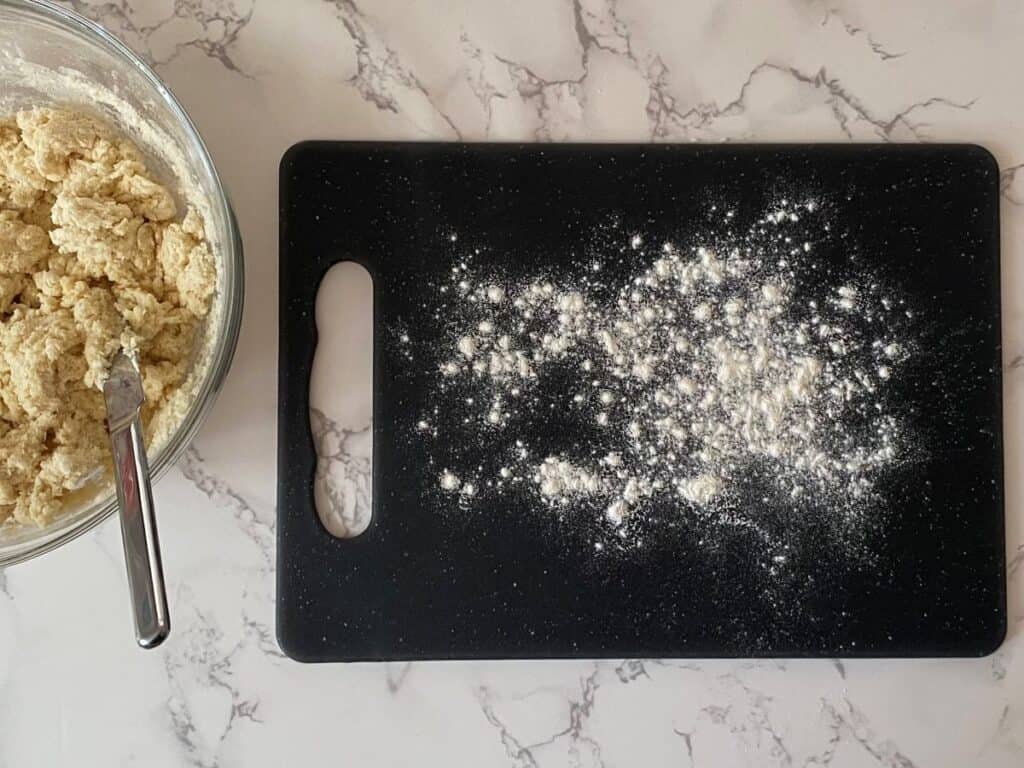
Take some extra flour and dust your board, then tip the dough out. Bring it together with your hands and knead gently for no more than 40 seconds (use a timer). Too much kneading will result in a tough scone.
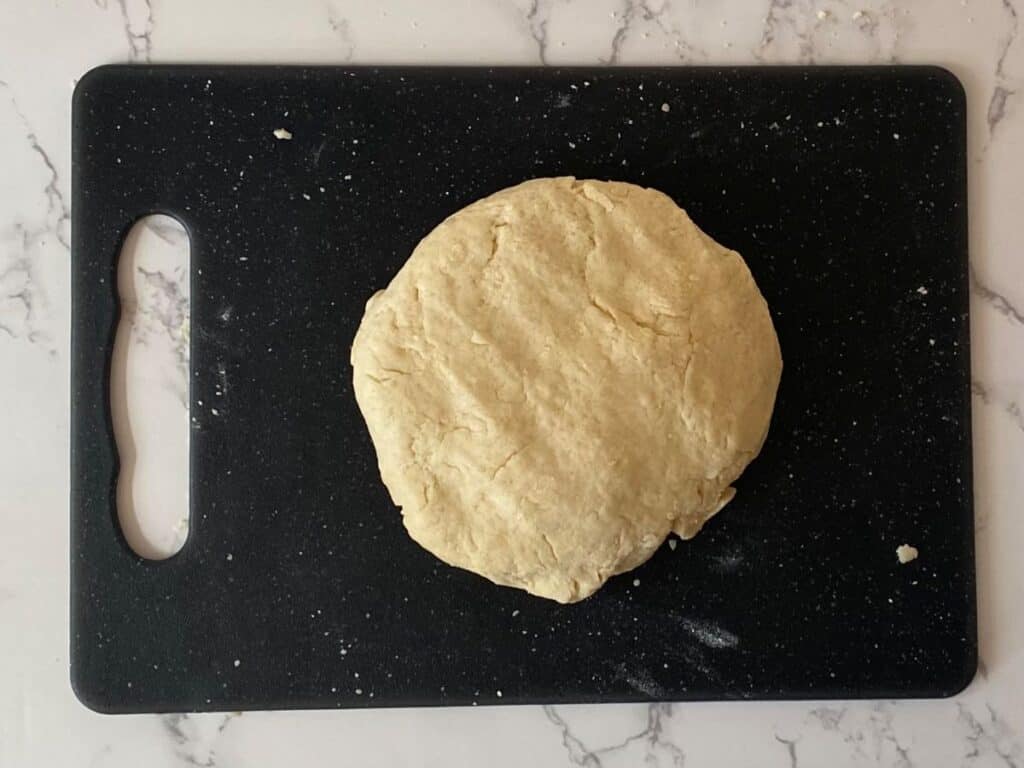
Measure
Shape the dough into a ball then pat it down into a disc measuring 2cm / 3/4 inch high on your ruler.
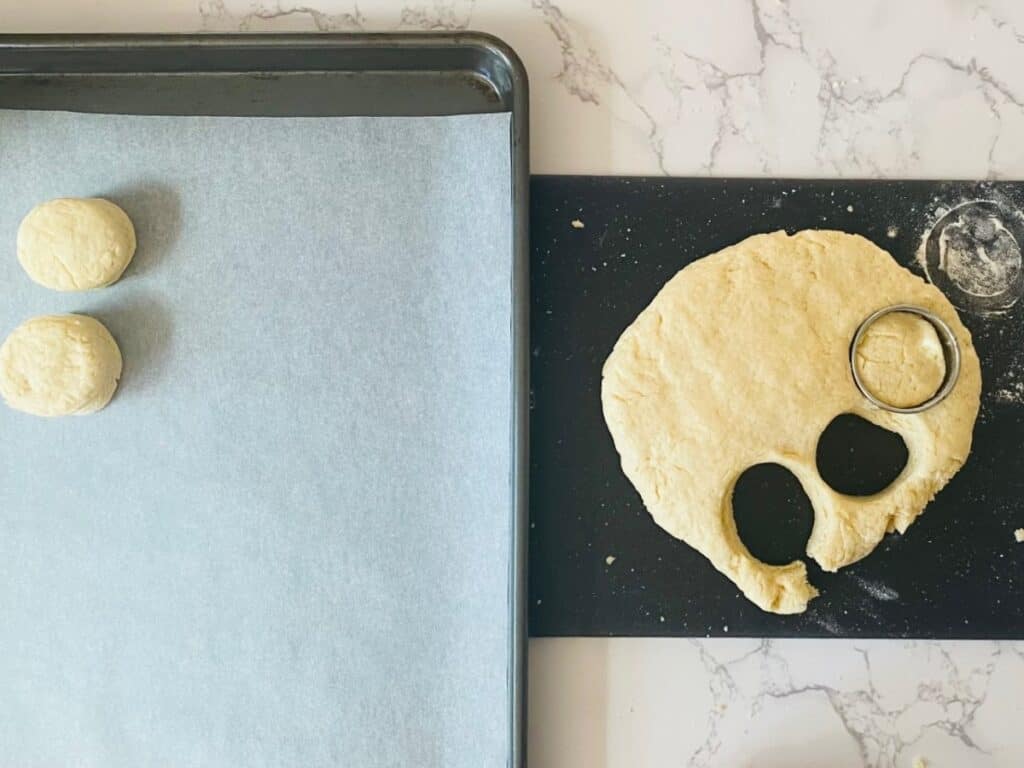
Cut out the scones
Put your baking tray next to the board. Take some extra flour and make a little mound in the top right hand corner of your board. Dip your cutter in the flour and spread a thin layer over the surface. This will prevent the cutter sticking to your scones.
Now press the cutter into the mixture then pull it back out with a STAMPING motion not a twisting motion (or you’ll end up with wonky scones). If the mixture sticks gently push it out with your fingers and pat it into shape if you need to. Place on your lined tray and repeat until you can’t cut out any more scones.
Bring the pieces of dough together as quickly as possible with minimal kneading and form into another round disc the same height as the previous one 2cm / 3/4 inch. Use your ruler to ensure accuracy. Repeat until all the dough is used. The last scone is usually a small ball that you pat into the scone cutter to create a scone-like shape. Use your ruler to ensure it is the same height as all the others.
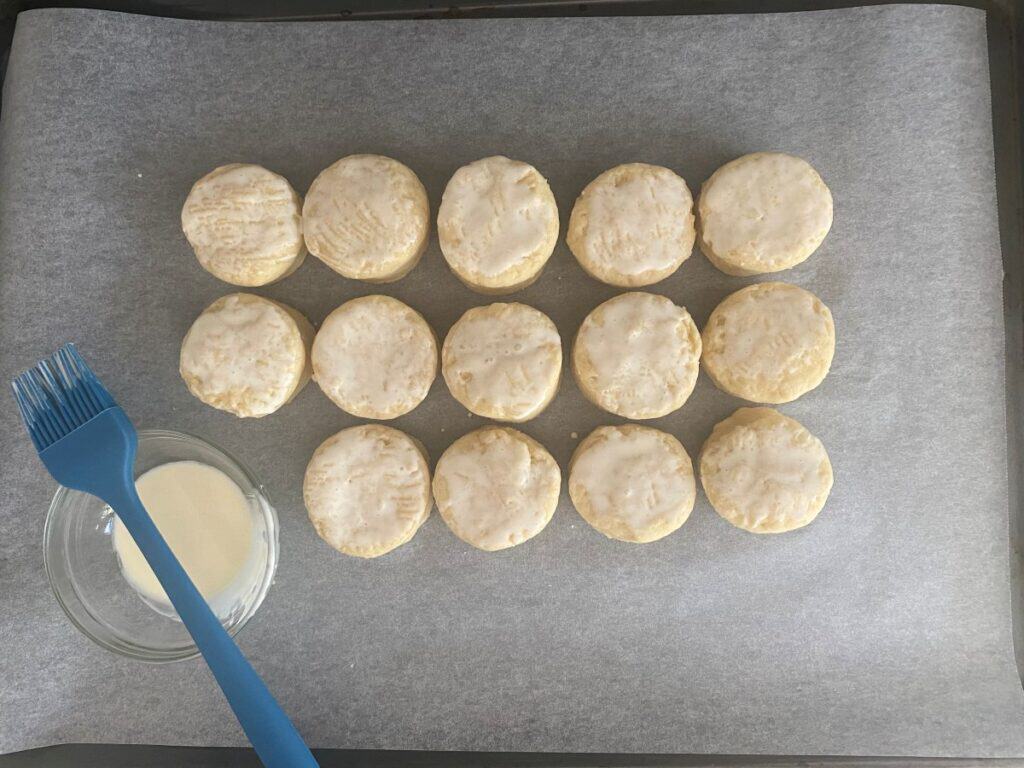
Close together makes a difference
Put a dash of milk or beaten egg in a small bowl. Take a pastry brush and gently brush the top of each scone.
Rearrange the scones on your tray so they are very close together but not touching. They will support each other as they rise and be less likely to lean over.
Bake in the oven on the middle shelf for 14 minutes, then turn and bake for a further 4 minutes. This will ensure an even bake. If your tops need a little more colour then cook for an extra 2 minutes but no more than this or they will be overdone.
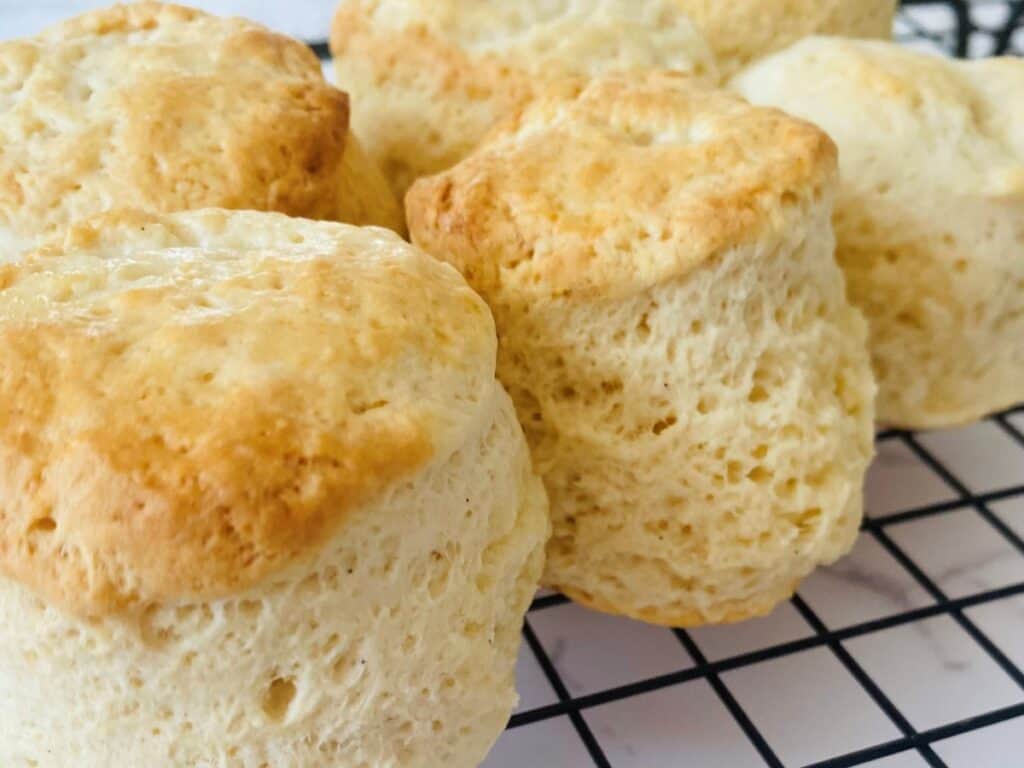
Serve now….or later
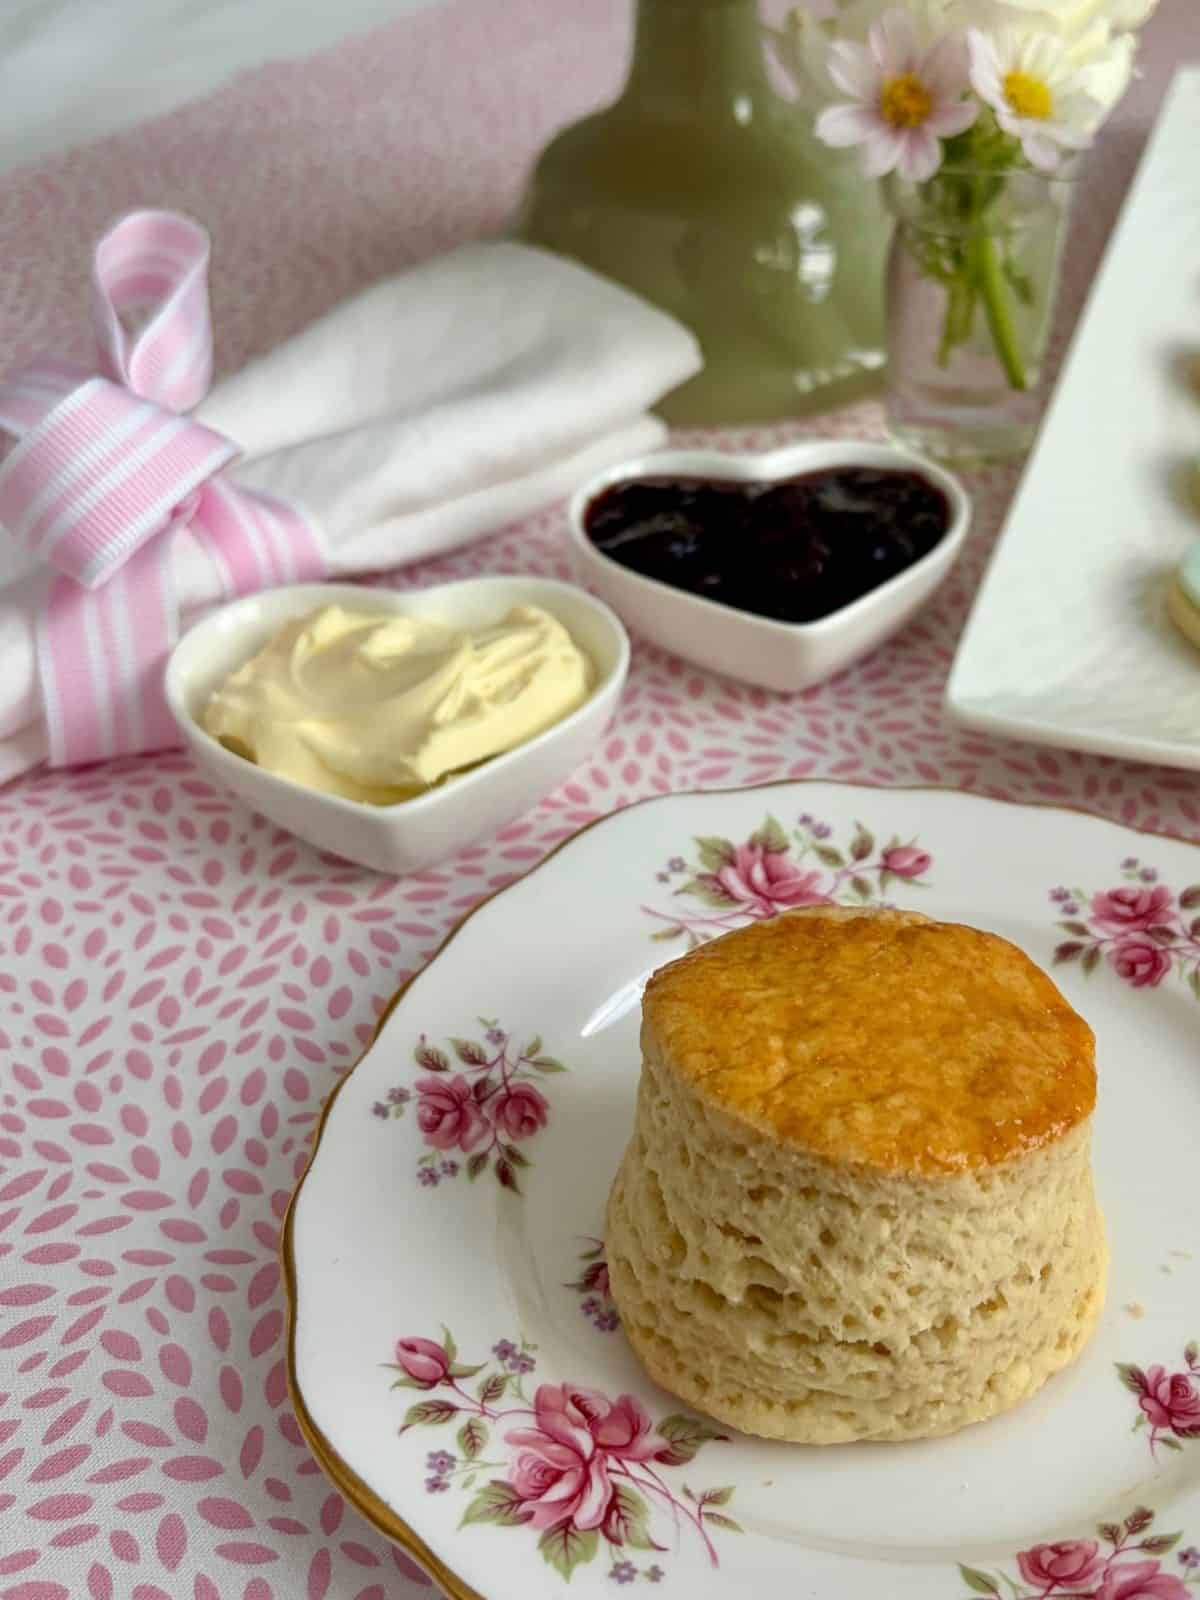
Remove from the oven, place on a wire rack, and admire how high they are!
Cool to serve later (see below) or wrap immediately in a clean tea towel or linen napkin to keep warm. Serve with jam and double cream.
Frequently Asked Questions
How do I save these for later? – Cool completely on a wire rack then place in a zip lock bag. Push out all the air, seal and keep in the refrigerator for up to 2 days. You can also freeze for up to 2 months in a zip lock bag.
How do I defrost? – Remove the zip lock bag from the freezer the day before serving and place in the refrigerator to defrost overnight.
How do I reheat? – Preheat the oven to 160 C / 320F. Take a large piece of aluminium foil and place the scones on top. Fold up to make a parcel and place in the oven for 12 minutes. Remove from the oven and unwrap the foil. Transfer to a clean tea towel or napkin and enclose so they keep warm until required.
Afternoon Tea Scones
14
servings15
minutes18
minutesEquipment
 Ruler
Ruler Pastry brush
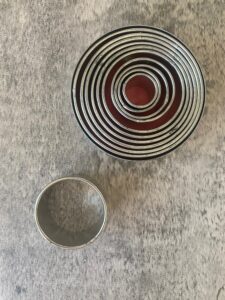 5cm / 2 inch round cutter
Additional equipment: A digital scale, mixing bowl, timer, flat bladed knife (like a butter knife), dessert spoon and a cutting board.
Keep the screen of your device on
Ingredients
375 g 13 1/4 oz Self-raising flour, plus extra for dusting the board and cutter
75 g 2 2/3 oz Unsalted butter, cubed
1/4 teaspoon 1/4 teaspoon Salt
75 g 2 2/3 oz Granulated sugar (white sugar)
175 ml 6 fl oz Full cream / full fat milk
1 teaspoon 1 teaspoon Vanilla extract
1 1 egg, beaten or a little milk for brushing the tops
- TO SERVE
Strawberry jam
Double cream
Directions
- Preheat the oven 200 C / 400F (no fan) or 180 C / 350 F (with fan).
- Read my tips for scone success (above), watch the 60 second video (below), then prep all your ingredients and equipment so you can work quickly. This ensures the scone dough stays cool and you get a good rise and fluffy texture.
- Line a large baking tray with baking paper such as Glad Bake or similar and set aside. Find a ruler and put it on your bench.
- Cut the cold butter into small cubes, place in a small dish.
- Place the self-raising flour in a large mixing bowl. Leave the packet on your bench as you will need a little extra to dust the board and cutter.
- Measure the salt and put it in a small dish then weigh the sugar into a separate small bowl then set aside.
- Measure the milk into a jug, add the vanilla then set them aside.
- Place your 5cm/2 inch round cutter, spoon for mixing (dessert spoon is fine), flat edged knife (e.g. butter knife), pastry brush and ruler on the bench in an easy to reach location.
- Working quickly, add the cold butter to the flour. Using the tips of your fingers press the butter (it will be hard at first) into the flour. Keep working until all of the butter has been incorporated and the mixture resembles coarse breadcrumbs.
- Add the salt and sugar and gently stir together with the spoon.
- Make a well in the centre of the mixture. Slowly add the milk then the vanilla. Using the flat bladed knife, mix together with a turning and slicing motion until all the flour is incorporated.
- Take some extra flour and dust your board, then tip the dough out. Bring it together with your hands and knead gently for no more than 40 seconds (use a timer). Too much kneading will result in a tough scone.
- Shape the dough into a ball then pat it down into a disc measuring 2cm / 3/4 inch high on your ruler.
- Put your baking tray next to the board. Take a little extra flour from the packet and make a little mound in the top right hand corner of your board. Dip your cutter in the flour and spread a thin layer over the surface. This will prevent the cutter sticking to your scones.
- Now press the cutter into the mixture then pull it back out with a STAMPING motion not a twisting motion (or you’ll end up with wonky scones). If the mixture sticks gently push it out with your fingers. Place on your lined tray and repeat until you can’t cut out any more scones.
- Bring the pieces of dough together as quickly as possible with minimal kneading and form into another round disc the same height as the previous one 2cm / 3/4 inch. Use your ruler to ensure accuracy. Repeat until all the dough is used. The last scone is usually a small ball that you pat into the scone cutter to create a scone-like shape. Use your ruler to ensure it is the same height as all the others.
- Rearrange the scones on your tray so they are very close together but not touching. They will support each other as they rise and be less likely to lean over.
- Brush the tops of the scones with milk or egg wash.
- Bake in the oven on the middle shelf for 14 minutes, then turn your tray and bake for a further 4 minutes to ensure an even bake. If your tops are not brown, then bake for another 2 minutes max. Remove from the oven and place on a wire rack.
- Cool to serve later or store (see FAQs ) or wrap immediately in a clean tea towel or linen napkin to keep warm before serving with jam and double cream.
- Jam and Double Cream: Serve in separate small bowls/dishes with a teaspoon so guests can help themselves.
- For storing and reheating instructions visit the FAQ section above.
Best scones I’ve ever made, a big hit with the family. Thanks Anna
Oh that’s brilliant Bron! I’m so glad they were a hit with the family too. Thanks for your lovely comment.
The scones were amazing Anna, loved by my husband, son and Mum. The recipe had great tips.
Thanks Anna