
A modern twist on a traditional favourite, these brandy snap cones are crisp, lacy delights. Filled with whipped Chantilly cream and finished with fresh raspberries, they’re the perfect sweet touch for Afternoon Tea or any special celebration. View my promo video at the end of the recipe for inspiration!

Elegant, moreish, and just a little bit nostalgic
Classics are classics for a reason. They’re easy to love, stand the test of time, and always bring a touch of joy to the table. Brandy snaps fit this description perfectly. While they may have had their heyday in the 70s and 80s—often served as a dinner party dessert or alongside coffee—they’ve never really lost their charm.
What makes them so special today is their balance of elegance and fun. They’re not an everyday bake, but when you do make them, they feel like a little luxury. And the best part? They use simple pantry ingredients, yet the result is something that looks fancy and tastes irresistible.
What goes into a brandy snap?
The magic begins with just a handful of ingredients: butter, golden syrup, brown sugar, ginger powder, and plain flour (plus a pinch of salt). Together they transform into a caramel-like mixture that bakes into a delicate, sweet, and lacy biscuit.
I’ll admit, when I made my test batch, I couldn’t resist eating two back-to-back—they’re that good!
From tubes to cones
Traditionally, brandy snaps are rolled around a wooden spoon handle to form tubes. These days though, I’ve fallen in love with the cone version. There’s something delightful about presenting a little cone filled with luscious Chantilly cream—it instantly elevates an afternoon tea stand and brings a touch of indulgence. Simply roll the warm mixture around Cream Horn moulds to get the perfect shape then fill – it really is that easy. Visit my Amazon Shop to purchase the same ones I used. Note: As an Amazon Affiliate I receive a small commision on items purchased from my store.
The secret to success
The secret to achieving the perfect cone without broken brandy snaps and burnt fingers is to use a timer and only bake a maximum of three at a time. This way you don’t have to rush and you won’t be tempted to try to roll the snap before the right amount of time has elapsed. You can even start with two at a time then once you get the hang of it bake three at a time – it’s entirely up to you. I’ve put all the timings you need in the recipe as well as handy tips for success.

Why you’ll love these brandy snap cones
- They look elegant but are made with simple, accessible ingredients.
- The cones are light, crisp, delicately spiced and really easy to shape.
- Filled with vanilla infused Chantilly cream and raspberries, they’re the perfect balance of creaminess, sweetness and tartness.
- They add a playful yet sophisticated touch to Afternoon Tea, parties, or any celebration.
Good to know
- Cream horn moulds make it easy to get the cone shape – you’ll only need three as you can re-use them with each batch.
- A thin, angled spatula helps when removing the brandy snaps from the tray. Also, use a silicone mat if you can – mine’s from Aldi and Amazon have plenty too.
- You can make the cones and whip the cream up to 4 hours before your event. Fill just before serving.
Other great Afternoon Tea recipes to make
Smoked Salmon Finger Sandwiches
Ingredients for Brandy Snap Cones
- Unsalted butter
- Brown sugar
- Golden syrup
- Plain/ All purpose flour
- Ground ginger
- Fine table salt
- Thickened or whipping cream
- Icing sugar
- Vanilla extract
- Fresh raspberries
How to make Brandy Snap Cones
Read the recipe in full before you start and check out my Instagram, Facebook or TikTok post too – it shows me rolling the cones.
Preheat the oven to 160 C fan / 320 F fan.
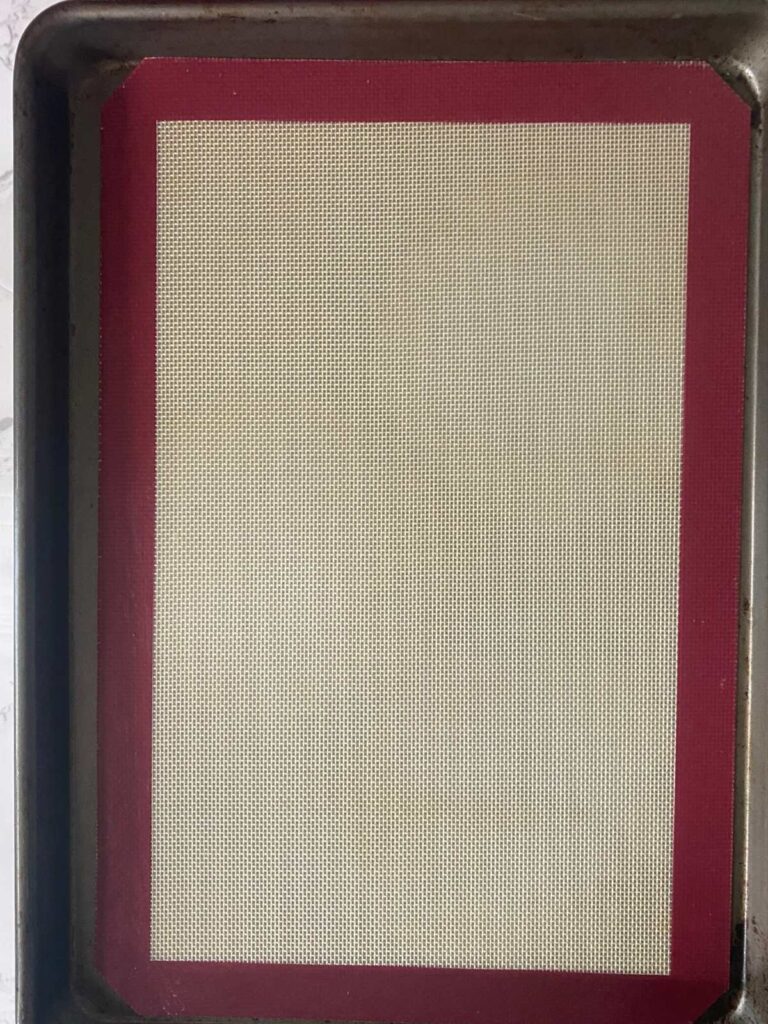
Line a baking sheet with a silicone baking mat. If you don’t have one then you can use a piece of baking paper, however you will need to replace it with a fresh sheet for each batch.
Place a small saucepan on top of your scales.
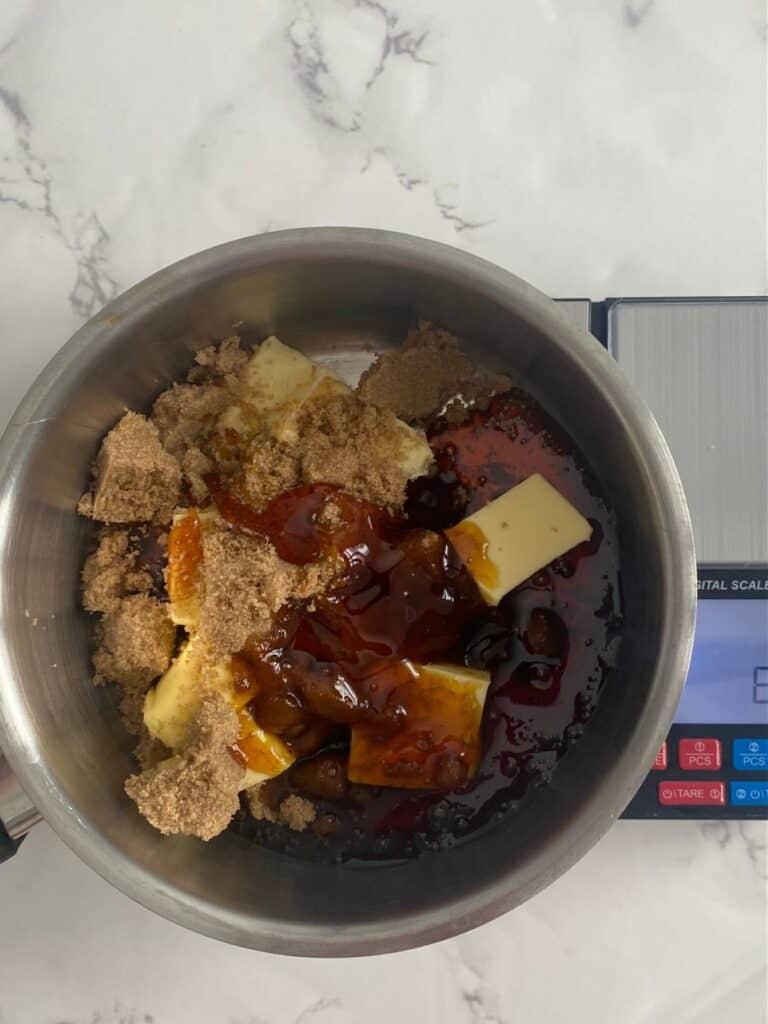
Weigh out the butter, sugar and golden syrup into the saucepan (zero the scales each time) then set aside.
In a separate bowl, weigh out the flour then add the ginger and pinch of salt. Stir until combined.
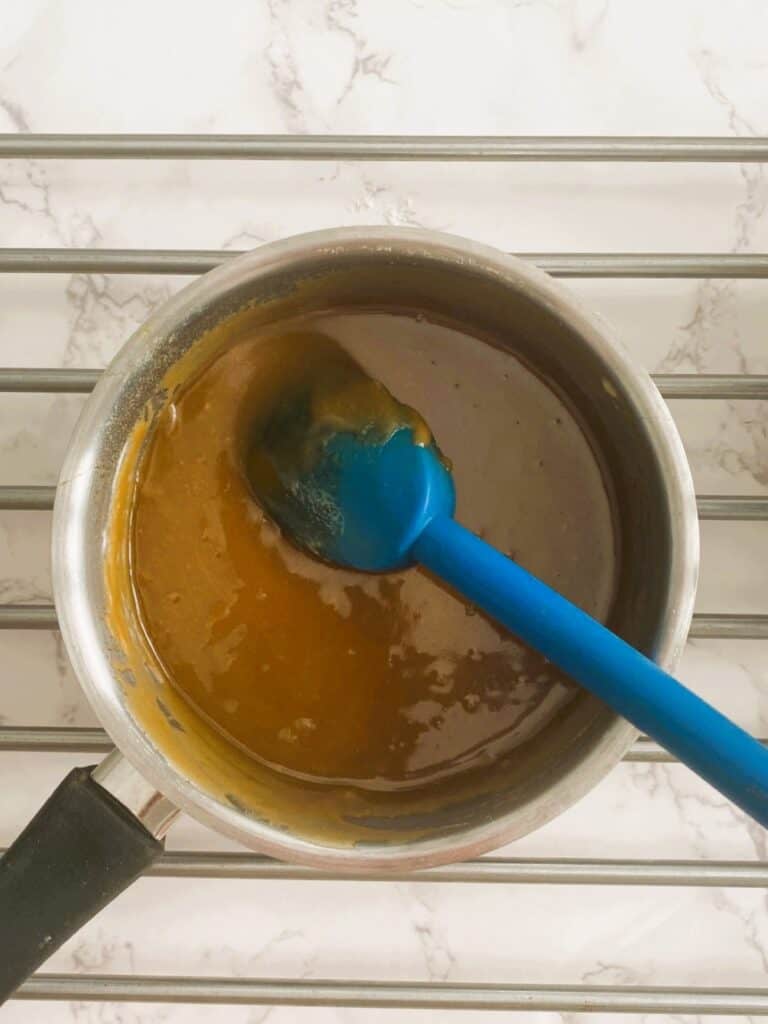
Place the saucepan with the butter, sugar and golden syrup on low heat. Stir until all butter has melted and the ingredients are incorporated then remove from the heat. Be careful not to let the sugar burn in the early stages.
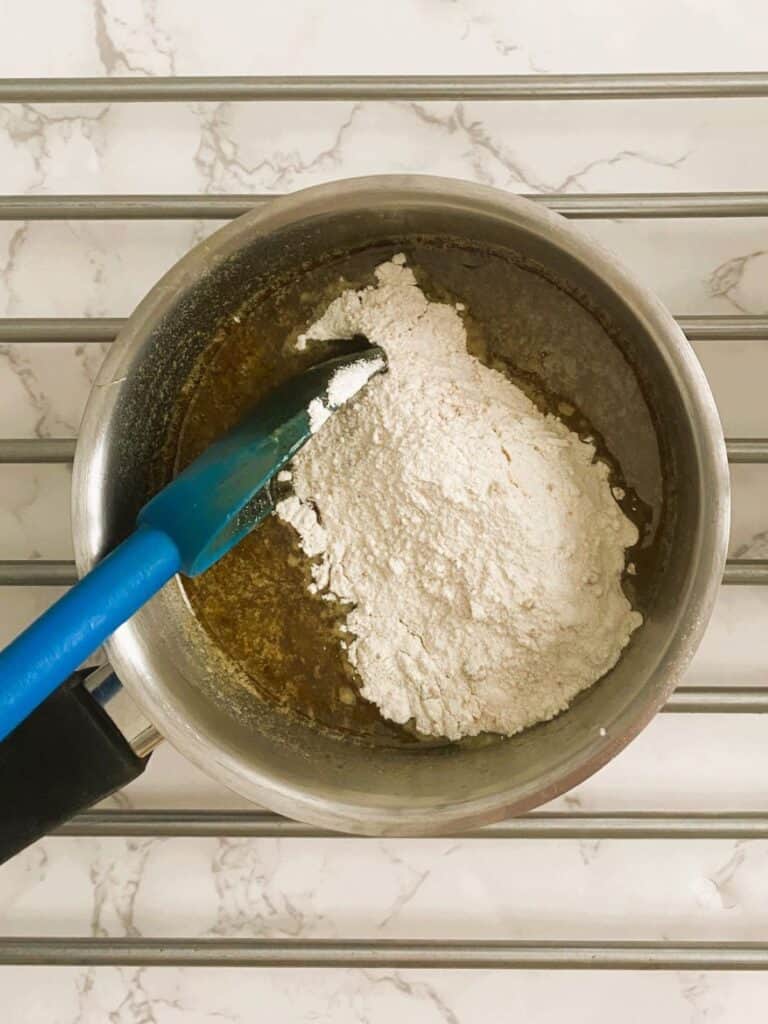
Add the flour mixture and stir until combined. Rest the mixture for 3 minutes (set a timer), it will make it easier to handle.
Bake the brandy snaps
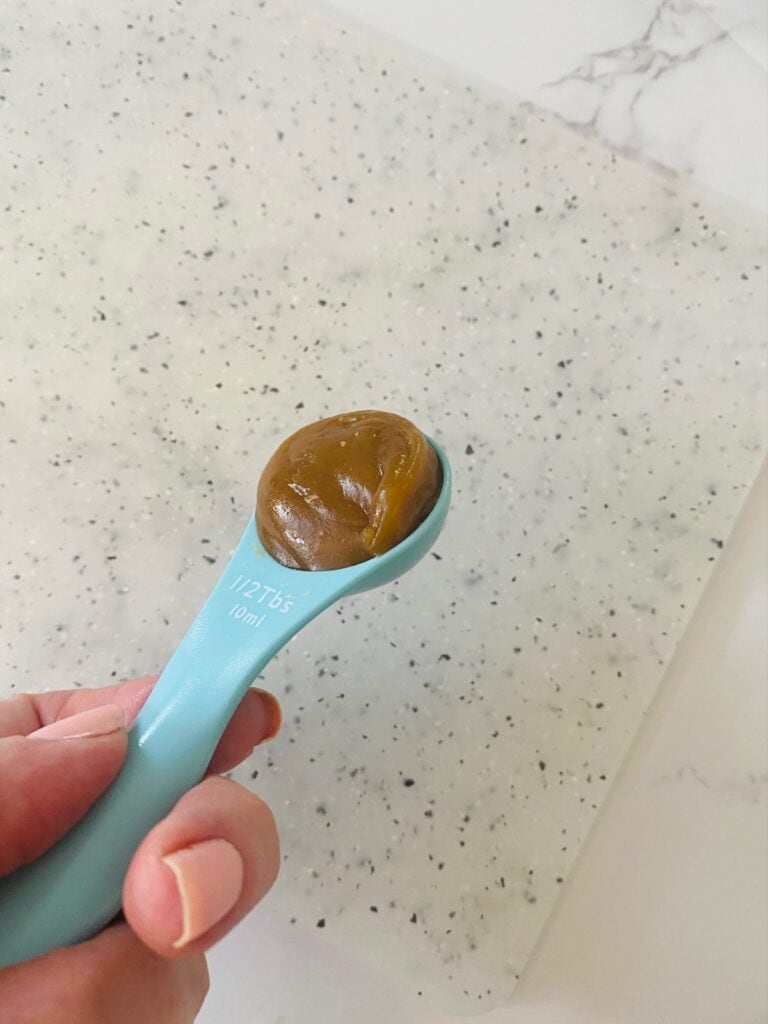
Place a heaped half tablespoon of the mixture on the silicone mat – use an actual measuring spoon so that each brandy snap is the same size. Use a metal teaspoon to help get the mixture out if necessary.
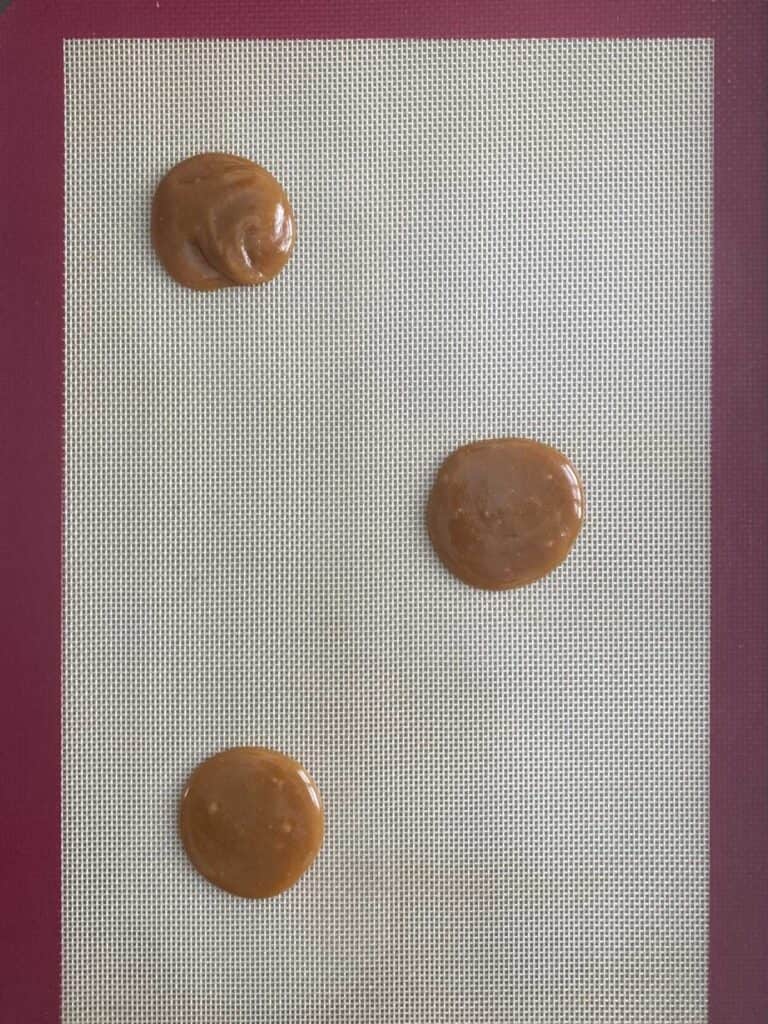
Repeat with up to 2 more half tablespoons of the mixture, making sure you leave plenty of space between each one – see photo.
Tip: If this is your first time making brandy snaps then start with just two blobs of mixture on your tray until you get the hang of working with them. Once you feel confident then increase the number to three.
Bake in the oven for 7 minutes (set a timer).
While your brandy snaps are baking, line a medium tray or plate with a couple of sheets of paper towel and set aside.
Roll the brandy snap cones
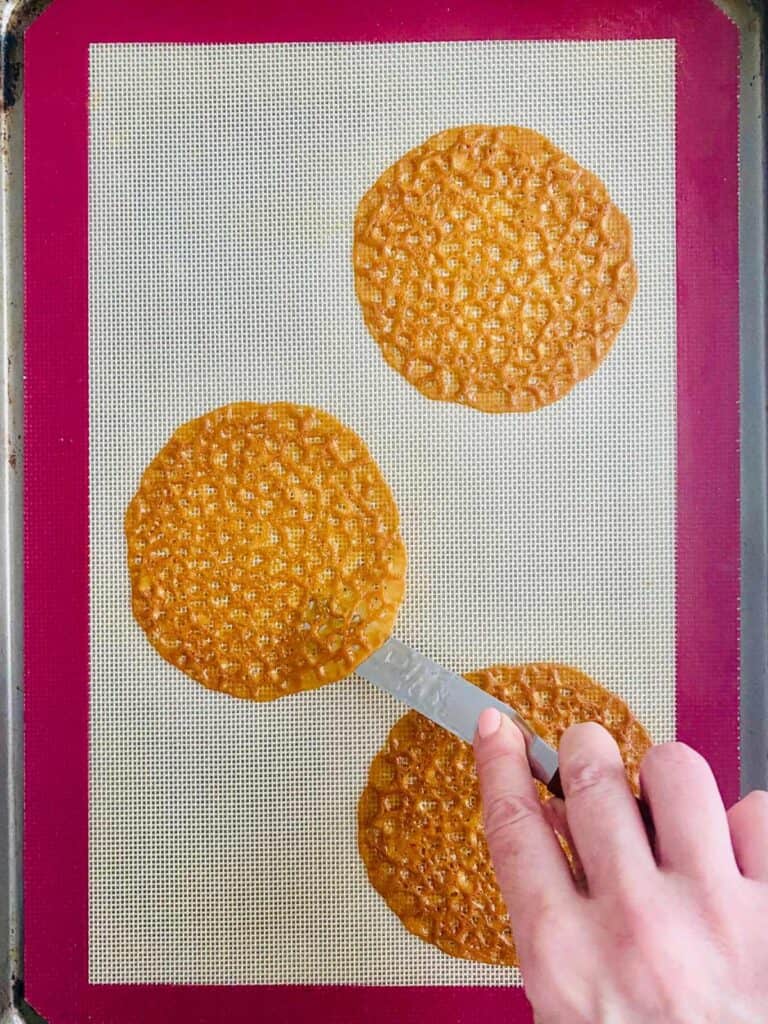
As soon as the timer goes off, remove the brandy snaps from oven and leave them to firm up for 2.45 minutes to 3 minutes (set a timer – very important!). Don’t touch them during the resting stage or they will tear.
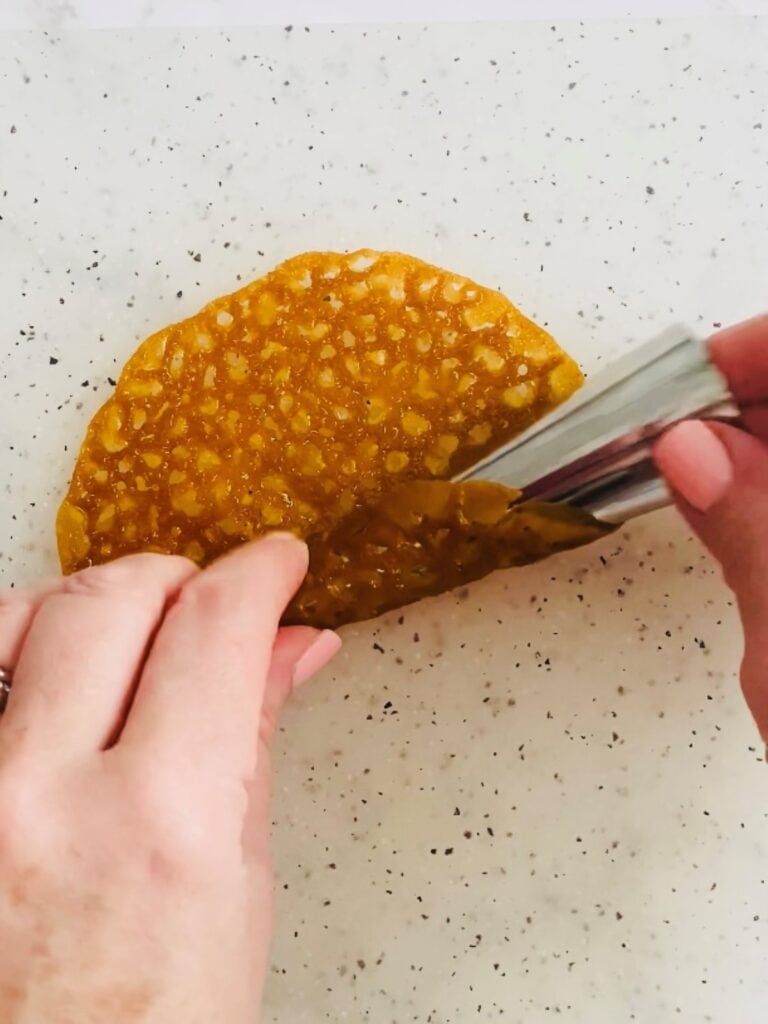
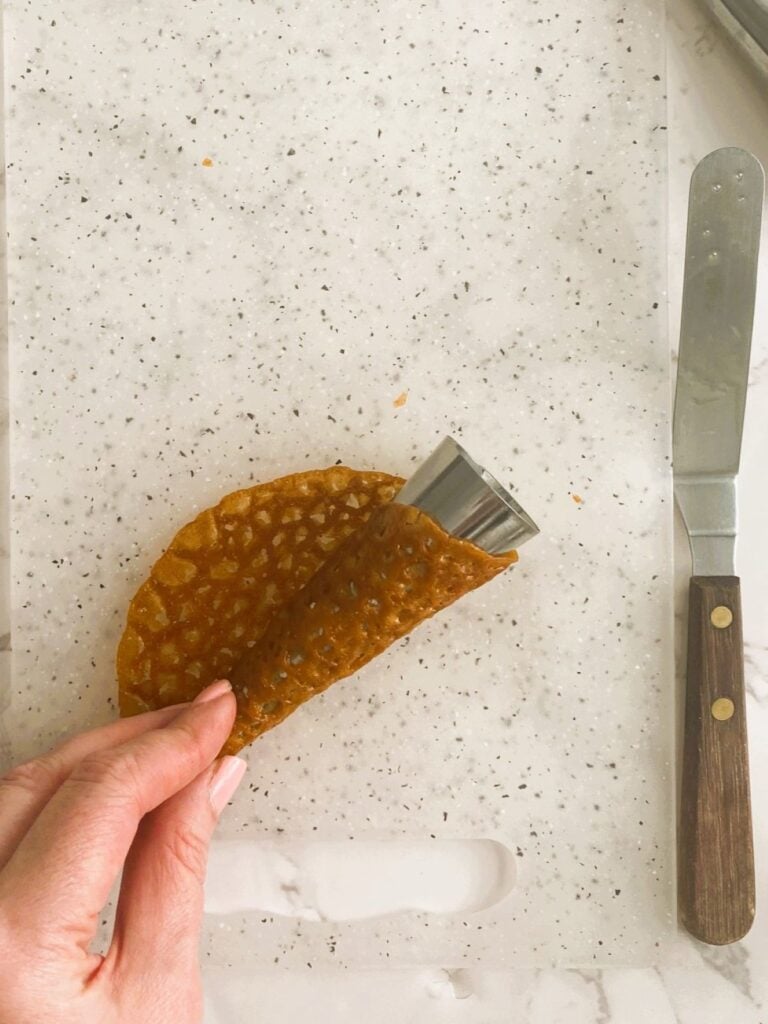
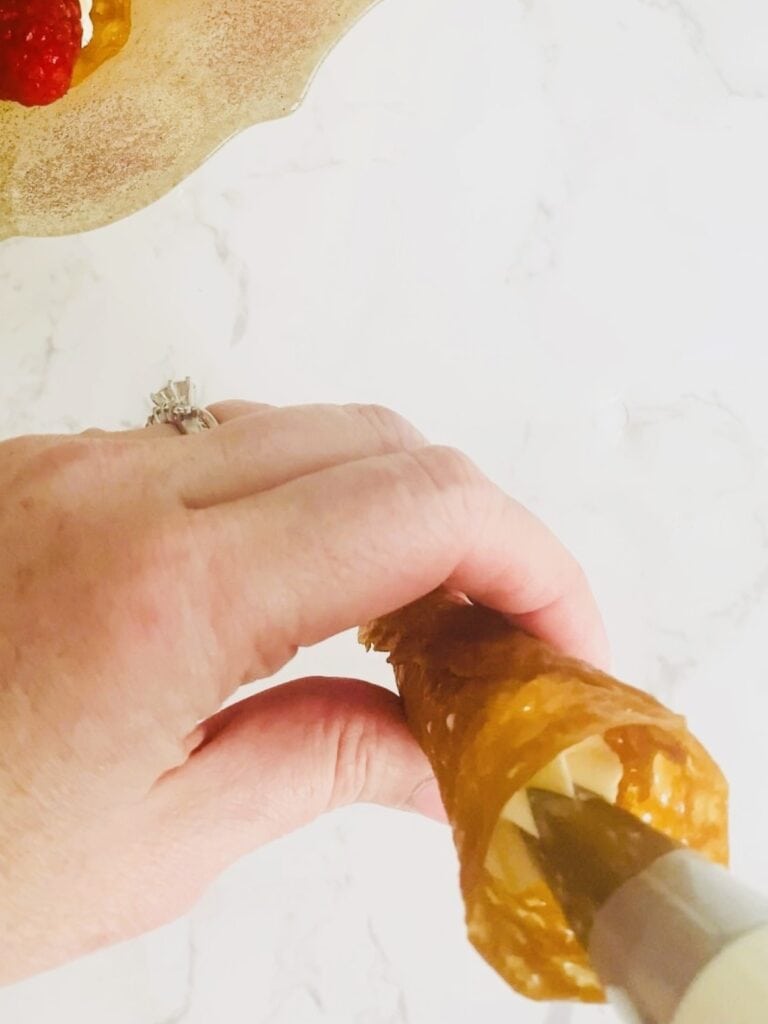
When the time is up, take your angled spatula and run it around the outside edge of one of the brandy snaps to loosen, then gently lift it off the mat and flip it over onto a cutting board so the lacy side is face down.
WORKING QUICKLY, take a cream horn mould and place it on the edge of the brandy snap then roll it over the tip, then keep rolling to make a cone.
Tip: The butter in the brandy snap makes it very slippery so it helps to hold the open end of the cone mould with one hand while you roll with the other. See images.
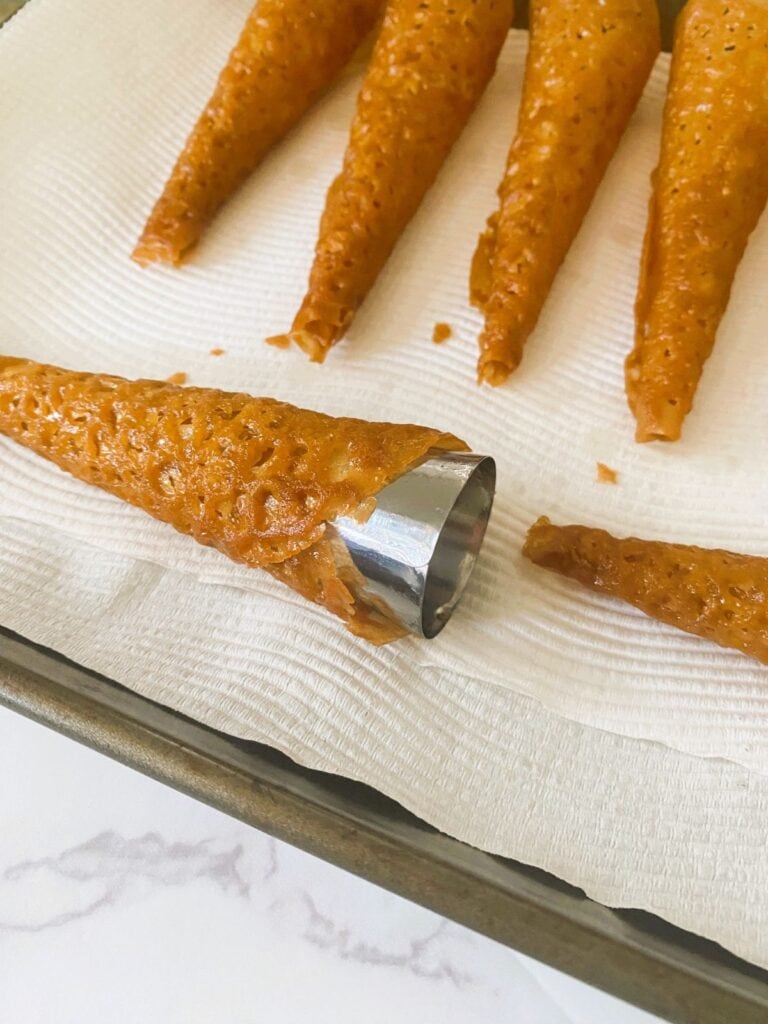
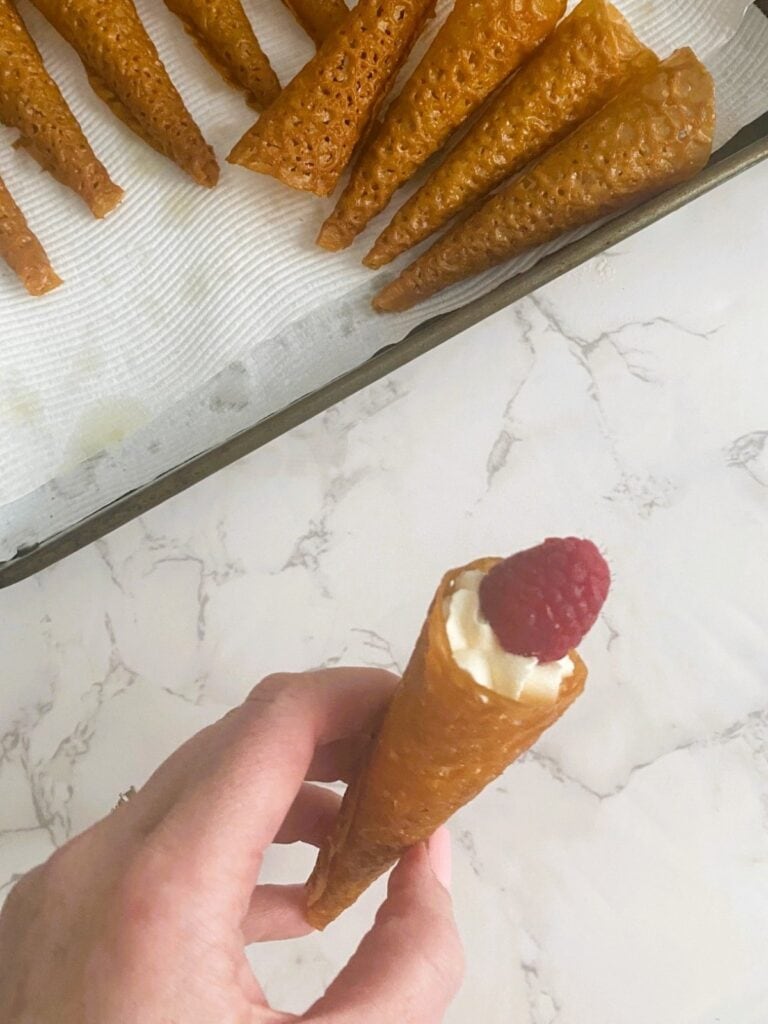
Place the rolled cone seam side down on the paper towel lined tray. Repeat the same steps with the next two brandy snaps.
Tip: if your brandy snap is still quite soft then leave the cream horn mould inside while you roll the remaining snaps. Remove it when cool. Don’t worry it won’t stick as the mixture is very buttery.
Bake the next batch
Wipe any residue from your silicone mat with a piece of paper towel, or replace the baking paper with a fresh sheet.
Repeat the process as before until all the mixture has been used up.
Store the brandy snap cones
Line a sealable container with paper towel. Carefully place the brandy snap cones inside then cover with more paper towel then add the lid. Leave on your bench for up to 4 hours.
Make the Chantilly cream
Attach the whisk attachment to your stand mixer or hand beaters.
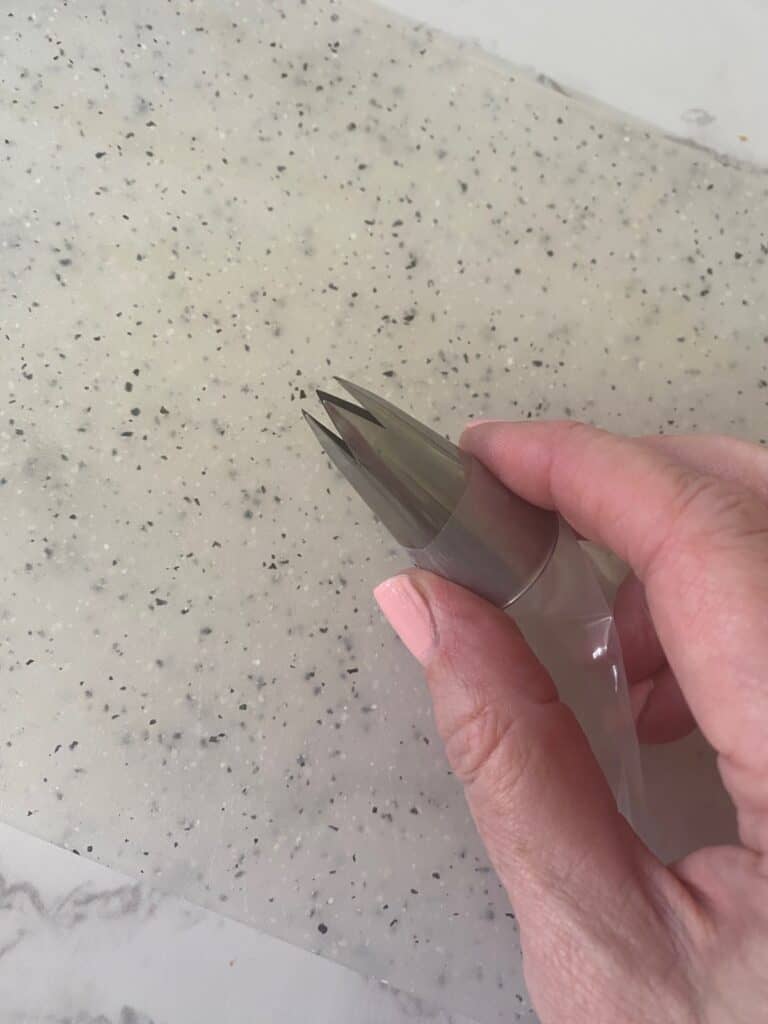
Fit a medium disposable piping bag with a large open star tip such as a 1M and snip off the end. Place the bag in a tall glass and turn over the top third to make a cuff. Set aside for now.
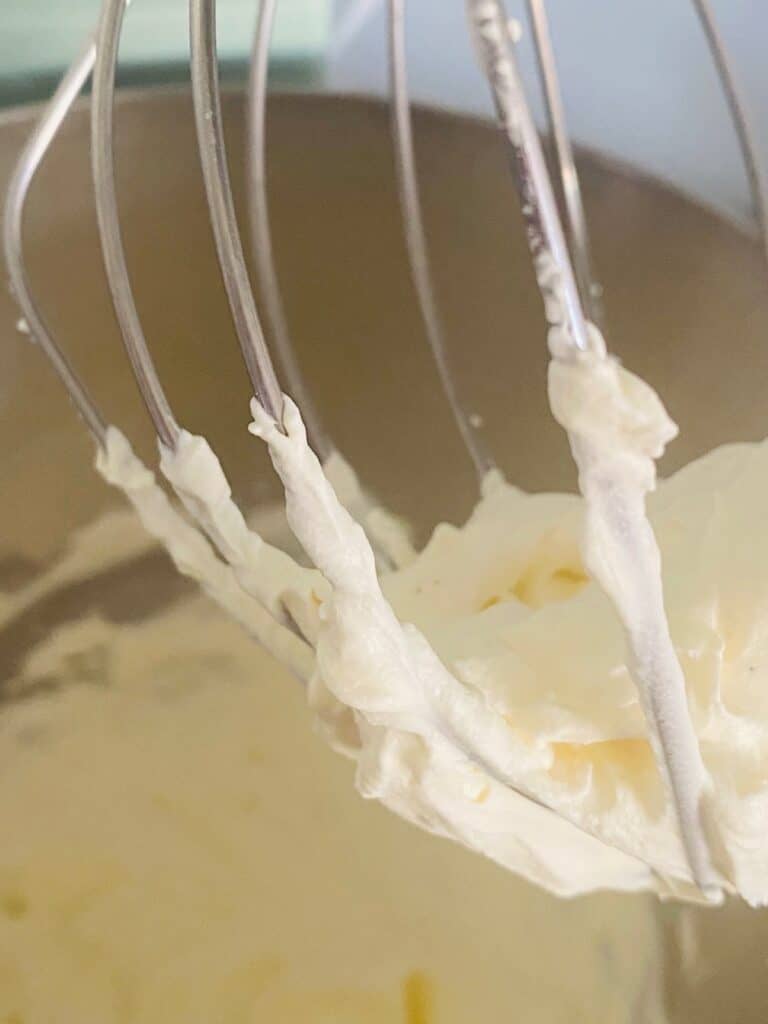
Place the cream together with the sifted icing sugar and vanilla in a stand mixer bowl (or bowl you can use with hand beaters) and whip the cream on medium speed until a stiff, pipeable consistency.
Fill the bag with the whipped cream then remove from the glass, pull up the cuff and twist until a small amount of cream comes out of the tip. Take a small piece of plastic wrap and cover the tip, then put the bag in the refrigerator until required.
To serve the Brandy Snap Cones
Place the raspberries in colander or strainer and run under cold water. Shake, then tip out onto a plate lined with paper towel. Gently pat dry with another sheet of paper towel.
Remove the cream from the fridge, take off the plastic wrap and pipe a little star on a clean plate – the cream should come out easily with no dried residue.
Take a brandy snap cone from your sealed container, pipe a little cream until it comes reaches the top then add a raspberry. Place in tumbler glasses, on a serving tray or tiered stand, then repeat with the remaining brandy snap cones. Serve immediately.
FAQs about Brandy Snap Cones
How far in advance can I make these? You can prepare the unfilled cones up to 4 hours in advance—after that, they will lose their crispness. Be sure to store them in a sealed container, with paper towels lining the bottom and top as described in the recipe. Once the cones are filled, they should be served immediately; otherwise, they will become soggy from the moisture in the cream and exposure to air.
Can I use a different fruit? Absolutely! These work just as well with strawberries, blueberries or even blackberries. Feel free to change the fruit to suit what’s available or make a mix of two or three.

Brandy Snap Cones
15
servings15
minutes7
minutes35
minutesEquipment
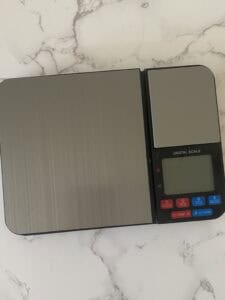 Digital Scales
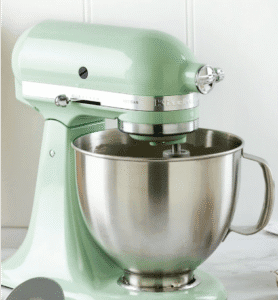 Stand mixer with whisk
 Half tablespoon measuring spoon
Other Equipment
Timer (very important)
3 x Cream Horn Moulds – visit my Amazon Shop for the same ones I used
Silpat or baking paper
Angled spatula
Paper towels
1M star tip
Disposable piping bag
Large baking sheet
Fine mesh strainer or sifter
Whisk attachment
Colander or medium strainer
Keep the screen of your device on
Ingredients
- Brandy Snaps
90 g 3 1/6 oz Unsalted butter
75 g 2 2/3 oz Brown sugar
60 g 2 1/8 oz Golden syrup
60 g 2 1/8 oz Plain flour
1 teaspoon 1 tsp Ground ginger
Pinch Pinch Fine table salt
- Chantilly Cream
200 ml 6 3/4 fl oz Thickened or whipping cream
50 g 1 3/4 oz Icing sugar, sifted
1 tsp 1 tsp Vanilla extract
- Garnish
Punnet of fresh raspberries
Directions
- Read the recipe in full before you start and check out the images in the post above and my Instagram, Facebook or TikTok post too for a short video.
- Preheat the oven to 160 C fan / 320 F fan.
- Line a baking sheet with a silicone baking mat. If you don’t have one then you can use a piece of baking paper, however you will need to replace it with a fresh sheet for each batch.
- Place a small saucepan on top of your scales.
- Weigh out the butter, sugar and golden syrup into the saucepan (zero the scales each time) then set aside.
- In a separate bowl, weigh out the flour then add the ginger and pinch of salt. Stir until combined.
- Place the saucepan with the butter, sugar and golden syrup on low heat. Stir until all butter has melted and the ingredients are incorporated then remove from the heat. Be careful not to let the sugar burn in the early stages.
- Add the flour mixture and stir until combined. Rest the mixture for 3 minutes (set a timer), it will make it easier to handle.
- Bake the Brandy Snaps
- Place a heaped half tablespoon of the mixture on the silicone mat – use an actual measuring spoon so that each brandy snap is the same size. Use a metal teaspoon to help get the mixture out if necessary.
- Repeat with up to 2 more half tablespoons of the mixture, making sure you leave plenty of space between each one – see photo.
- Tip: If this is your first time making brandy snaps then start with just two blobs of mixture on your tray until you get the hang of working with them. Once you feel confident then increase the number to three.
- Bake in the oven for 7 minutes (set a timer).
- While your brandy snaps are baking, line a medium tray or plate with a couple of sheets of paper towel and set aside.
- Roll the brandy snaps
- As soon as the timer goes off, remove the brandy snaps from oven and leave them to firm up for 2.45 minutes to 3 minutes (set a timer – very important!). Don’t touch them during the resting stage or they will tear.
- When the time is up, take your angled spatula and run it around the outside edge of one of the brandy snaps to loosen, then gently lift it off the mat and flip it over onto a cutting board so the lacy side is face down.
- WORKING QUICKLY, take a cream horn mould and place it on the edge of the brandy snap then roll it over the tip, then keep rolling to make a cone.
- Tip: The butter in the brandy snap makes it very slippery so it helps to hold the open end of the cone mould with one hand while you roll with the other. See images.
- Place the rolled cone seam side down on the paper towel lined tray. Repeat the same steps with the next two brandy snaps.
- Tip: if your brandy snap is still quite soft then leave the cream horn mould inside while you roll the remaining snaps. Remove it when cool. Don’t worry it won’t stick as the mixture is very buttery.
- Bake the next batch
- Wipe any residue from your silicone mat with a piece of paper towel, or replace the baking paper with a fresh sheet.
- Repeat the process as before until all the mixture has been used up.
- Store
- Line a sealable container with paper towel. Carefully place the brandy snap cones inside then cover with more paper towel then add the lid. Leave on your bench for up to 4 hours.
- Whip the cream
- Attach the whisk attachment to your stand mixer or hand beaters.
- Fit a medium disposable piping bag with a large open star tip such as a 1M and snip off the end. Place the bag in a tall glass and turn over the top third to make a cuff. Set aside for now.
- Place the cream together with the sifted icing sugar and vanilla in a stand mixer bowl (or bowl you can use with hand beaters) and whip the cream on medium speed until a stiff, pipeable consistency.
- Fill the bag with the whipped cream then remove from the glass, pull up the cuff and twist until a small amount of cream comes out of the tip. Take a small piece of plastic wrap and cover the tip, then put the bag in the refrigerator until required.
- To serve
- Place the raspberries in colander or strainer and run under cold water. Shake, then tip out onto a plate lined with paper towel. Gently pat dry with another sheet of paper towel.
- Remove the cream from the fridge, take off the plastic wrap and pipe a little star on a clean plate – the cream should come out easily with no dried residue.
- Take a brandy snap cone from your sealed container, pipe a little cream until it comes reaches the top then add a raspberry. Place in tumbler glasses, on a serving tray or tiered stand, then repeat with the remaining brandy snap cones. Serve immediately.