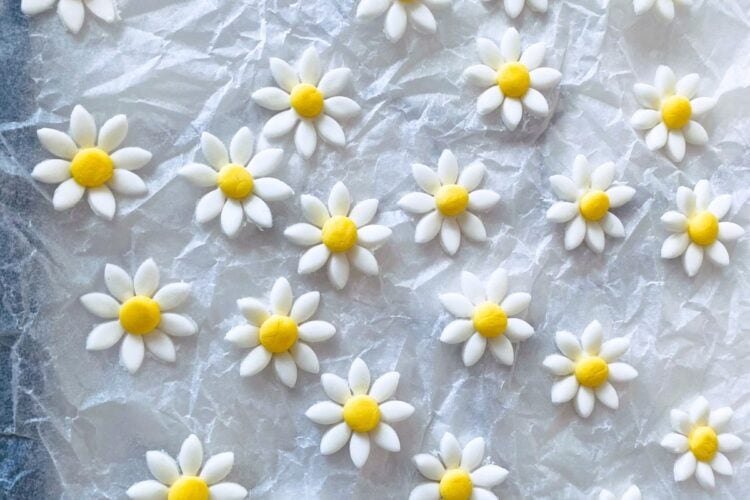
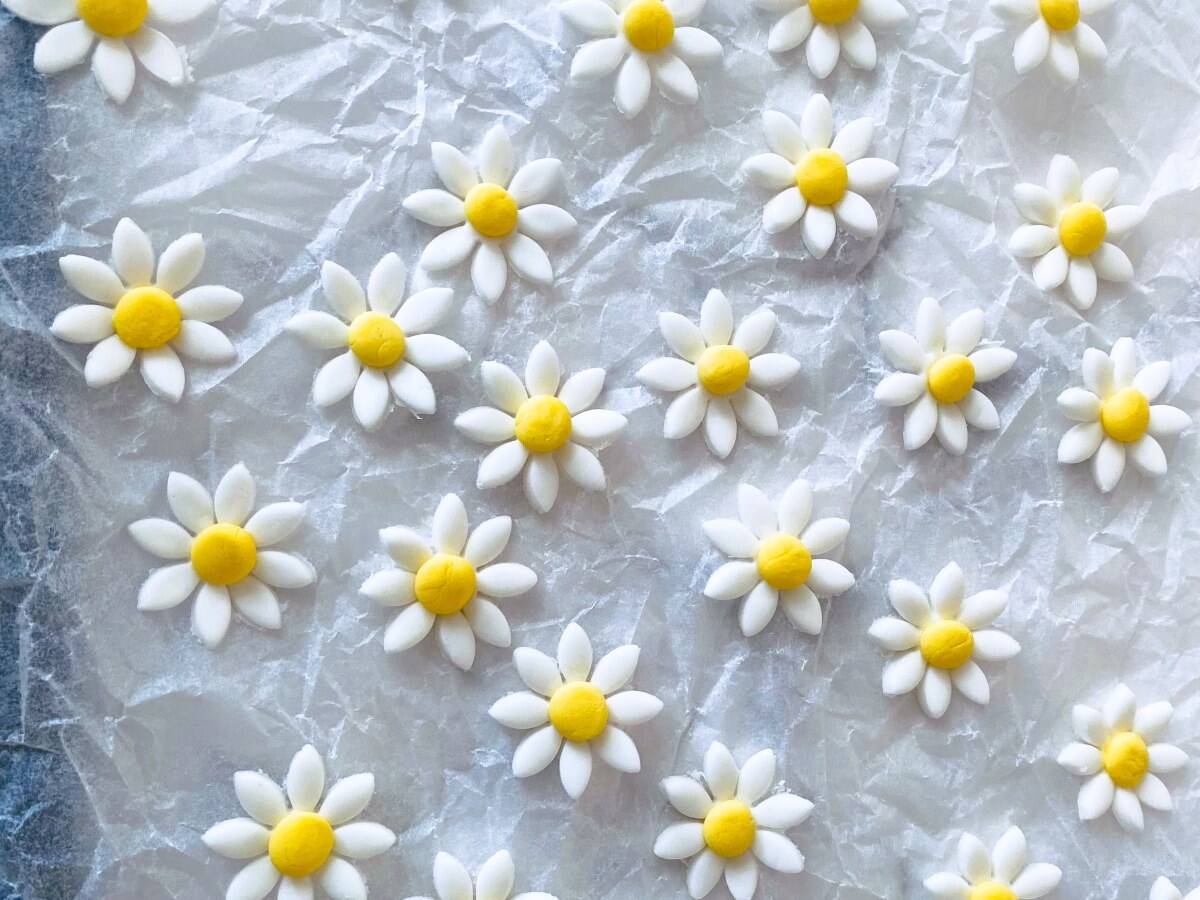
The perfect finish for your sweet treats, these fondant daisies are quick to make and 100% edible.
Fondant Daisies – A Perfect Afternoon Tea Garnish
Afternoon tea never looked so good thanks to these charming fondant daisies. Inspired by the exquisite Daisy entremets served at Claridge’s, these dainty decorations are a simple, make-ahead garnish that instantly elevates your sweet creations.
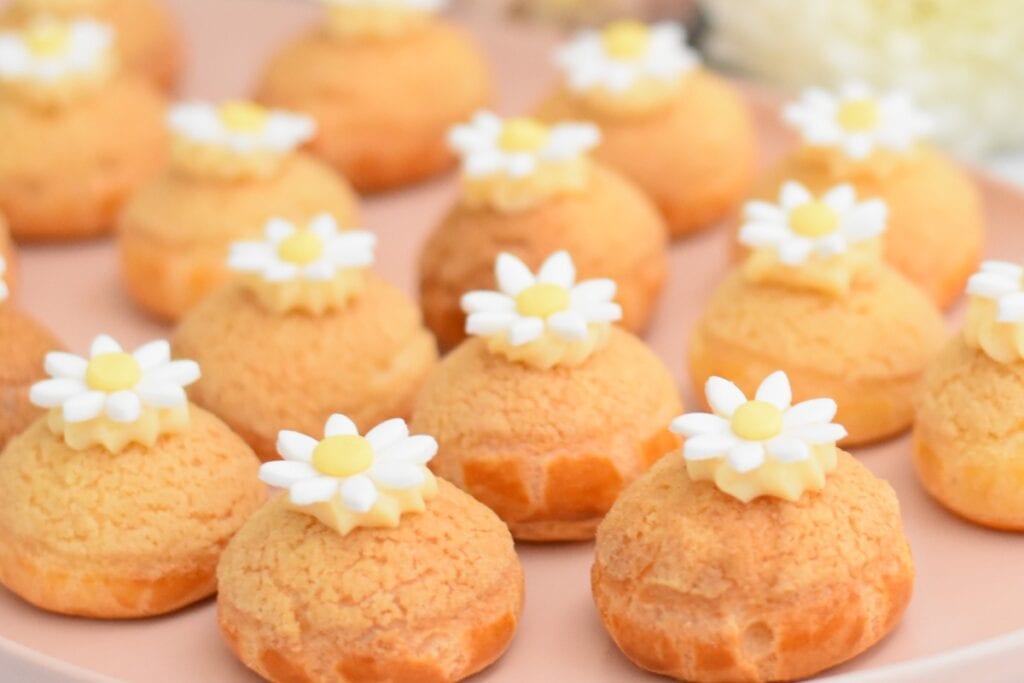
I’ve adorned my Daisy Choux Puffs with them, and I’m sure you’ll agree—they look as pretty as a picture, adding a sophisticated, patisserie-style touch to any afternoon tea stand.
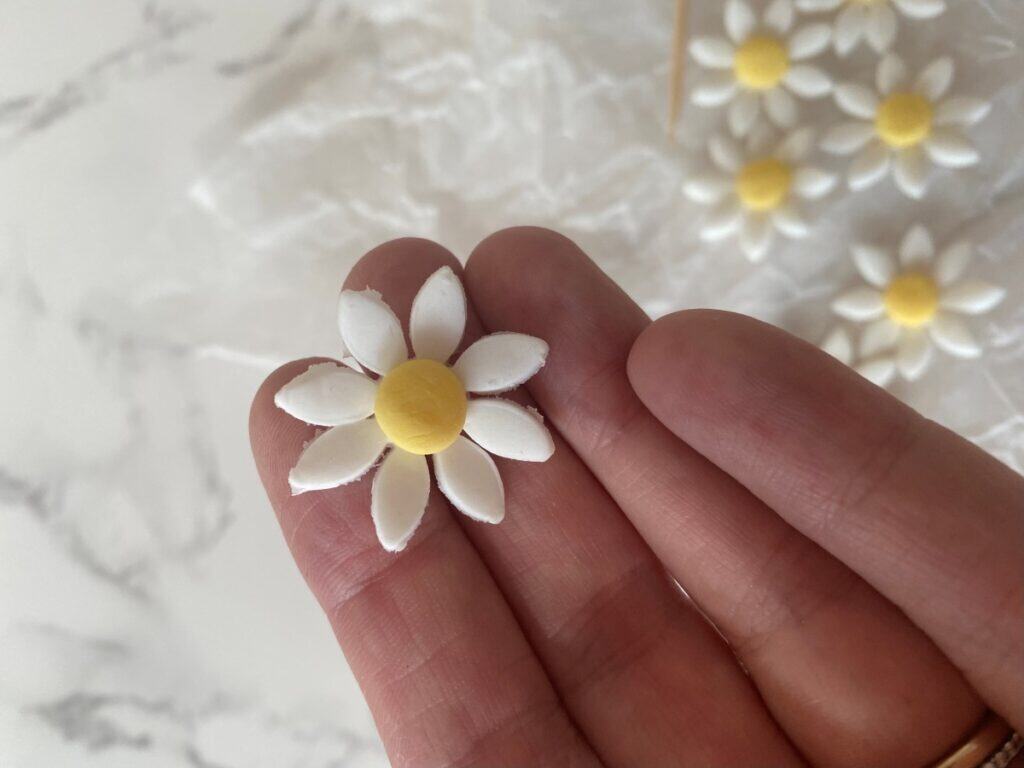
Made from fondant, these daisies are completely edible and pleasantly soft—not hard on your teeth like some sugar decorations can be. However, they are delicate, so handle them with care.
Tips for Using Fondant Daisies
- Timing is Everything: Add the daisies just before serving to keep them looking fresh and flawless. If placed on cream or pastry cream for extended periods, they may begin to soften.
- Make Ahead Convenience: Prepare these fondant daisies up to a week in advance and store them in a sealed container. This allows you to focus on assembling your desserts stress-free on the day of serving.
These little flowers are a beautiful way to elevate your desserts, whether decorating choux puffs, cakes, or tarts. Their elegance and simplicity make them the perfect finishing touch for a glamorous afternoon tea.
Ingredients
Fondant – You can use a supermarket brand fondant to make these.
Food colouring – I like to use Colour Mill brand in Yellow however any yellow food colour will work.
Sugar – Granulated white sugar is perfect for the sugar syrup.
Water – Use hot water that’s recently been boiled.
How to make Fondant Daisies
*Remember to always keep the fondant covered when you’re not using it.*
Make the sugar syrup: Place the sugar in a small heat proof bowl. Add a dash of recently boiled water. Stir and set aside.
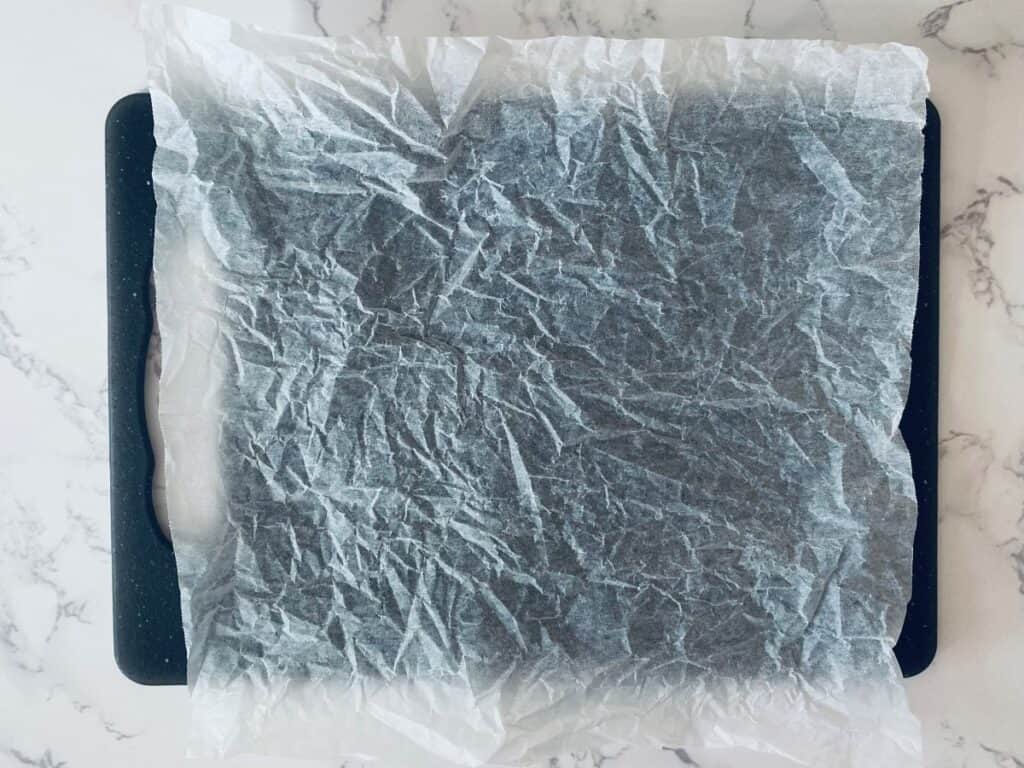
Take a piece of baking paper and scrunch it up then flatten it out. This will give the daisies a little bit of shape as they dry.
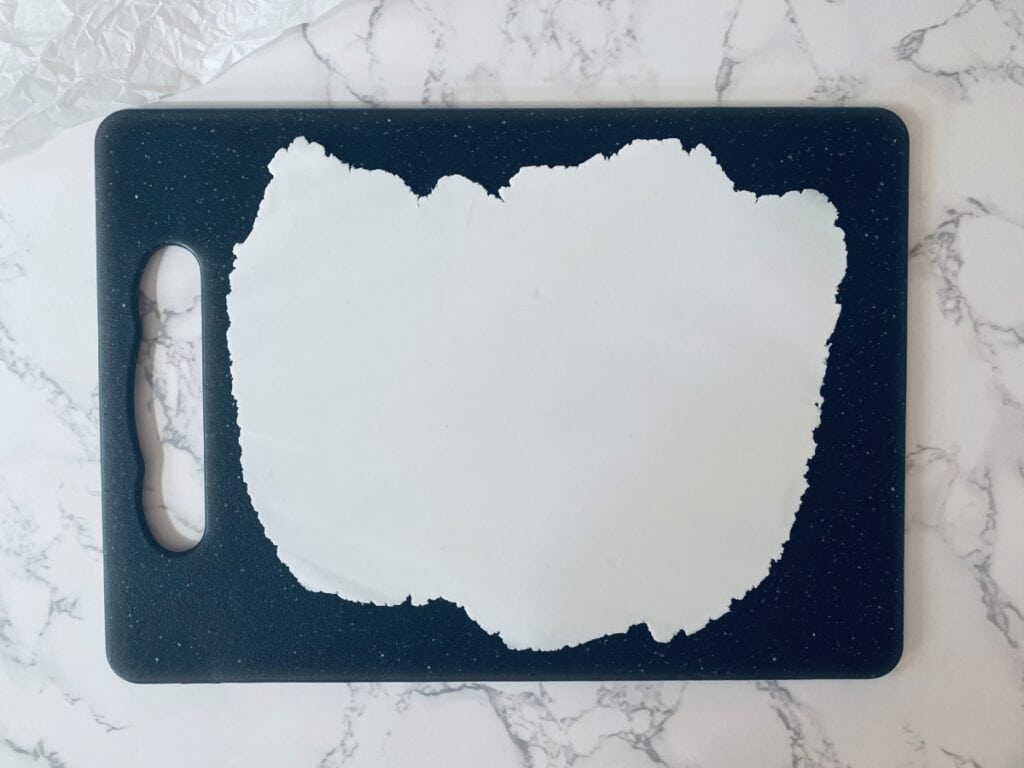
Knead the fondant a little to warm it up, then roll it out as thinly as possible with a rolling pin.
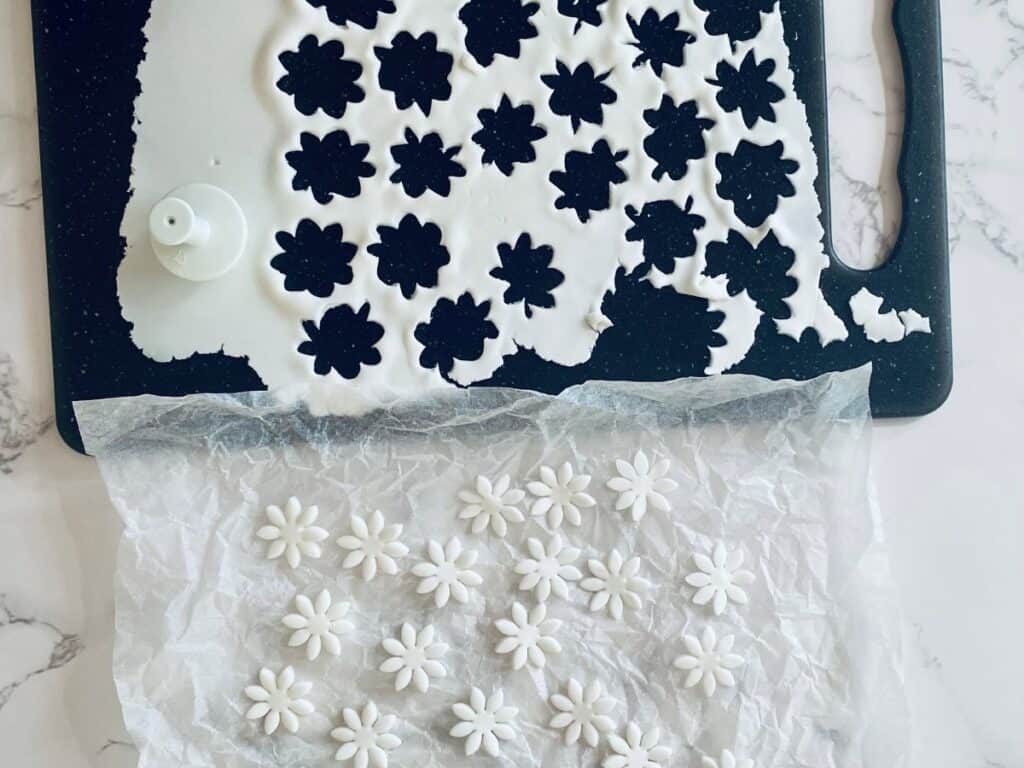
Take a medium sized (3 cm / 1.18 in ) daisy cutter and cut out as many fondant daisies as possible. Place each one on the baking paper. It is a good idea to have more daisies than you need in case of breakage.
Gather up the scraps and knead into a small ball.
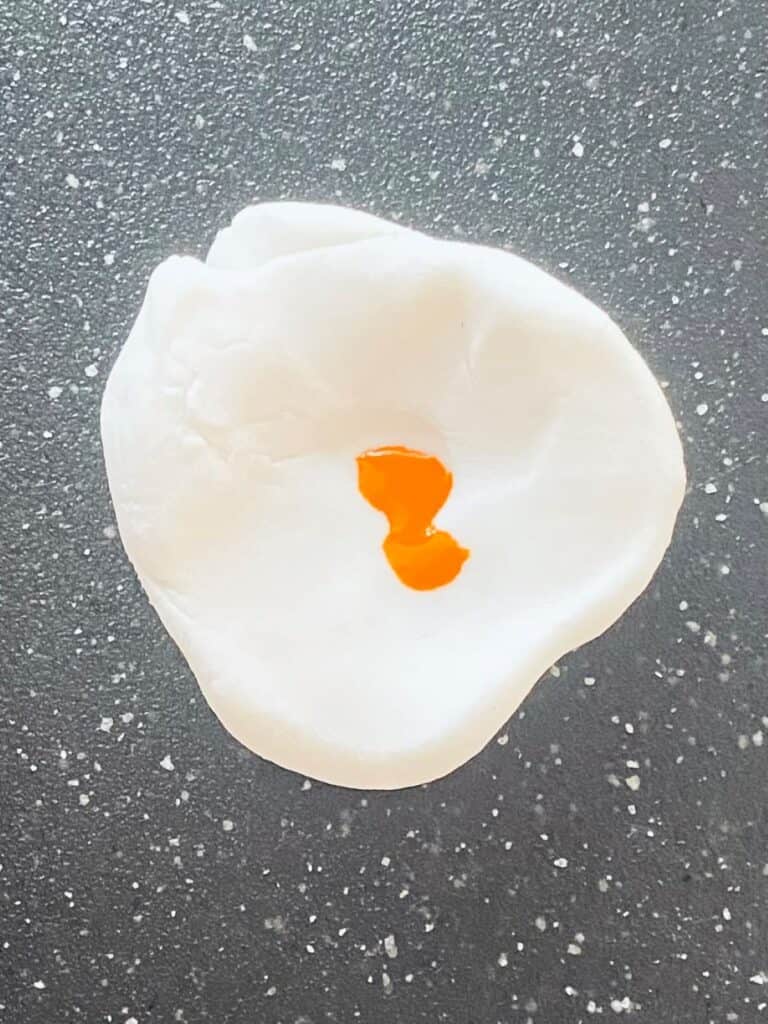
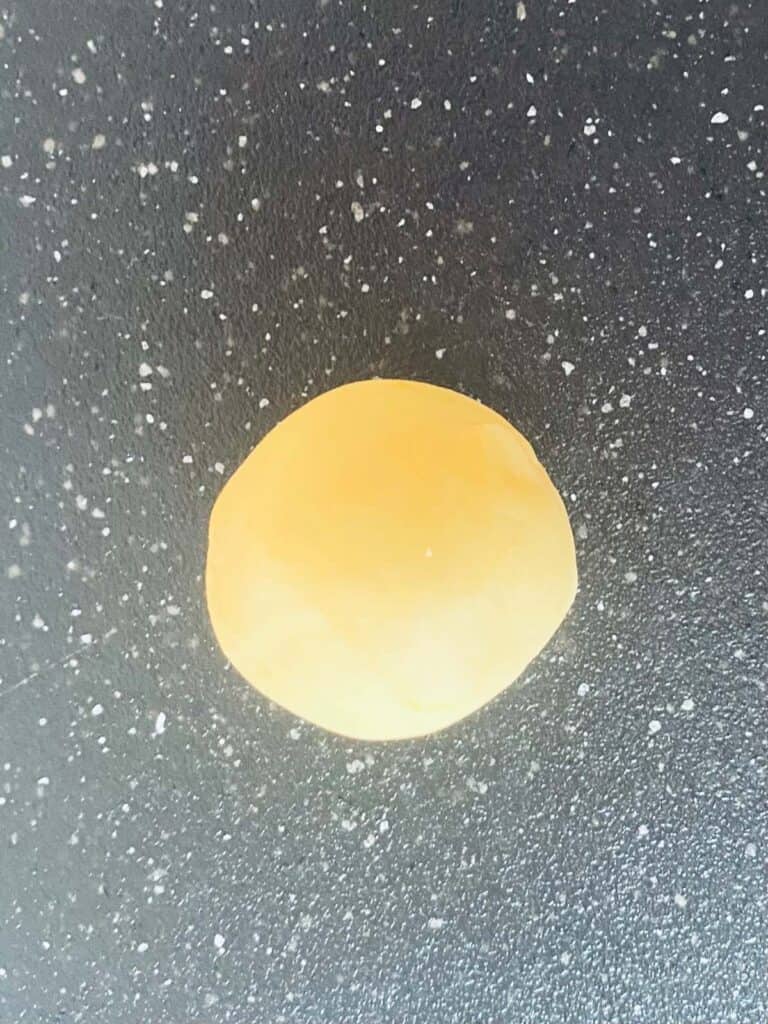
Add a few drops of yellow food colouring and knead until evenly distributed.
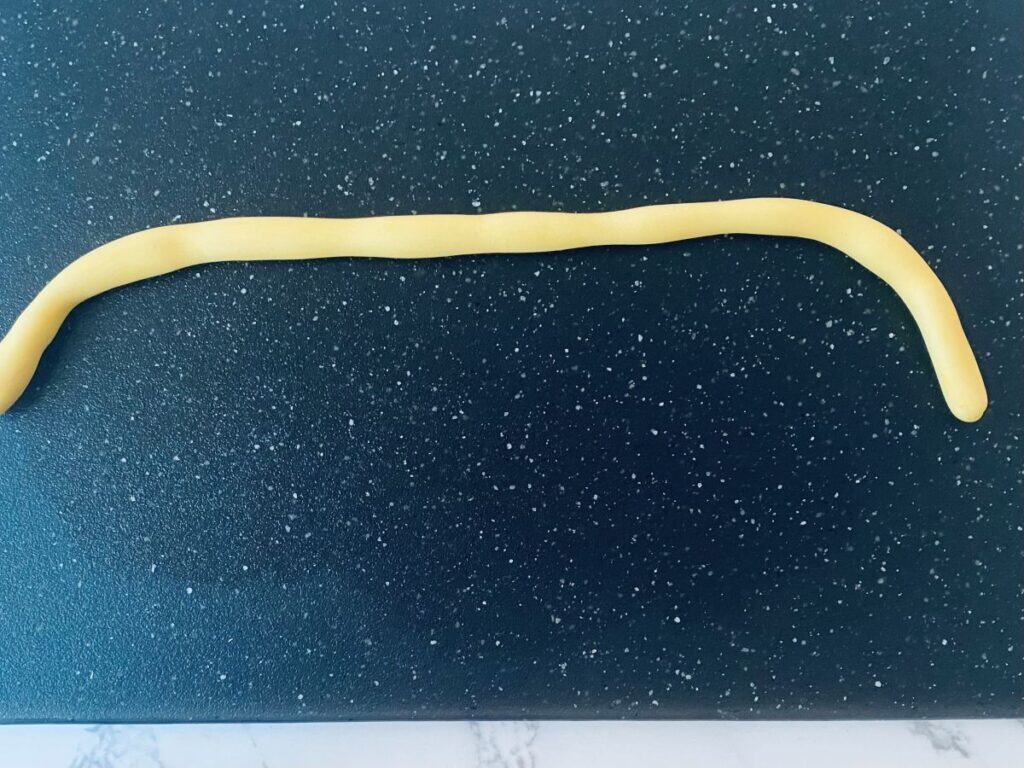
Roll into a long thin worm.
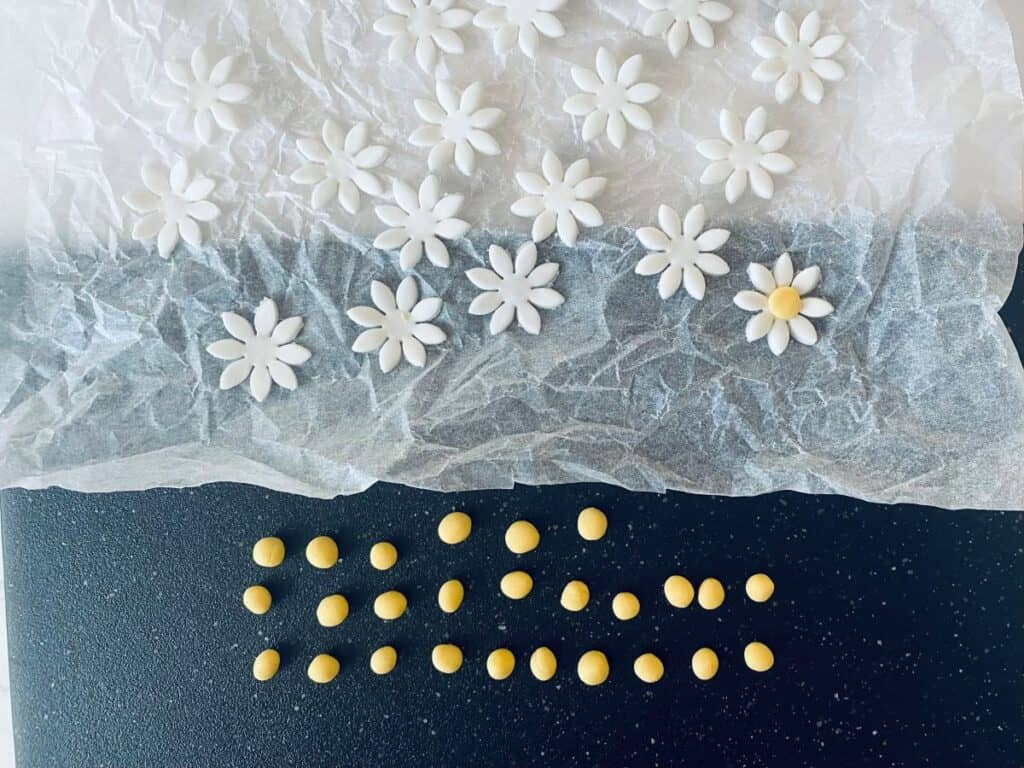
Break off a small piece of fondant and roll it into a little ball. Check the size fits the fondant daisy. Once you are happy with the size, model all remaining balls on the original ball.
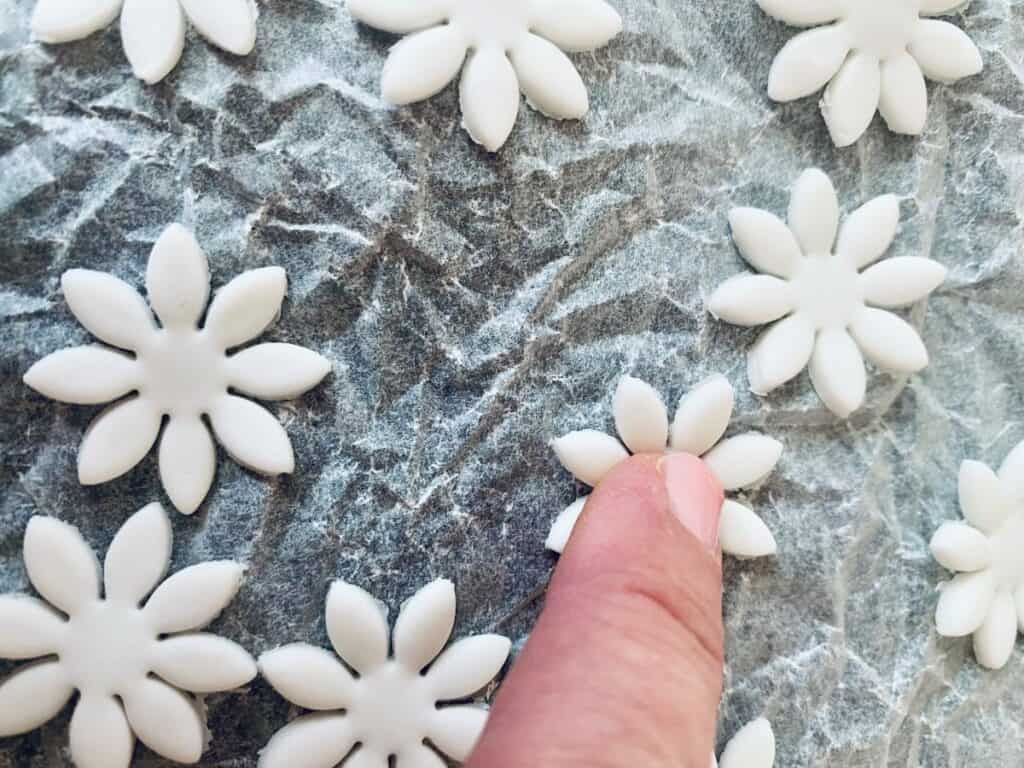
Gently press your finger into each daisy to create a small indentation.

Dip your paintbrush in the sugar syrup and brush a small amount on the centre of 5 fondant daisies.
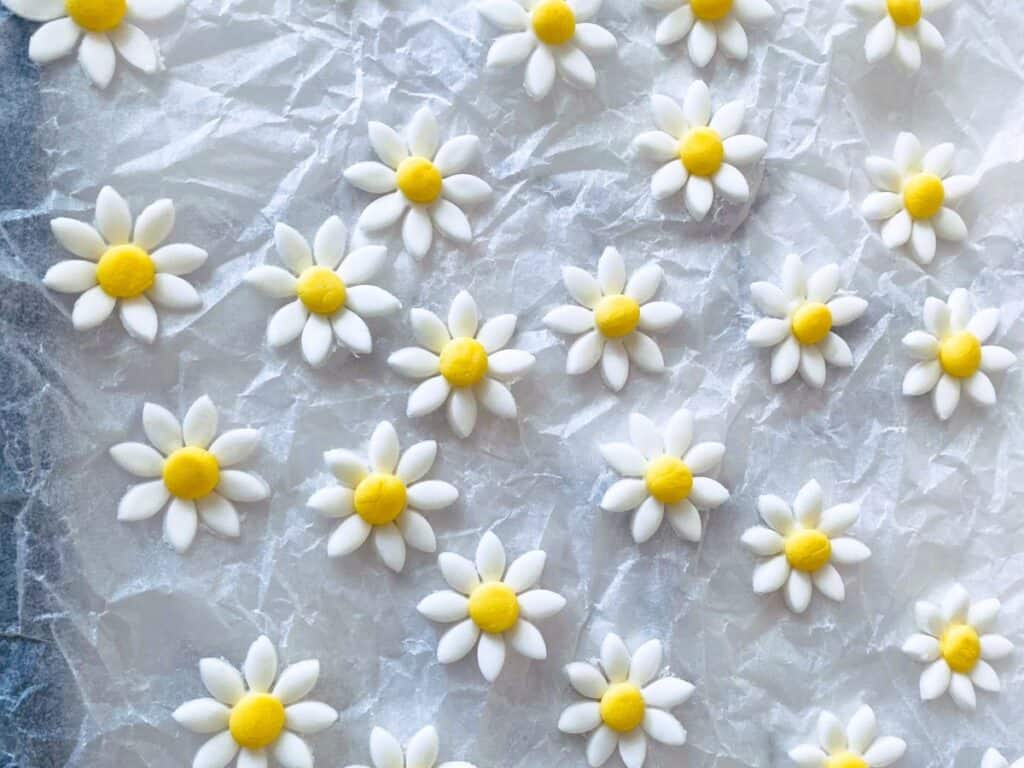
Take a little yellow fondant ball and press it into one of the daisies. Repeat for the remaining 4 daisies.
Brush the next 5 daisies with sugar syrup and repeat the process until no daisies remain without a centre.
Leave to dry overnight then place in a sealed container until required.
NOTE: Sometimes the cutter leaves rough edges on the petals (which is very annoying!)
To fix this, wait until the daisies have dried overnight then take a toothpick and very carefully rub it along the rough edge to smooth out. See the video of this technique at the end of the recipe post.
FAQs
I want to decorate a wedding cake with these but I’m worried they won’t last the distance. What should I do?
If you need something a little more robust then I recommend using sugar paste / gum paste instead. You can then make the daisies up to one month ahead and they will last all day on a cake. Just don’t refrigerate them. Also, the daisies will be rock hard, so make sure you advise the guests to remove them before eating.
Fondant Daisies
40
servings30
minutesEquipment
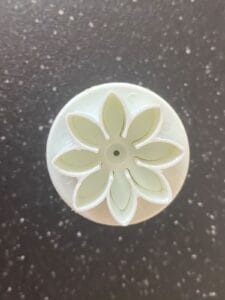 3cm / 1.18 inch Daisy cutter
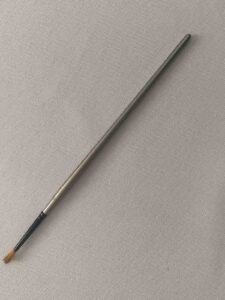 Small paintbrush
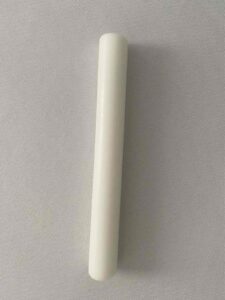 Rolling pin
Other equipment
Cutting board
Baking paper
Small bowl for sugar syrup
Keep the screen of your device on
Ingredients
100 g 3 1/2 oz White fondant
Yellow food colouring
1 tsp 1 tsp Sugar
1 tsp 1 tsp Just boiled water
Directions
- Remember to always keep the fondant covered when you’re not using it.
- Make the sugar syrup – place the sugar in a small heat proof bowl. Add a dash of recently boiled water. Stir and set aside.
- Take a piece of baking paper and scrunch it up then flatten it out. This will give the daisies a little bit of shape as they dry.
- Knead the fondant a little to make it easier to roll out. Place it on a board and roll it out as thinly as possible using a small rolling pin.
- Take a medium sized (3cm / 1.18 inch) daisy cutter and cut out as many daisies as possible. Place each one on the baking paper. It is a good idea to have more daisies than you need in case of breakage.
- Gather up the scraps and knead into a small ball. Add a few drops of yellow food colouring and knead until evenly distributed.
- Roll into a long thin worm.
- Break off a small piece of fondant and roll it into a little ball. Check the size is appropriate for the daisy. Once you are happy with the size, model all remaining balls on the original ball.
- Gently press your finger into each daisy to create a small indentation.
- Dip your paintbrush in the sugar syrup and brush a small amount on the centre of 5 daisies.
- Take a little yellow fondant ball and press it into one of the daisies. Repeat for the remaining 4 daisies.
- Brush the next 5 daisies with sugar syrup and repeat the process until no daisies remain without a centre.
- Leave to dry overnight then place in a sealed container until required.
- NOTE: Sometimes the cutter leaves rough edges on the petals. To fix this, wait until the daisies have dried overnight then take a toothpick and very carefully rub it along the rough edge to smooth out. See the video of this technique below.